22 Cute Christmas Nails for Festive Style
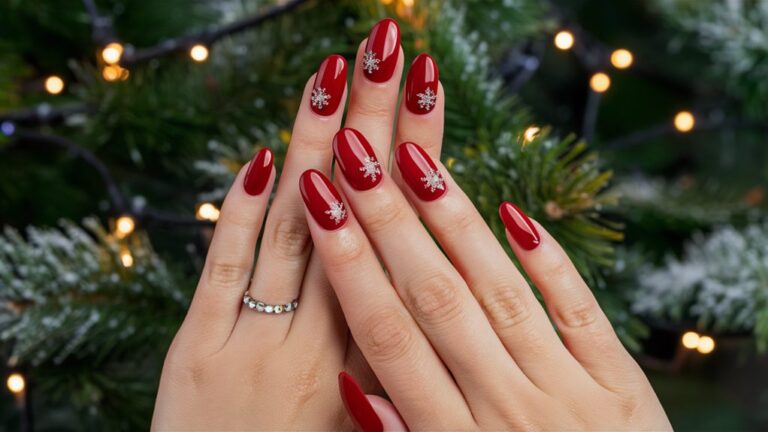
Transform your nails into holiday masterpieces with these 22 cute Christmas designs. Classic red and green nails embody the holiday spirit, while glittery gold accents add a luxurious touch. Try candy cane stripes for a whimsical, traditional design, or paint Santa hat tips for a playful look.
Embrace nature with holly and berries, or explore minimalist styles with chic, subtle flair. Each design uses festive colors and themes, ensuring your nails will shimmer brightly at every party. Whether you prefer elegant sparkles or cozy sweater patterns, these ideas will inspire endless creativity bursting with yuletide charm. Explore deeper for more inspiration.
Classic Red and Green
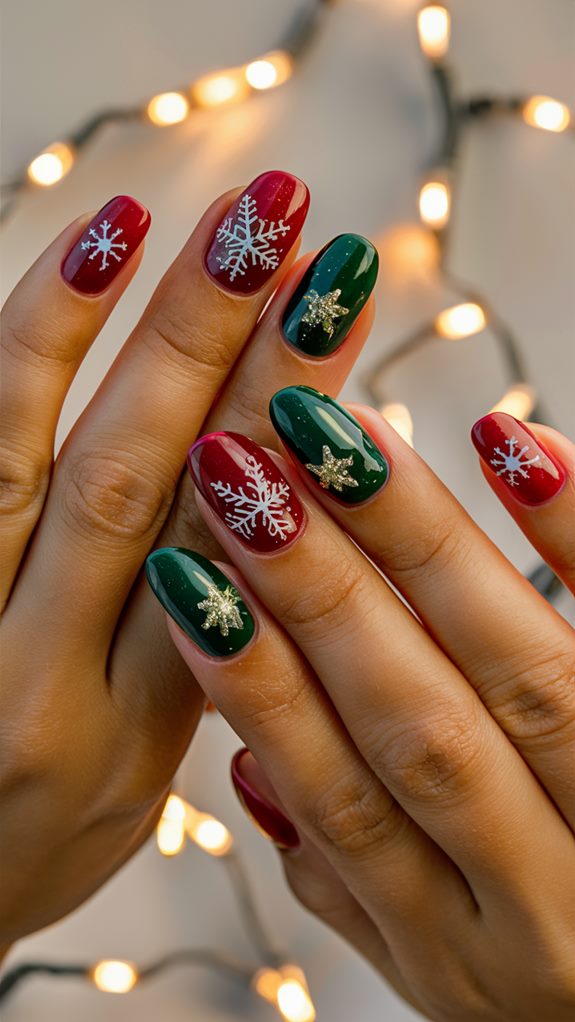
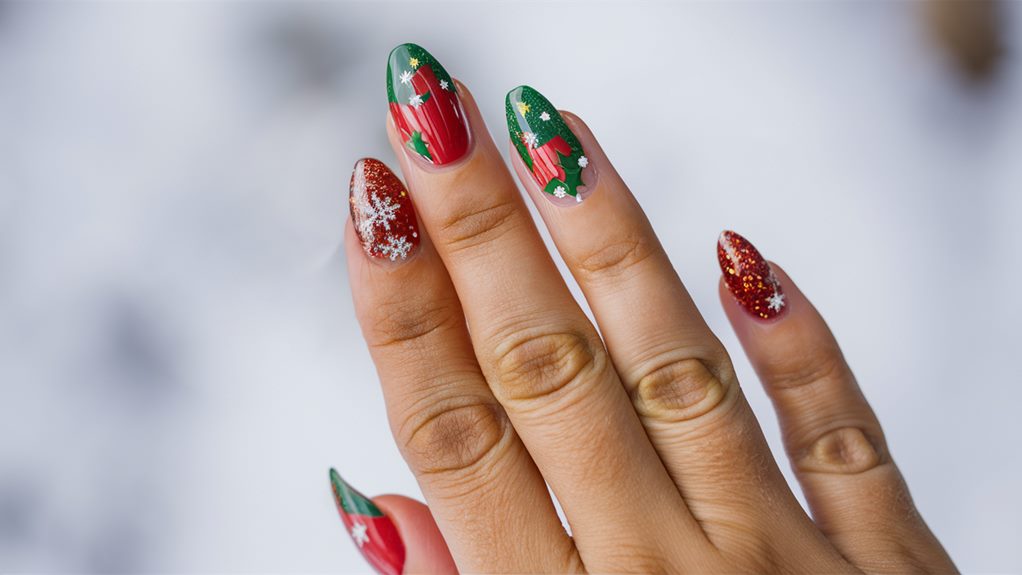
When it comes to Christmas nail designs, nothing surpasses the enduring charm of classic red and green. These colors embody the holiday spirit, making your nails both festive and stylish.
By opting for these hues, you’re embracing a tradition that remains timeless and ever-relevant.
Start with a deep, rich red polish as your base to provide a stunning backdrop for any additional designs. Pair it with a lush green accent on a nail or two for balance.
Finish with a glossy top coat to make those colors pop and ensure your manicure lasts through the festivities.
Glittery Gold Accents
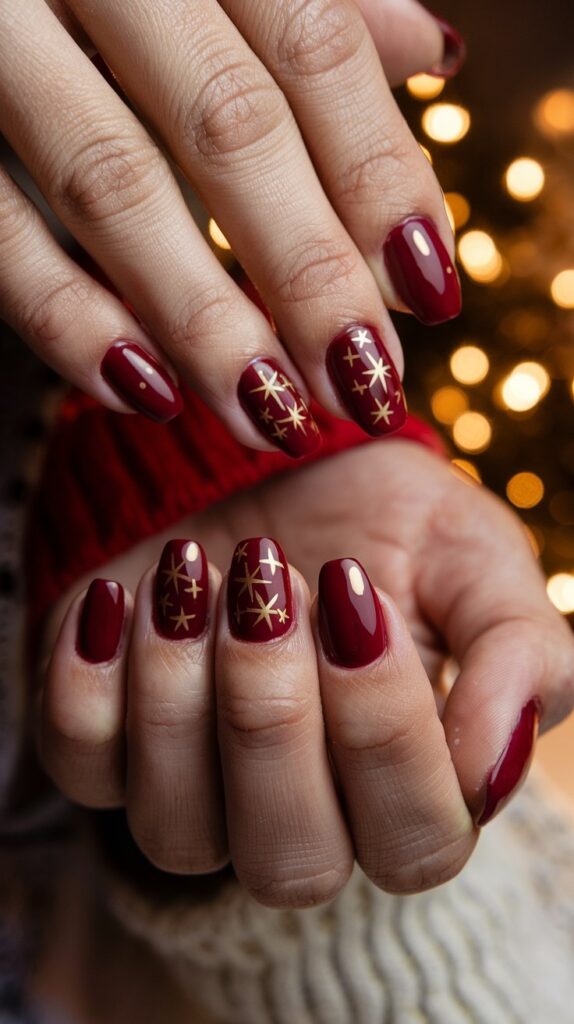
Glittery gold accents can transform your holiday nail design into a sophisticated masterpiece. Gold exudes luxury and warmth, enhancing the festive feel and making your nails stand out.
Whether you choose a full gold nail or subtle stripes and dots, this metallic hue complements any holiday color scheme.
For a bolder look, a gold glitter gradient can add sparkle reminiscent of holiday lights. Starting with a gold tip that fades into your base color creates depth and dimension.
Alternatively, gold foil or decals can be strategically placed to highlight specific areas, offering a chic and understated elegance.
Snowflake Elegance
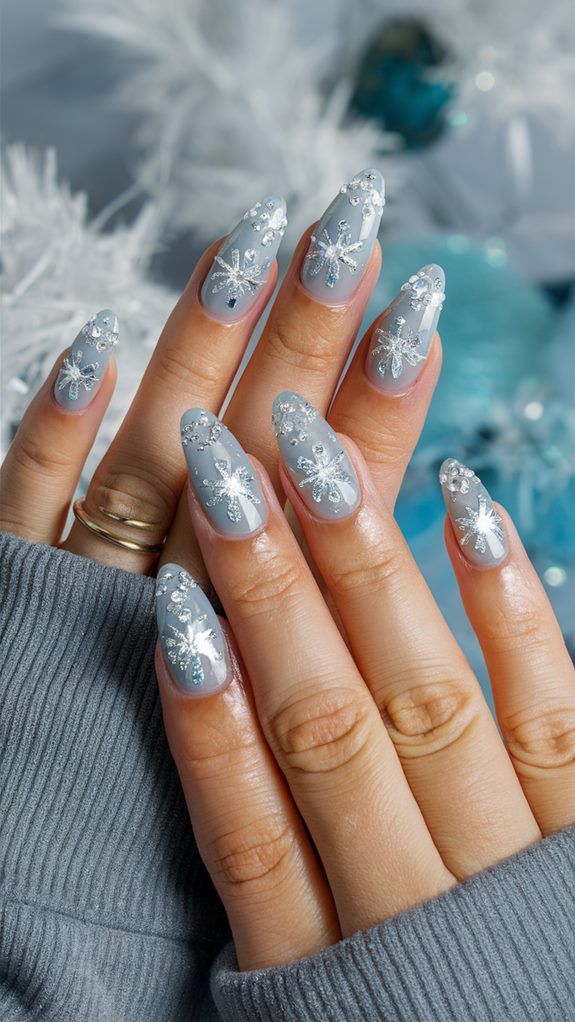
Snowflake Elegance on your nails captures the serene beauty of winter, turning your fingertips into a canvas of frosty artistry.
Begin by selecting a base color; opt for icy blues, soft whites, or a rich, deep navy to create a stunning backdrop. Once the base is set, use a fine-tipped brush or dotting tool to craft intricate snowflake patterns, or leverage nail stamping plates and decals for precision.
To enhance the wintery allure, add a hint of sparkle with a thin layer of glitter polish or strategically placed tiny rhinestones, echoing the sparkle of fresh snow.
Finish with a clear topcoat to protect your design and ensure a glossy finish, maintaining the festive charm throughout the season.
Snowflake Elegance brings a touch of winter magic to every gesture, making it a sophisticated choice that brightens your holiday spirit.
Festive Candy Cane Stripes
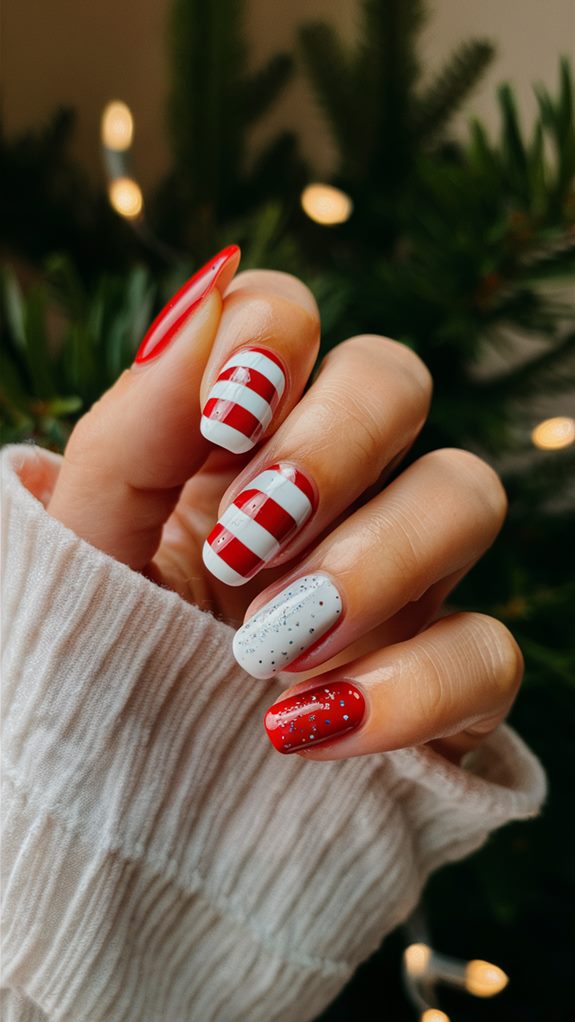
Festive Candy Cane Stripes on your nails bring a delightful mix of whimsy and tradition, perfect for the holiday season. This charming nail design can be easily achieved at home with just a few tools, including red and white nail polish and either a thin brush or striping tape.
Begin with a base coat, followed by two coats of white polish to provide a crisp, clean background for the stripes.
To create the iconic candy cane pattern, use the thin brush or striping tape to add diagonal red stripes across each nail. If using a brush, carefully paint thin red lines; if using tape, lay it diagonally, apply the red polish, and then remove the tape for a neat finish.
Complete the look with a top coat for a glossy shine, and enjoy the festive cheer these nails bring to your holiday ensemble.
Santa Hat Tips
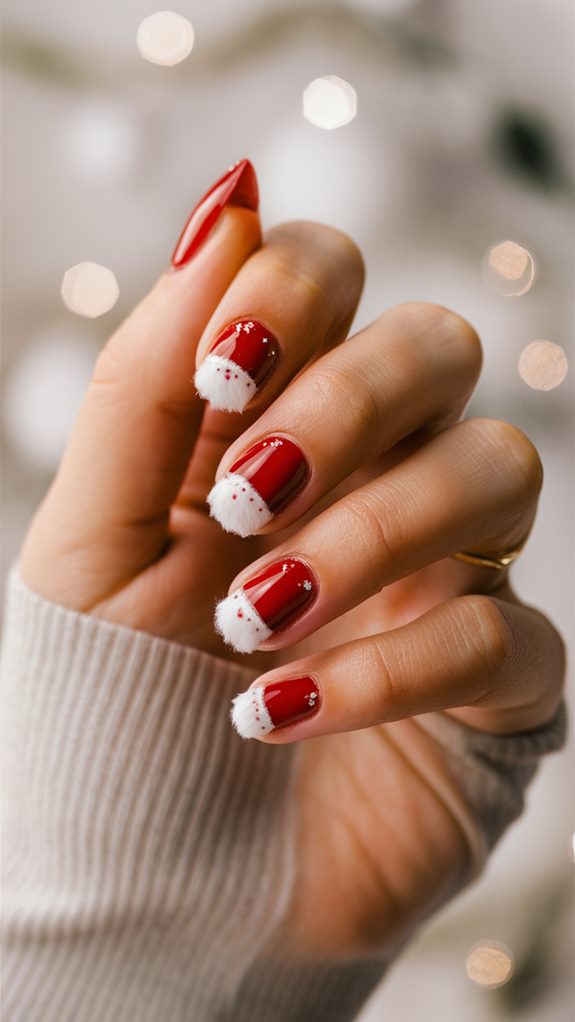
Santa Hat Tips on your nails are a delightful way to embrace the festive spirit of Christmas. This design is both simple and eye-catching, making it perfect for adding a touch of holiday charm to your appearance.
The process begins with a vibrant red polish, setting the stage for the classic Santa hat look.
To enhance the design, a white polish is used to create the fluffy brim and pom-pom of the Santa hat. The brim is applied in a crescent shape at the nail’s tip, while the pom-pom is a small dot at the center edge.
Finish off with a clear topcoat to add shine and protect your festive artwork, ensuring your nails are ready for the holiday season.
Reindeer Motif Madness
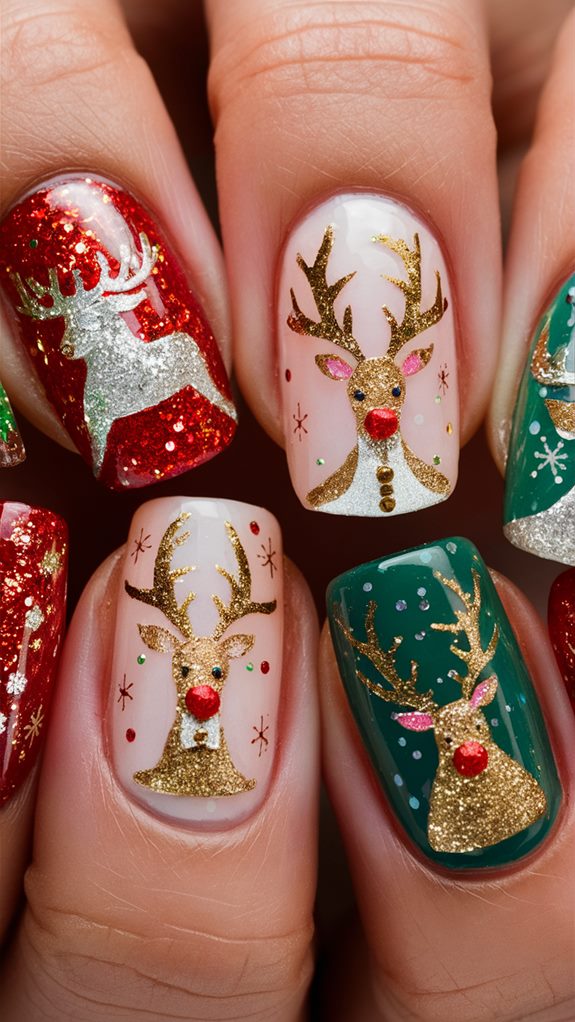
Reindeer motifs on your nails are a delightful way to infuse some playful charm into your Christmas celebrations. Starting with a neutral base coat helps the reindeer designs stand out, as you use a fine brush or nail art pen to craft the reindeer’s head, antlers, eyes, and nose.
Opting for a red nose channels Rudolph, adding a touch of iconic holiday flair. For those eager to experiment, consider featuring different reindeer designs across your nails, like one with a red scarf or another with a Santa hat.
These variations keep your nail art lively and distinctive, and the imperfections add character, enhancing their charm. A palette of traditional holiday colors, complemented by glitter polish, ties the look together, ensuring your nails sparkle like Christmas lights.
Holly and Berries
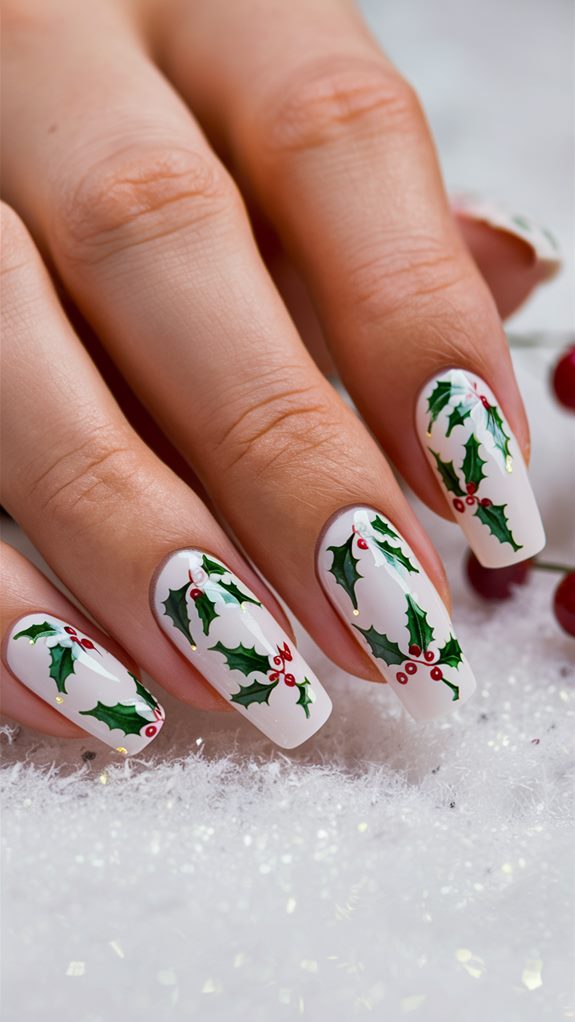
Holly and berries are classic symbols of Christmas cheer and can be beautifully incorporated into festive nail art. The deep green of holly leaves paired with the vibrant red of the berries creates a striking contrast that embodies the holiday spirit.
This color combination not only captures the essence of the season but also adds a touch of elegance and charm to your manicure.
To achieve this look, start with a neutral or wintery white base coat. Use a fine-tipped brush or nail art pen to draw holly leaves, mimicking their natural, curved, and pointed shapes.
Add small red dots to represent the berries, and for an extra festive touch, consider adding glitter for a frosted effect.
Winter Wonderland Blues
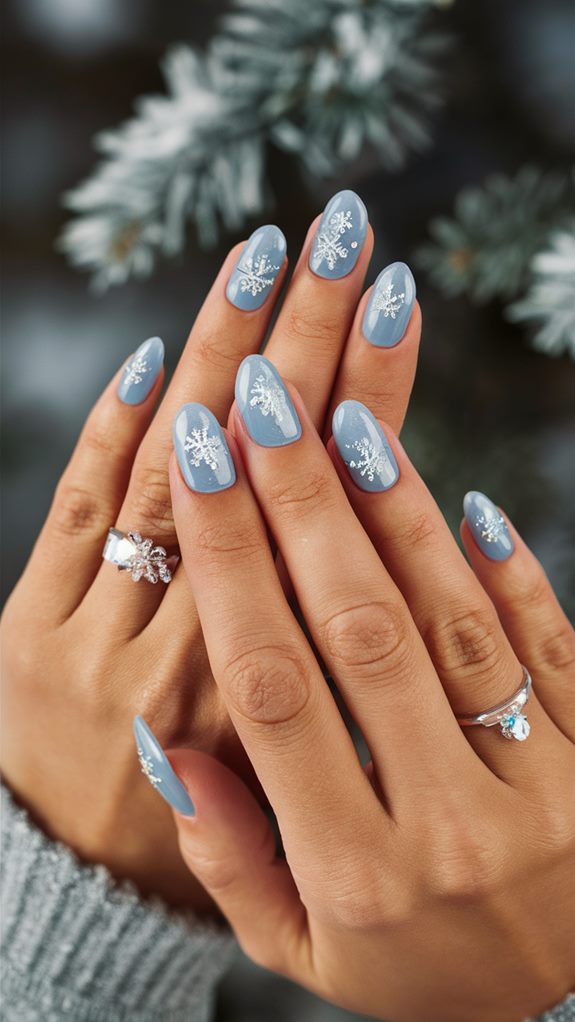
Winter Wonderland Blues nail art captures the serene essence of winter through its sophisticated design and cool color palette. Start with a gentle pastel blue base, setting the scene for a snowy masterpiece. Ensure your nails are prepped and smooth to provide the perfect canvas for your winter-inspired look.
Add depth by creating a subtle gradient, transitioning from a deeper blue at the tips to lighter shades near the cuticle, reminiscent of winter twilight skies.
Consider incorporating delicate silver or white snowflake decals for added elegance, or paint them using a thin nail art brush. Finish with a touch of glitter to mimic the sparkle of freshly fallen snow, sealing your design with a glossy top coat for enhanced vibrancy and protection.
Cozy Sweater Patterns
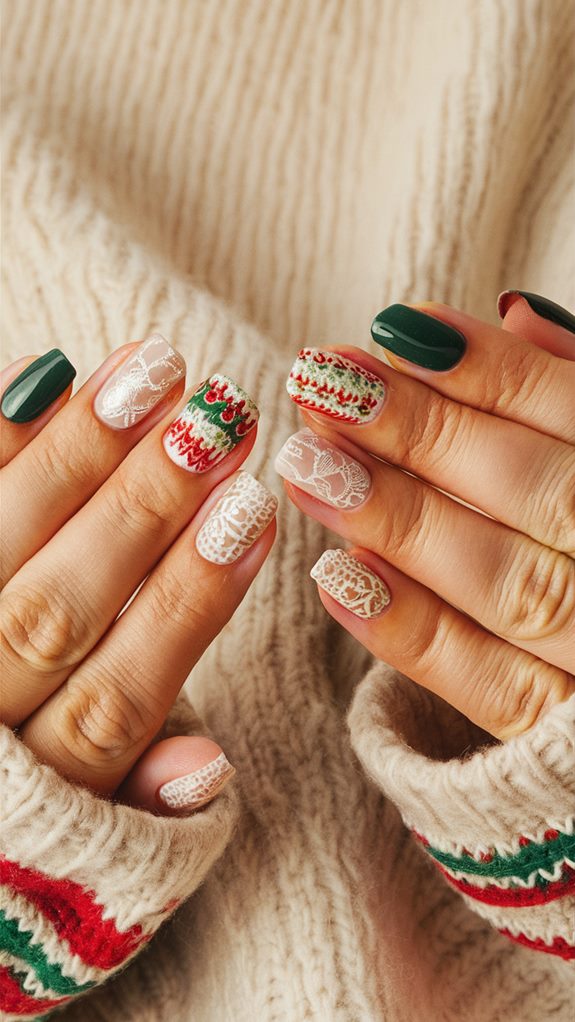
Transform your nails into a cozy fashion statement with sweater-inspired patterns that evoke the warmth and charm of a knitted favorite. Embrace the spirit of the season by incorporating intricate cable knit designs, reminiscent of your cherished holiday sweaters, directly onto your nails.
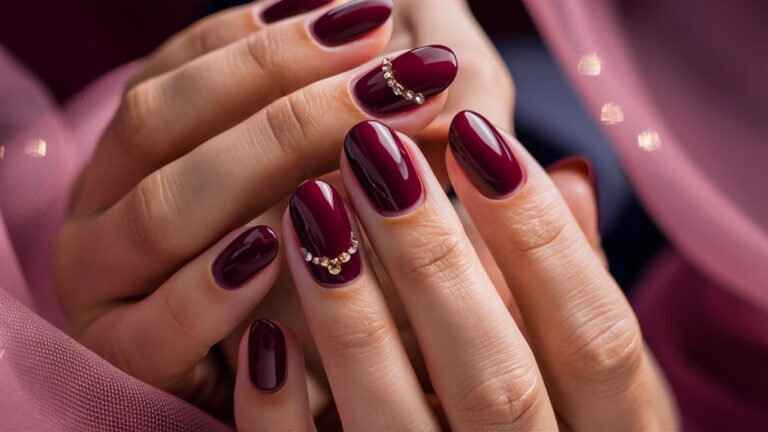
You can choose warm tones like rich burgundy, deep forest green, or classic cream to recreate the look of winter wear. These colors not only provide a festive vibe but also match seamlessly with the rest of your holiday wardrobe.
Start by using a base color that complements the sweater pattern you want. Then, with a fine nail art brush or a nail stamping kit, carefully paint or stamp the desired design.
Think of chunky cables, delicate ribbing, or even the classic Fair Isle pattern. Don’t forget to add a matte top coat to give your nails that authentic fabric-like texture.
Christmas Tree Charms

Christmas tree charms are delightful embellishments that can add a festive sparkle to your nails, transforming any manicure into a holiday masterpiece. These tiny decorations come in various materials such as metal, plastic, or rhinestone-studded versions, allowing you to choose the perfect level of glitz for your holiday look.
Selecting charms that fit your nail size ensures a comfortable and visually appealing result without being too bulky or heavy.
To apply these charms, begin by painting your nails with a base color that complements the charm design, like classic red, deep green, or snowy white. While the polish is still tacky, use tweezers to gently place the charm on your nail, pressing down to secure it in place.
For added durability, especially if you plan to showcase your festive nails throughout the holiday season, consider using nail glue and finishing with a thick layer of clear topcoat to seal and enhance your design.
Frosty the Snowman
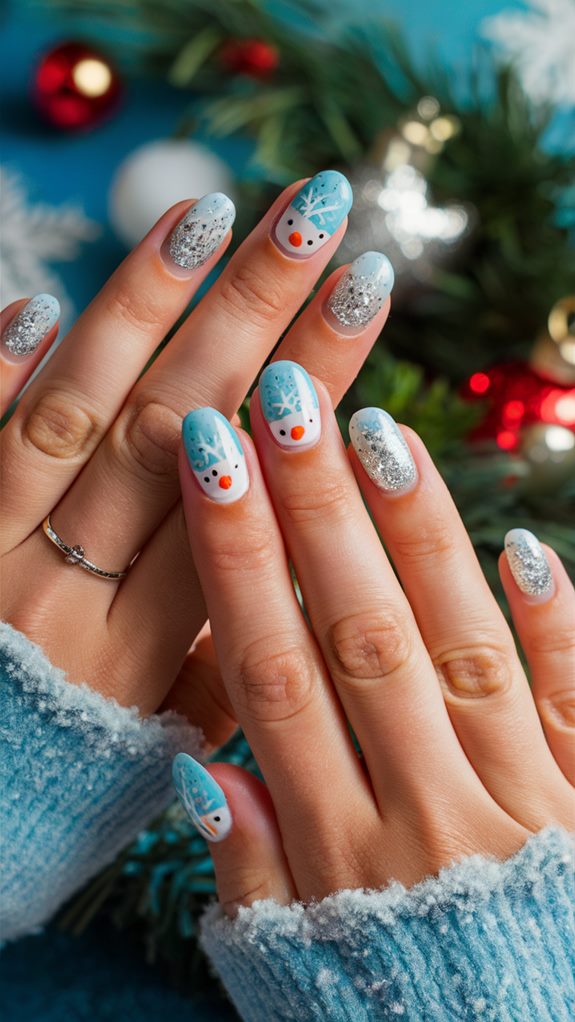
Frosty the Snowman is a beloved winter character known for his jolly appearance and magical charm. With a bright white base symbolizing snow, his look is completed with a black top hat, coal eyes, a carrot nose, and a cheerful smile.
Frosty’s playful nature makes him a festive favorite, and his image evokes the joy and wonder of the holiday season.
Incorporating Frosty into your festive attire, whether through nail art or clothing, brings a whimsical touch to your holiday celebrations. Adding details like a colorful scarf or sparkling snowflakes can enhance his wintry charm.
His presence is sure to bring warmth and smiles, making it a delightful addition to any holiday ensemble.
Gingerbread Delights
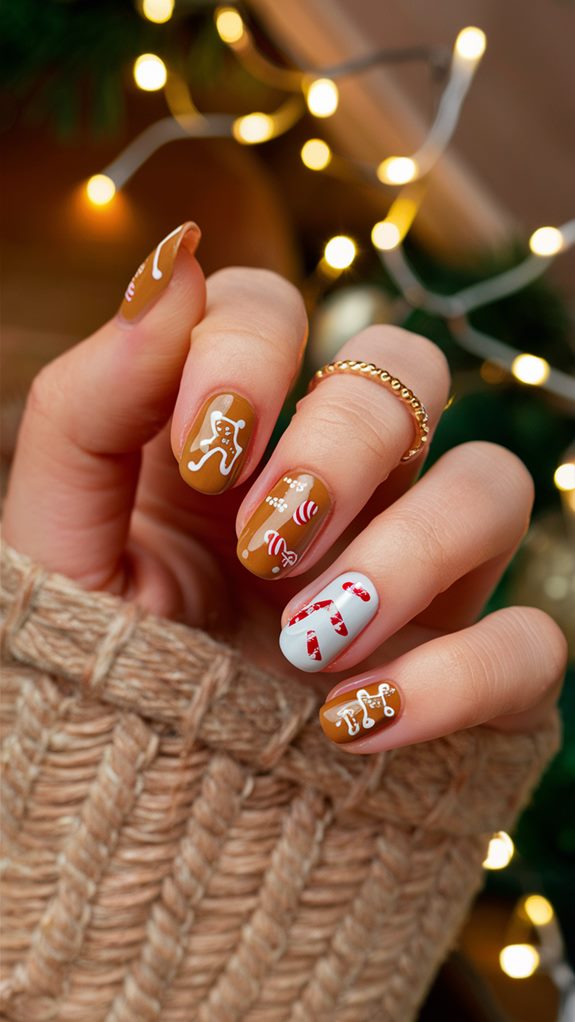
Gingerbread Delights capture the essence of holiday cheer with their warm, spicy aroma and charming designs. They serve as an inspiration for festive nail art, transforming your nails into tiny canvases that celebrate the spirit of the season with gingerbread-themed designs.
Start by choosing a gingerbread-brown polish as your base color and use a fine brush or nail art pen to create adorable gingerbread men, complete with tiny eyes and buttons.
Adding white icing-like swirls and dots mimics the frosted edges of these cookies, while a sprinkle of gold or silver glitter adds a touch of sparkle.
Red or green accents, such as small candy canes or holly leaves, can enhance the festive vibe, ensuring a delightful nod to holiday nostalgia every time you look at your nails.
Ornament-Inspired Art
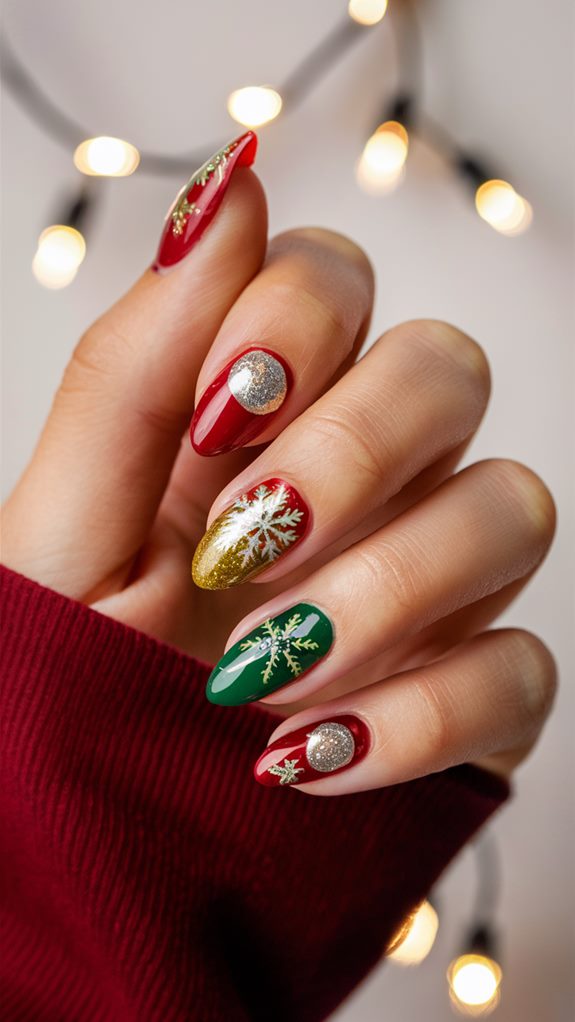
Ornament-inspired art offers a delightful way to bring the elegance of holiday decorations to your manicure.
Begin by selecting a metallic base color, such as gold or silver, to replicate the shiny surface of traditional ornaments, providing a beautiful foundation for your design. The addition of intricate patterns, like swirls and dots, painted with a thin brush can imbue your nails with festive charm, making each nail a unique piece of art.
Incorporate vibrant holiday colors like reds, greens, and blues to enhance the festive spirit, and consider adding tiny gems or glitter for extra sparkle.
You can personalize the design by painting motifs such as snowflakes, stars, or holly leaves, turning your nails into a miniature gallery.
Seal your artwork with a high-gloss topcoat to ensure longevity and shine, capturing the joy and elegance of the holiday season with every glance.
Minimalist Holiday Chic
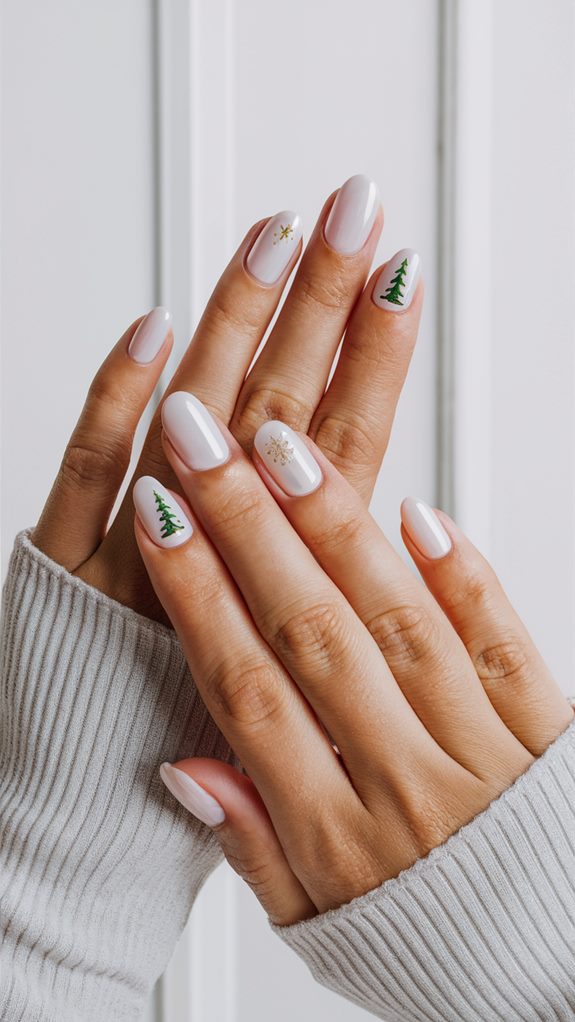
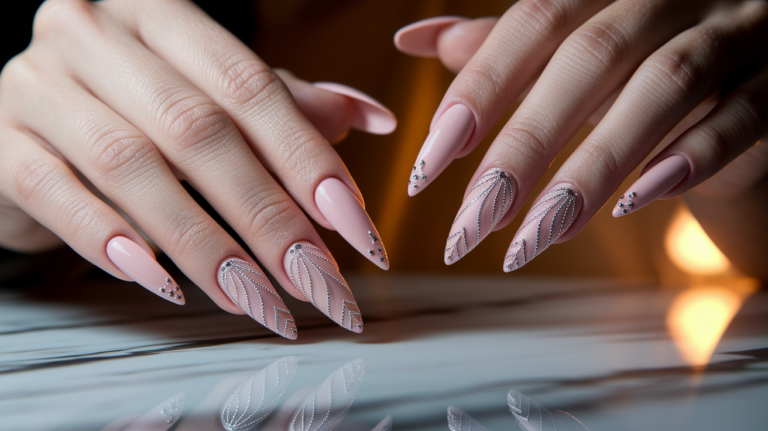
A minimalist holiday chic approach to nail art embraces subtle elegance and simplicity, offering a refreshing alternative to the usual festive extravagance. By opting for neutral bases like soft whites, creamy nudes, or cool grays, you create a perfect canvas for minimalist accents.
This style focuses on the idea that less is more, allowing for a sophisticated and timeless appearance. Incorporating delicate metallic lines or dots in gold or silver can add just the right amount of sparkle without overwhelming the design.
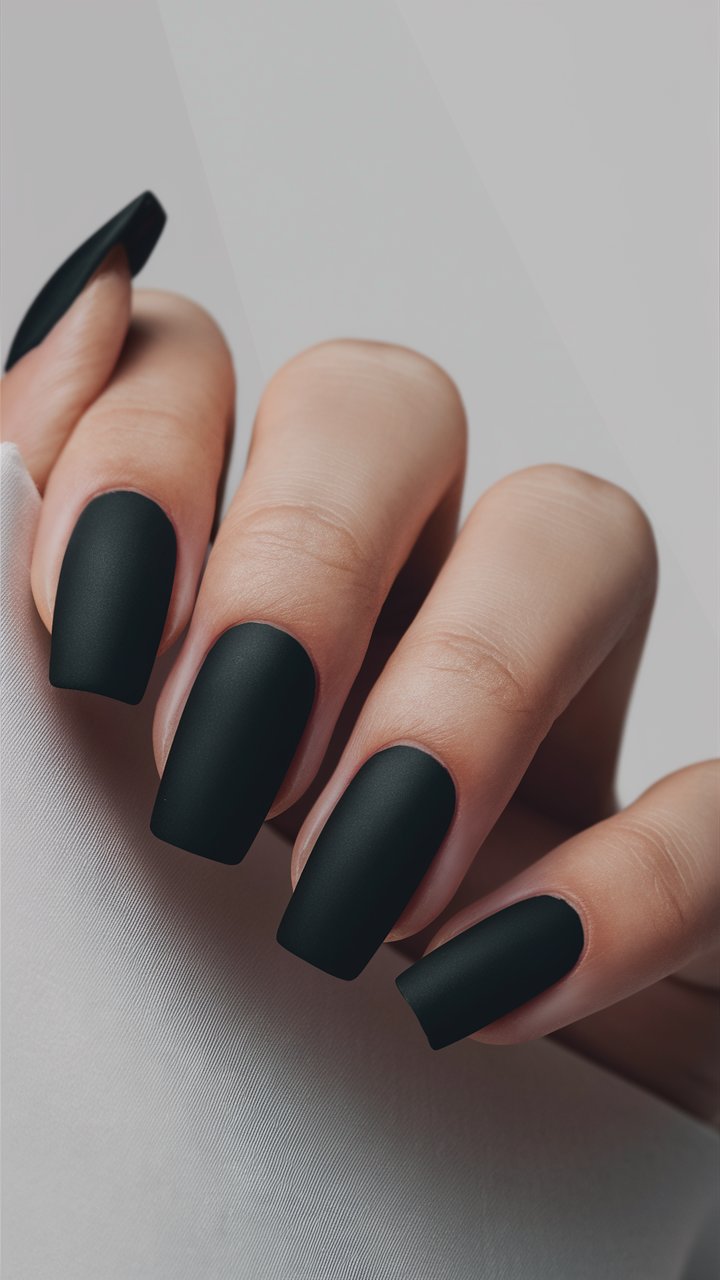
Consider a single snowflake or star on one nail for a striking and sophisticated touch. Utilizing matte finishes can add a modern twist and transform any color into a chic, understated look, making it easy to maintain and touch up during the bustling holiday season.
Polar Bear Paws
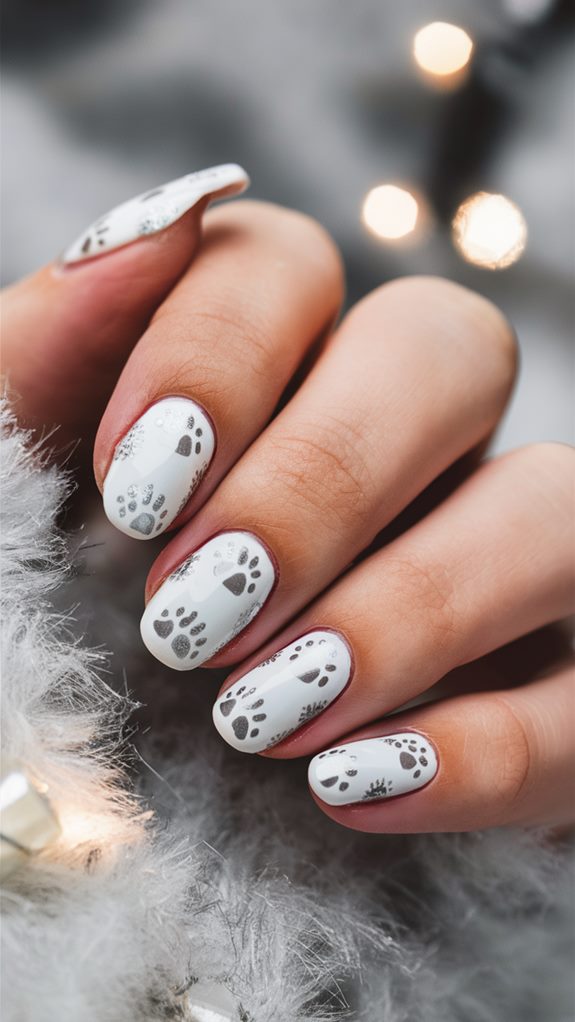
Polar Bear Paws nail art infuses a festive touch of whimsy into your holiday look. Imagine your nails as charming canvases, each adorned with an adorable polar bear motif. The goal is to blend cuteness with sophistication, ensuring your nails capture attention without overwhelming your style.
Begin with a soft, snowy white base to evoke an Arctic landscape, and use a fine brush to add polar bear faces or silhouettes. Incorporate subtle shades of light gray or blue for depth, and add tiny black dots for eyes and noses.
Finish with a glossy top coat to enhance shine and durability, making your nails an enchanting conversation starter at any festive gathering.
Twinkling Starry Night
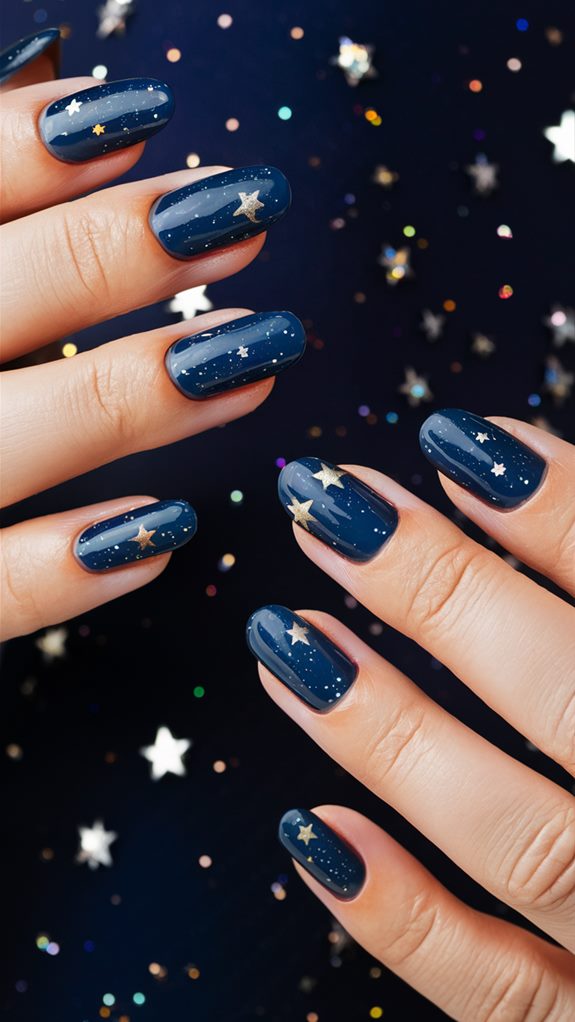
To recreate a twinkling starry night on your nails, start by selecting a deep navy or midnight blue polish as your base color. This rich hue serves as an ideal backdrop, resembling the night sky.
Apply two coats to achieve a smooth, opaque finish that sets the stage for your celestial design.
Once your base is dry, it’s time to add the stars. Use a fine-tipped nail brush or a dotting tool to create small white dots, varying their size to mimic a natural starry sky.
Enhance the look with a touch of silver or holographic glitter at the tips, blending upward for a gradient effect that captures the shimmer of distant stars.
Nutcracker Ballet Nails
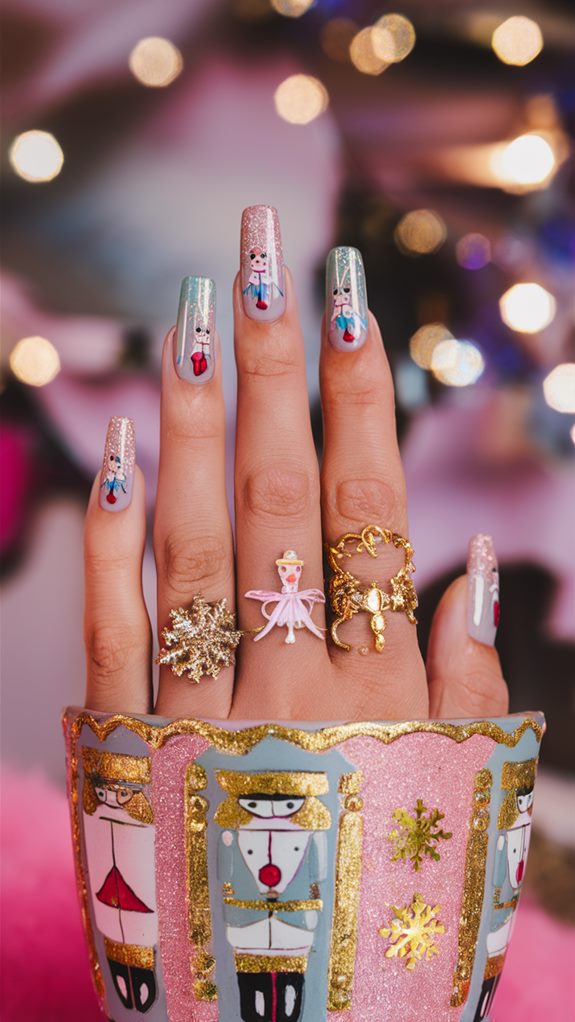
The Nutcracker Ballet nails capture the essence of a classic holiday tradition by transforming your fingertips into a whimsical stage. With a base color that mirrors the ballet’s elegance, such as deep reds or icy blues, you can showcase iconic characters like Clara and the Nutcracker Prince.
Each nail serves as a miniature canvas, allowing you to creatively depict scenes from this enchanting tale. Incorporating elements like glitter accents or rhinestones adds a sparkling touch, reminiscent of the ballet’s magical moments.
For added charm, alternate between character designs and abstract patterns like candy swirls or snowflakes. This approach not only highlights the story’s festive spirit but also lets your creativity shine in celebrating the timeless magic of the Nutcracker Ballet.
Holiday Plaid Perfection
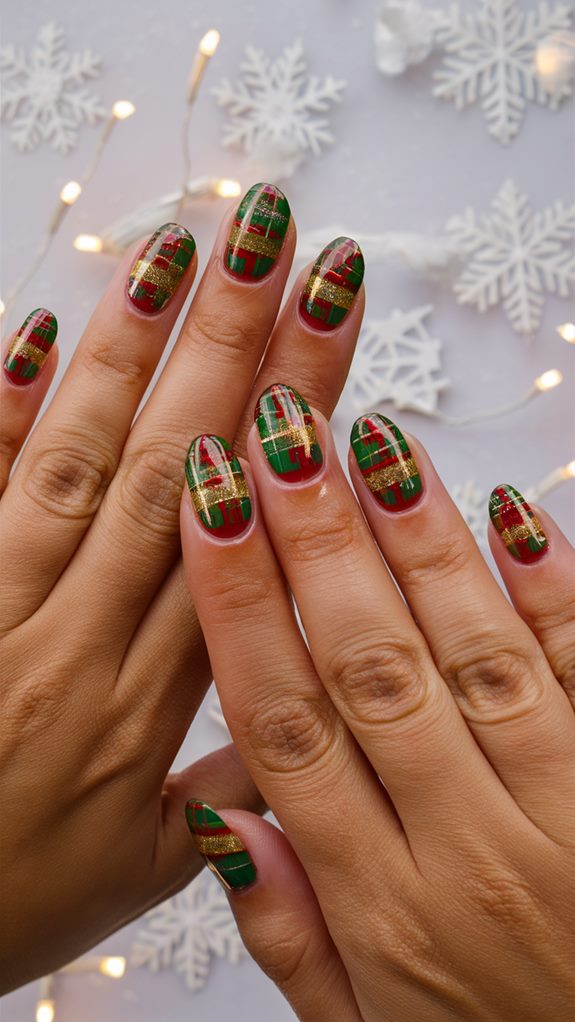
Embrace the timeless allure of Holiday Plaid Perfection, a classic nail art choice that embodies the warmth and coziness of festive gatherings.
Begin with a deep green or vibrant red base to evoke the holiday spirit, setting the perfect canvas for your plaid design. The combination of intersecting lines in contrasting colors like gold, black, or white, applied with precision, ensures a crisp and clean pattern.
To elevate your design, consider adding metallic lines for a touch of shimmer, enhancing the festive look.
Finish with a glossy topcoat to protect the intricate details and add a reflective shine that beautifully catches the holiday lights.
Wearing Holiday Plaid Perfection allows you to carry the essence of a classic winter wonderland right on your fingertips.
Festive French Tips
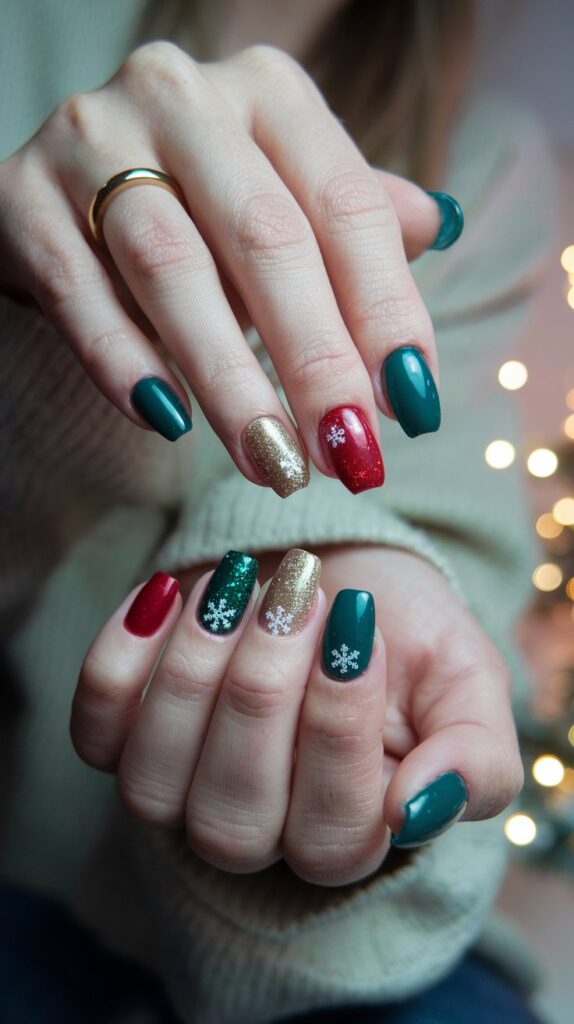
Festive French tips offer a delightful twist on the classic manicure, infusing holiday spirit into your nail art. By replacing the traditional white tip with shimmering gold or deep red, you capture the warmth of the season. Adding glitter to the tips creates a dazzling effect that beautifully catches the light.
For a playful touch, tiny snowflakes, holly berries, or metallic stripes can adorn the tips, while more ambitious designs might include miniature Christmas trees or candy cane patterns.
For those preferring subtlety, painting one or two accent nails with festive designs allows the intricate details to shine without overwhelming. Sealing with a high-gloss topcoat not only enhances the shine but also ensures longevity through holiday festivities.
Mistletoe Magic
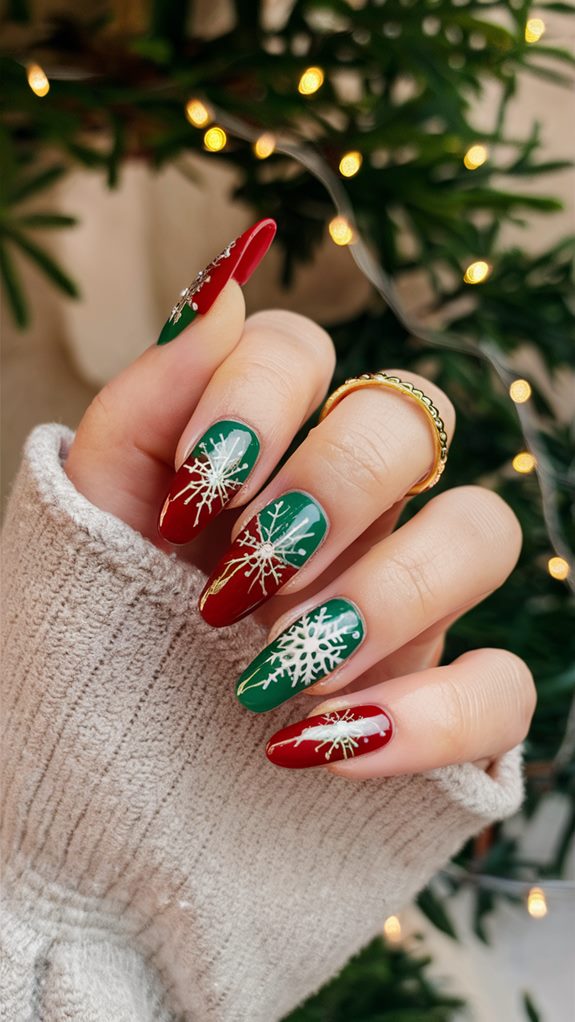
Mistletoe magic adds a captivating allure to your holiday nail art, infusing it with the spirit of the season. By utilizing deep greens and vibrant reds, you can embody the essence of this beloved Christmas emblem.
Start with a rich green base symbolizing mistletoe leaves, and enhance it with small red dots to emulate berries, crafting a striking and festive contrast.
To elevate the enchantment of your mistletoe nails, incorporate a hint of sparkle. Applying a delicate layer of glitter polish over the green base introduces a frosty sheen reminiscent of a winter wonderland.
For added charm, consider painting a gentle white bow above your mistletoe design for that quintessential holiday flair.
Vintage Christmas Lights
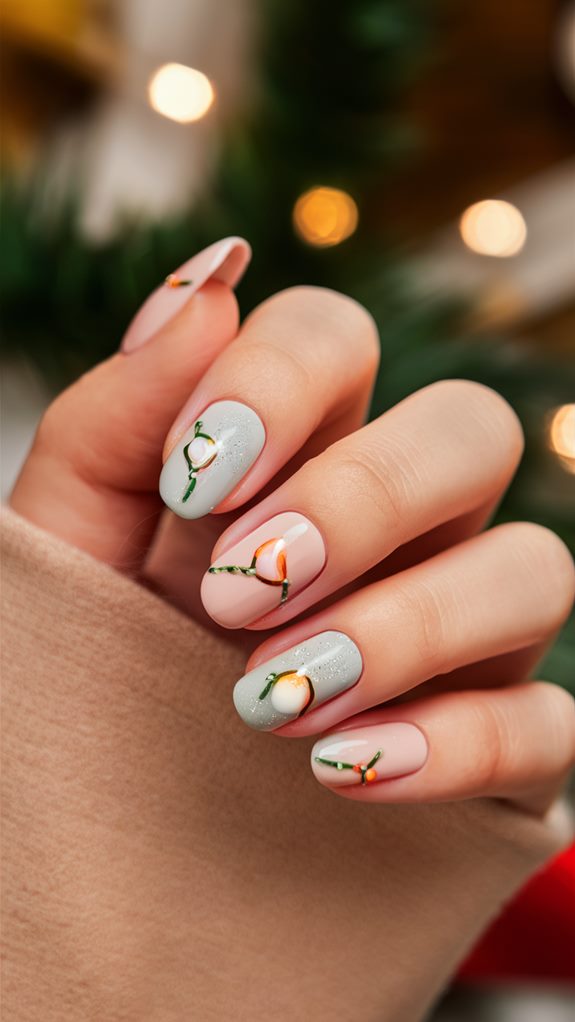
Vintage Christmas lights have an undeniable nostalgic appeal, evoking memories of simpler times with their soft, dreamy glow and retro charm.
These lights create a sense of warmth and comfort, making them a perfect inspiration for holiday-themed nail art that blends festivity with a classic touch.
To achieve this look, start by selecting a base color reminiscent of the gentle glow of these old-fashioned bulbs, such as deep reds, emerald greens, or snowy whites.
Add the vintage lights using a fine brush or nail art pen, incorporating pastel and jewel tones like soft pink, bright turquoise, or sunny yellow for the bulbs.
A sprinkle of glitter on each bulb will enhance their sparkle, and a clear top coat will ensure your nails maintain their charm throughout the holiday season.
Icicle Drip Glam
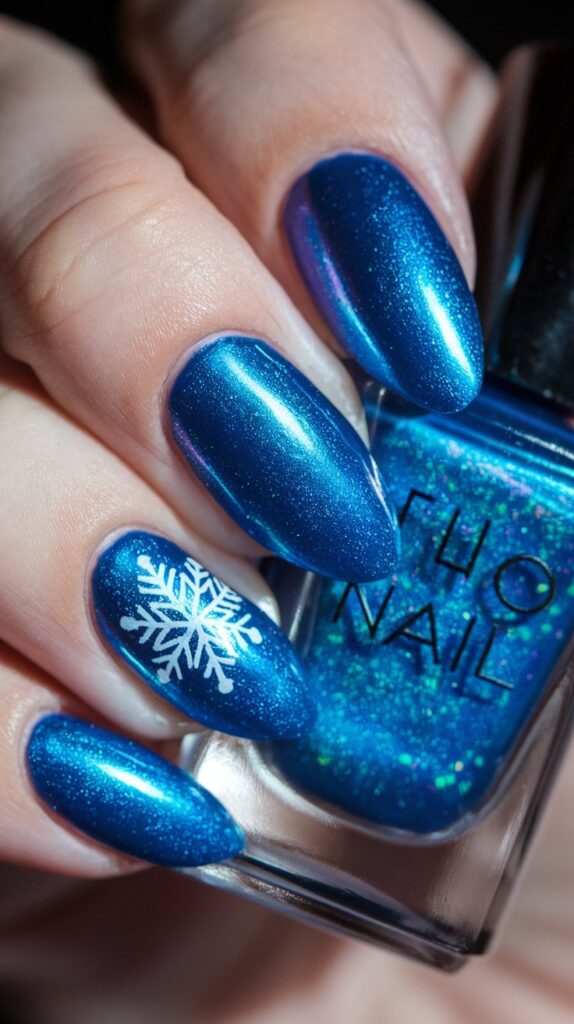
The “Icicle Drip Glam” manicure offers a modern, frosty elegance that captures the essence of a snowy holiday landscape. This look combines cool, icy tones with a touch of sparkle, ensuring your nails become the centerpiece at any festive gathering.
The design begins with a base coat of crisp, pale blue or silvery white, followed by glittery silver drip patterns to mimic melting icicles.
To enhance the glossy effect, a layer of clear topcoat is applied, making your nails shine like freshly fallen snow.
Experimenting with drip lengths or adding rhinestones can provide extra glam, making this style versatile for both short and long nails.
Embrace the winter season with flair and sophistication through the “Icicle Drip Glam” style.

