21 Hello Kitty Christmas Nails for Extra Glam
Get into the holiday spirit with these 21 adorable Hello Kitty Christmas nail designs perfect for fans of all ages. Imagine festive styles with classic red and white, adorned with Hello Kitty’s iconic bow, or opt for glittering snowflakes against a frosty blue base.
Candy cane stripes, holly accents, and cozy sweater motifs bring a playful touch to your manicure. For something unique, try warm cocoa tones or a midnight sky filled with twinkling stars. Whether you prefer bold colors or subtle embellishments, these designs offer endless festive combinations. Discover the magic these nail ideas bring to the season’s celebrations.
Classic Red and White
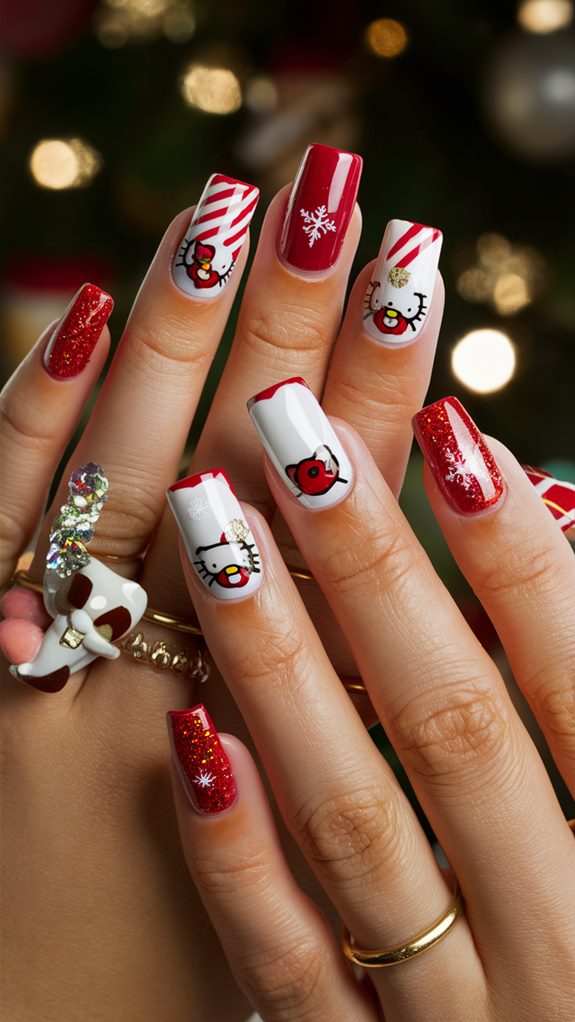
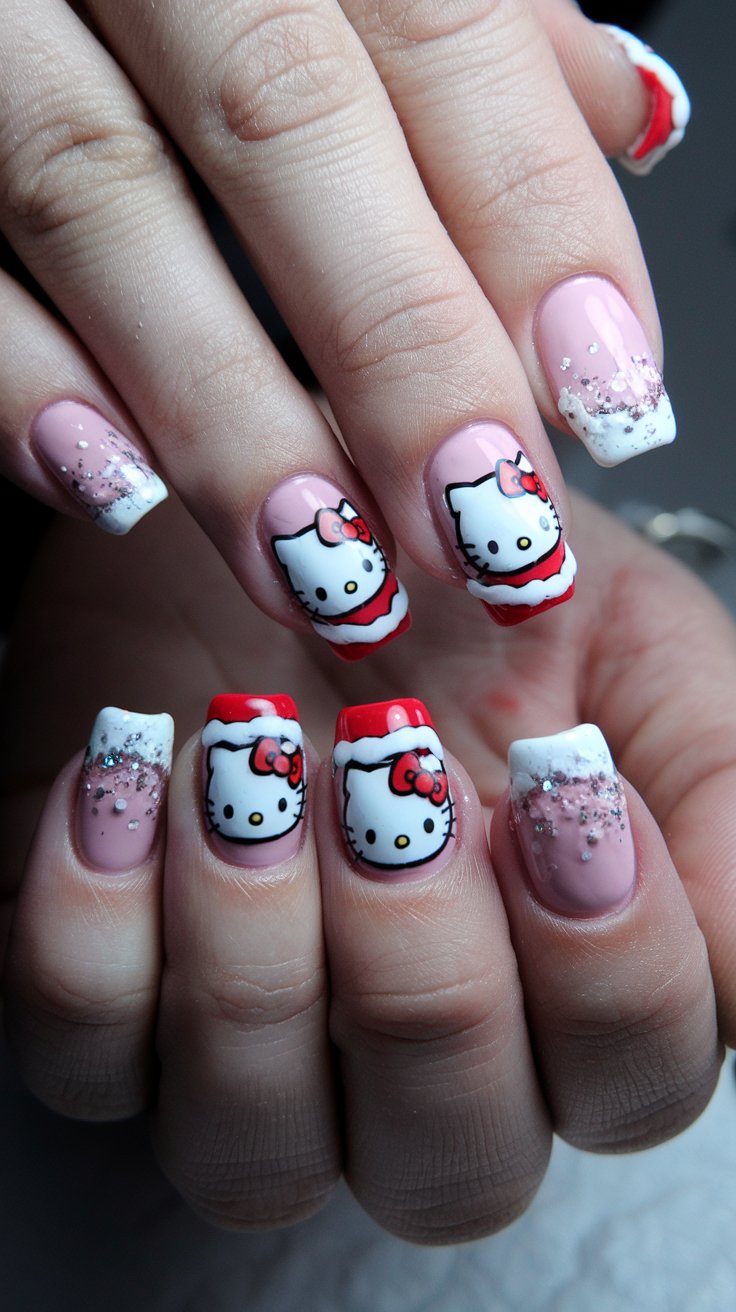
When it comes to Hello Kitty Christmas nails, the classic red and white color scheme is a timeless choice that captures the festive spirit effortlessly.
Begin with a vibrant red polish for your nails, evoking the joy and warmth of the holiday season. This cheerful hue provides the ideal canvas for adding adorable Hello Kitty designs, enhancing the festive theme.
To incorporate Hello Kitty, use a crisp white polish to create her face on one or two accent nails. You can paint her iconic bow in the same red, or choose a soft pink for a contrasting touch.
Enhance the festive vibe with white polka dots on the red nails, and seal everything with a clear topcoat to ensure your design lasts through all your holiday celebrations.
Glittering Snowflakes
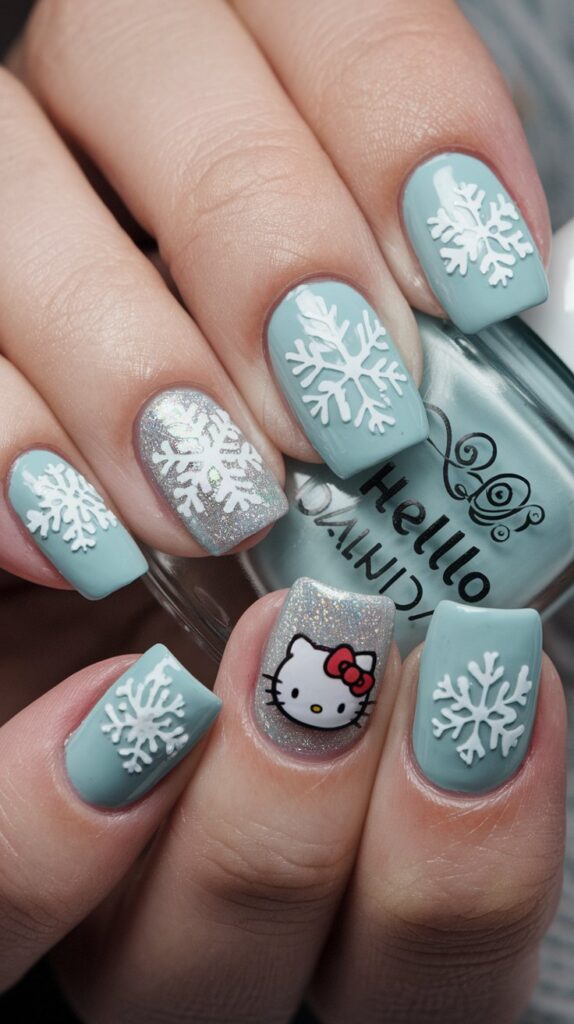
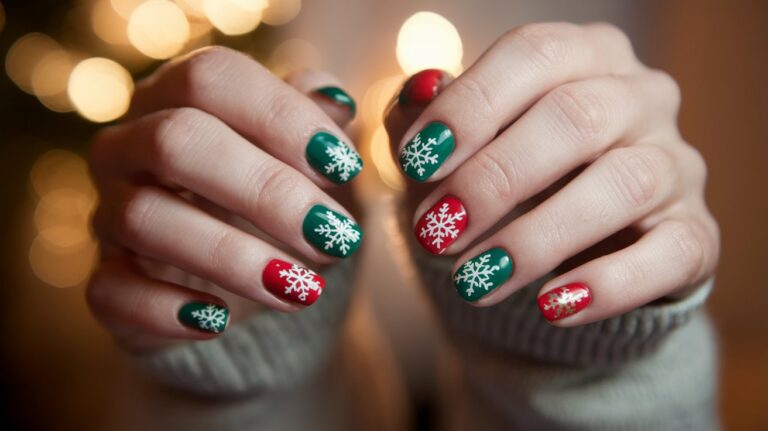
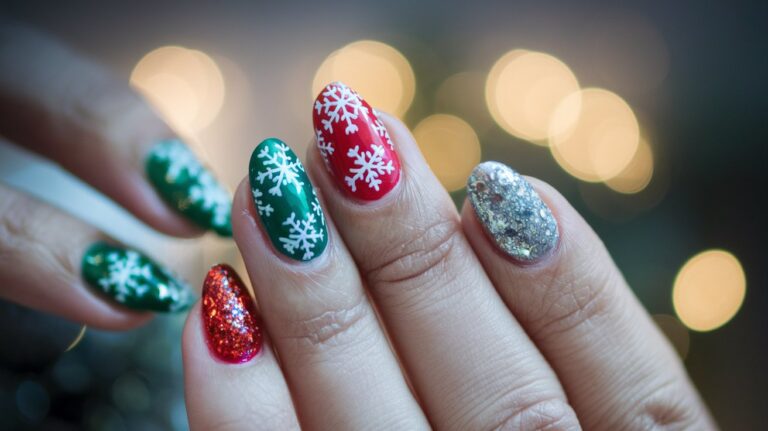
Glittering snowflakes add a magical winter touch to your Hello Kitty Christmas nails.
Begin by choosing a base color that enhances your design, such as a soft pastel blue or classic white. Once your base is dry, use a fine nail art brush or a stamping plate to create intricate snowflake patterns for a dazzling effect.
For a whimsical touch, apply a holographic glitter polish over the snowflakes, making them shimmer with every movement.
Even simple snowflake designs can look stunning, especially when focusing on a few standout snowflakes on an accent nail.
Seal your design with a clear topcoat to ensure longevity and add extra shine, bringing a frosty charm to your holiday look.
Santa Hat Accents
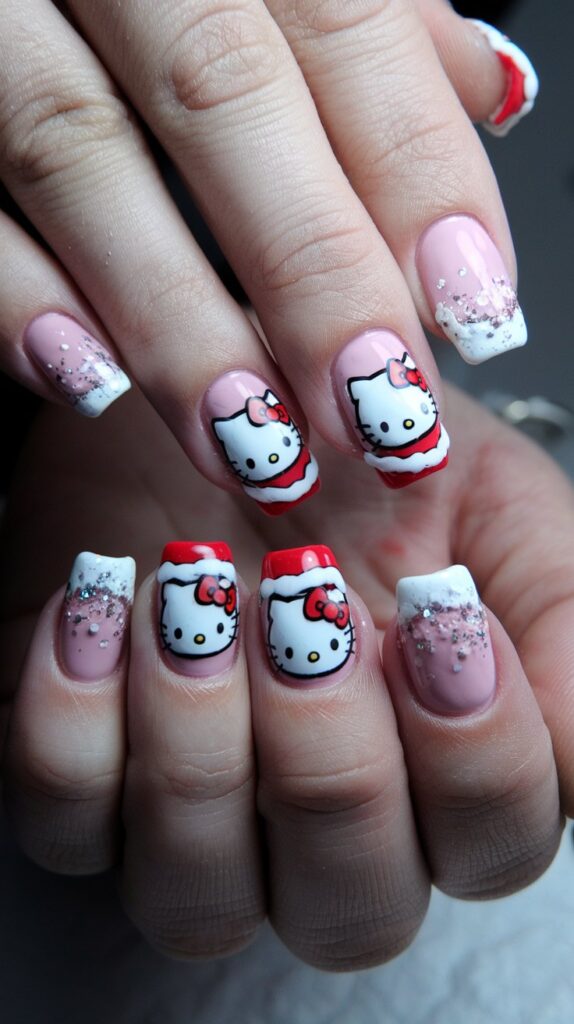
Enhance your Hello Kitty Christmas nails with adorable Santa hat accents that embody the holiday spirit.
Begin by selecting a base color, such as soft pink or pure white, that harmonizes with Hello Kitty’s iconic style. This foundational color sets the perfect backdrop for your festive nail art.
To create the Santa hats, use red polish to paint a small triangle at the tip of each nail, leaving space for the fluffy trim.
With a fine detail brush, outline the triangle’s base with white polish to form the brim and add a tiny dot at the tip for the pom-pom.
For extra sparkle, apply glitter polish on the white areas to imitate snow, and finish with a clear top coat for a polished look.
Festive Candy Cane Stripes
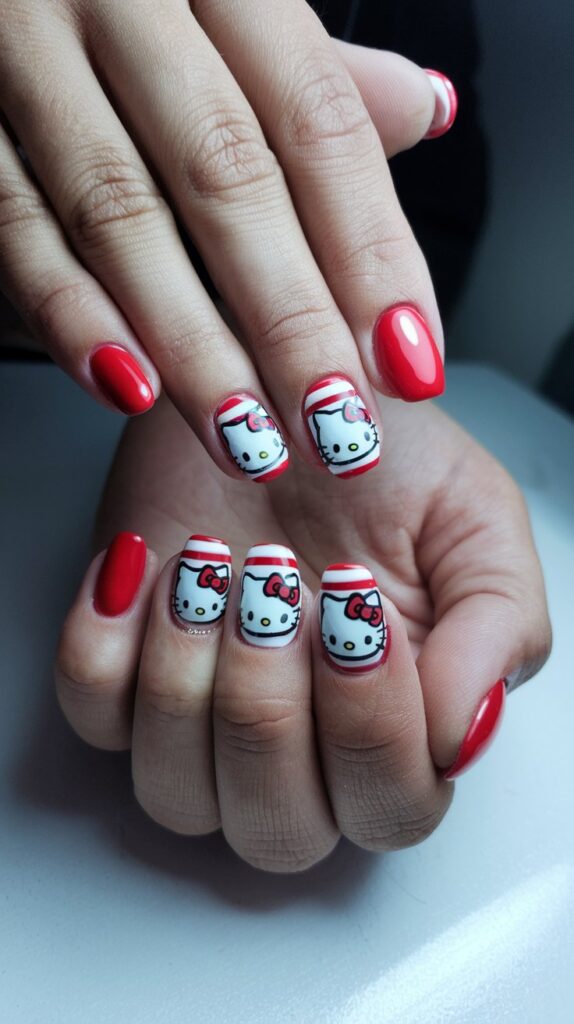
Add a festive touch to your Hello Kitty Christmas nails with candy cane stripes. These iconic red and white lines embody the holiday spirit and introduce a playful twist to your nail design.
Start with a vibrant red polish and a crisp white to achieve the classic candy cane look, ensuring to apply a base coat first for protection and color vibrancy.
After the base coat dries, apply two layers of red polish, then create diagonal white stripes using a thin nail art brush or striping tape. Keep the lines evenly spaced for a neat appearance, or alternate colors for a creative twist.
Finish with a top coat to seal the design, enhance shine, and pair with Hello Kitty motifs for delightful holiday-themed nail art.
Holly and Berries
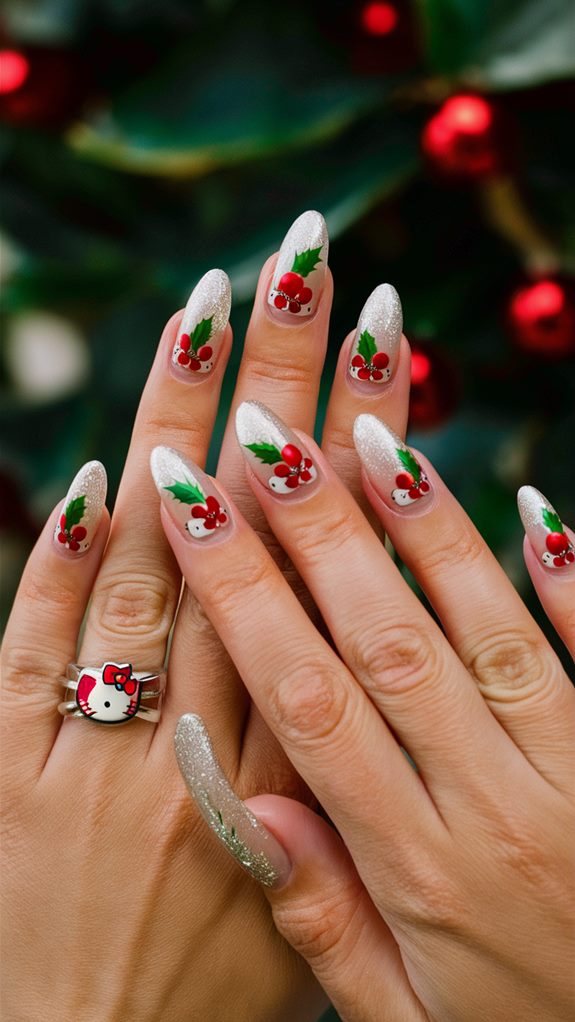
Incorporating holly and berries into your Hello Kitty Christmas manicure brings a touch of holiday charm to your nails.
Start with a base color like soft winter white or classic deep red to set the festive tone. Once dry, use a thin brush or nail art pen to sketch vibrant green holly leaves that pop against the background.
Get creative with the berries by using a small dotting tool or the end of a bobby pin to add tiny red dots near the leaves. Enhance the sparkle with glittery red polish or small rhinestones to mimic the glistening effect of real berries.
Balance the design by spacing holly clusters evenly or highlighting one or two nails with detailed art, ensuring a festive yet elegant look.
Snowy Winter Wonderland
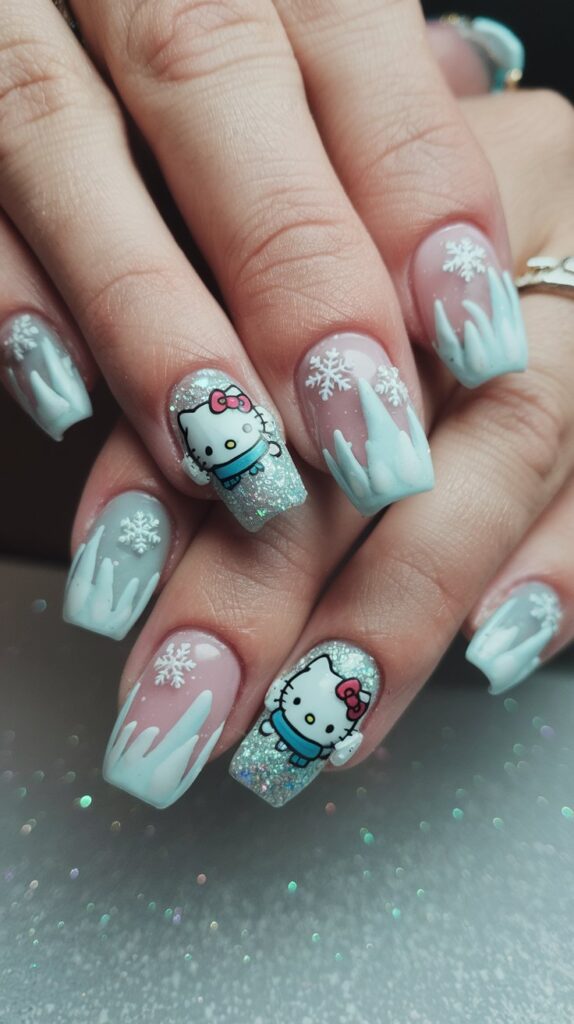
Transform your Hello Kitty Christmas manicure into a snowy winter wonderland by envisioning a tranquil, frosty scene on your nails.
Start with a soft, icy blue base to reflect a clear winter sky, then use white polish to craft fluffy snow drifts, creating the effect of fresh snow. Delicate snowflakes can be added with a fine nail art brush or dotting tool, capturing the intricate beauty of a snowy day.
Incorporate Hello Kitty with decals or stickers showing her in winter attire, like a cozy scarf or earmuffs, placing her within the snowy landscape.
Add a festive sparkle with a glitter top coat to mimic sunlight on snow. Consider small, silver or light blue rhinestones for icy accents, ensuring your nails shimmer and reflect the magic of winter, combining Hello Kitty charm with wintry elegance.
Cozy Christmas Sweaters
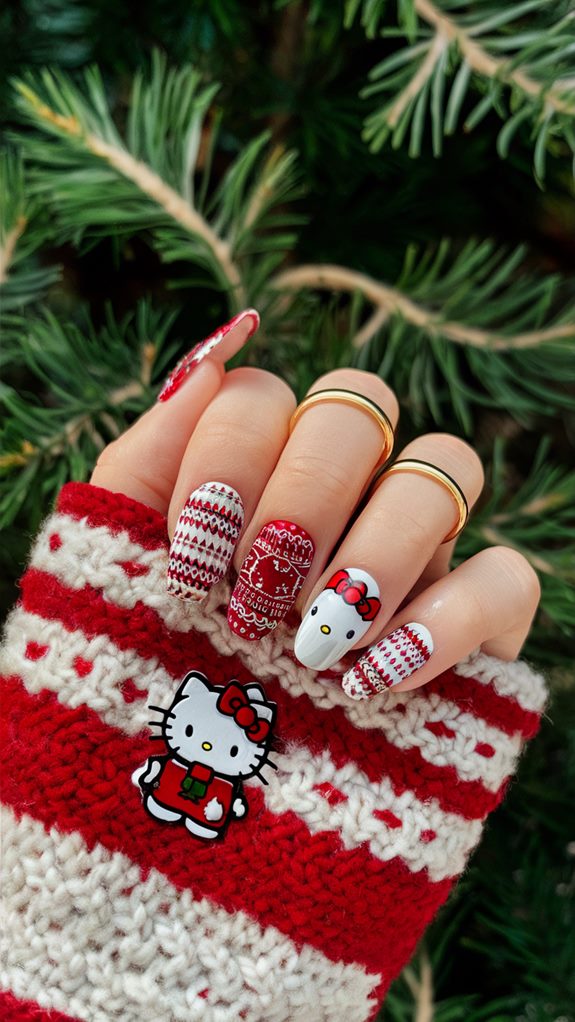
Transform your nails into cozy Christmas sweaters adorned with Hello Kitty, capturing the essence of warmth and nostalgia.
Envision holiday sweater patterns woven with festive reds, greens, and winter whites, each nail narrating its own cozy tale. Start with a base coat mimicking the texture of a knitted sweater, using rich colors like cranberry red or forest green.
Incorporate designs that echo the comfort of a holiday sweater, featuring classic motifs like snowflakes, reindeer, or Hello Kitty in festive attire.
For a whimsical touch, add gold or silver accents using nail art pens or stickers to enhance the sweater effect. Seal your creation with a glossy top coat, ensuring your sweater nails shine throughout all festive gatherings.
Golden Bells and Bows
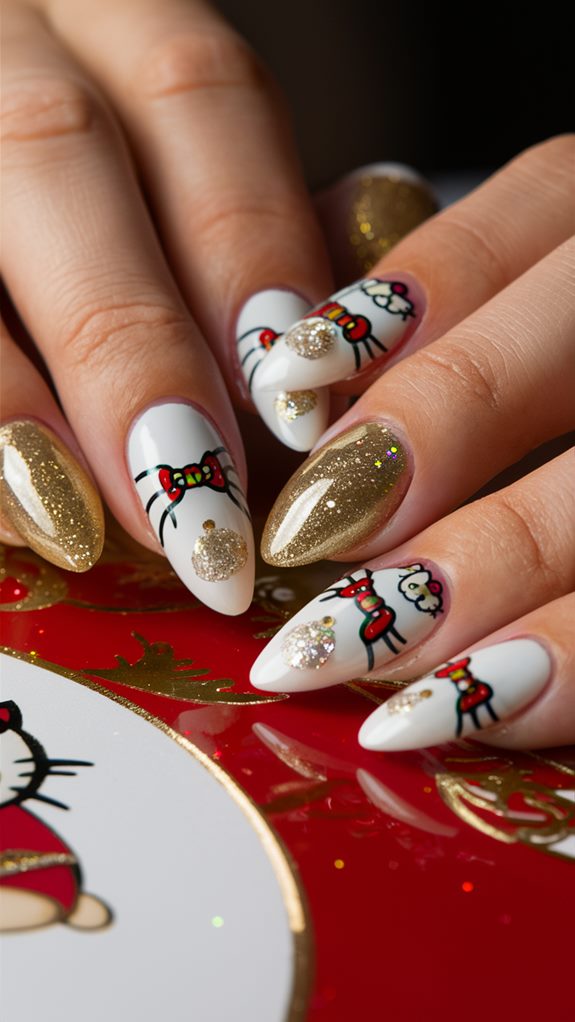
“Golden Bells and Bows” is a sophisticated holiday manicure that exudes elegance through the use of shimmering gold.
Begin by applying a rich golden polish as your base, opting for a metallic or glitter finish to ensure your nails sparkle with every movement. This luxurious choice sets a festive tone, offering a perfect backdrop for the intricate designs to follow.
Enhance your manicure with iconic elements like delicate golden bells and contrasting bows in deep red or classic black.
Whether painted freehand or applied using nail stickers, these details add a whimsical touch to your nails. To amplify the holiday magic, integrate rhinestones or studs, placing them at the center of the bows or atop the bells, and finish with a high-gloss topcoat for a polished look.
Frosty Blue Hues
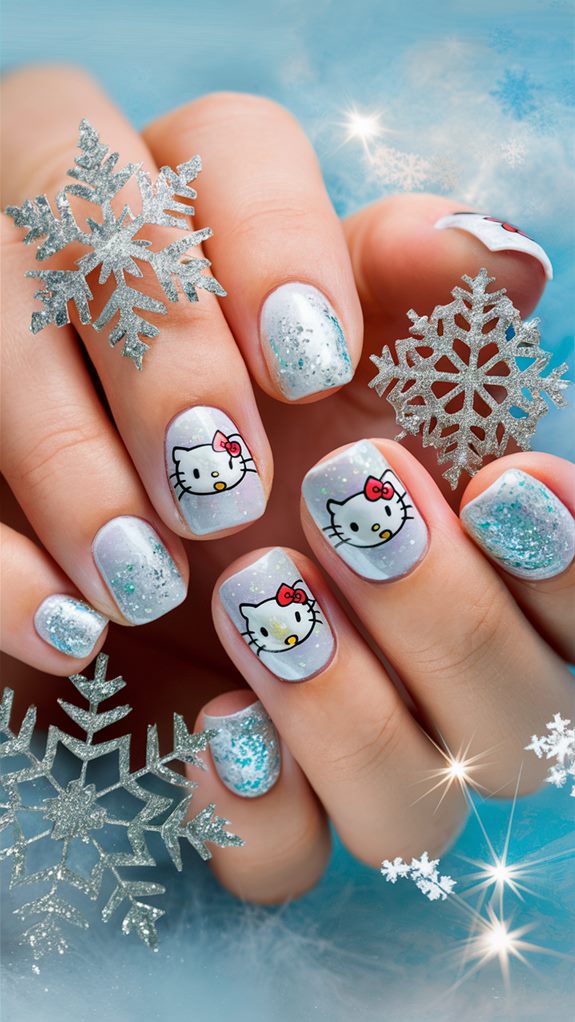
“Frosty Blue Hues” is a nail art design that encapsulates the serene beauty of winter. It features a blend of cool blues and shimmering silvers, reminiscent of icy landscapes and glistening snow. The design is perfect for those who appreciate the magical and tranquil feel of a winter wonderland.
To achieve this look, start with a pale blue base that reflects the crispness of winter skies. Enhance the tips with a touch of silver glitter for a frosty effect, creating a gradient that mirrors sunlight on snow.
Add tiny snowflake decals or hand-drawn designs for extra charm, and finish with a glossy top coat to seal and shine.
Reindeer and Sleigh
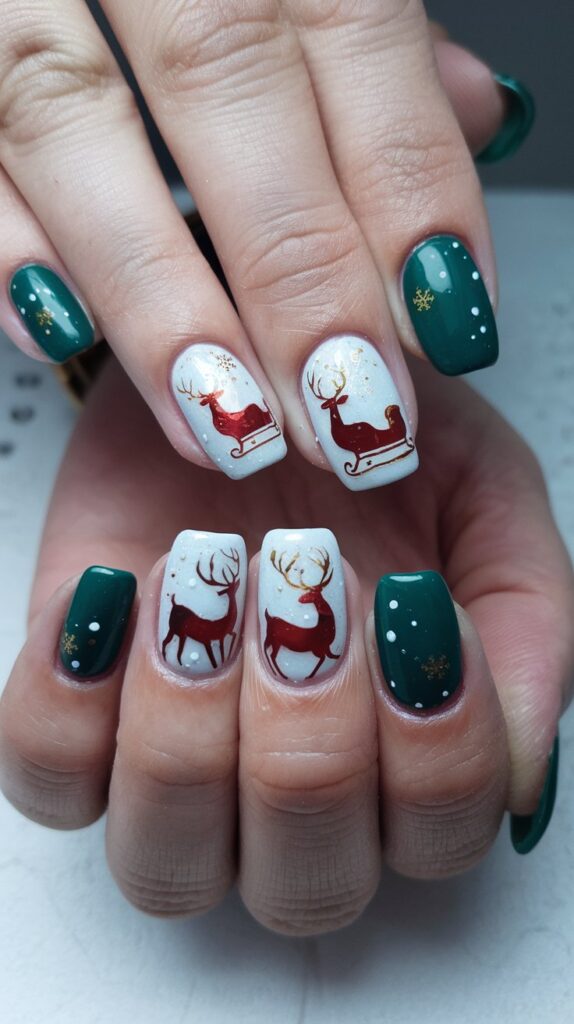
The “Reindeer and Sleigh” nail art design brings the festive spirit of the holidays to your fingertips with an enchanting and whimsical look.
Begin with a soft, snowy base color like white or light blue to evoke a winter wonderland. Add a graceful reindeer silhouette, featuring antlers and a red nose to capture the charm of Rudolph.
Complement the reindeer with a classic sleigh painted in a rich red or green, creating a striking contrast against the snowy background. Enhance the festive feel with gold accents or tiny snowflakes around the sleigh.
For added sparkle, incorporate a touch of glitter to mimic the twinkling lights of a winter night, resulting in a nail art masterpiece perfect for any holiday gathering.
Christmas Tree Charms
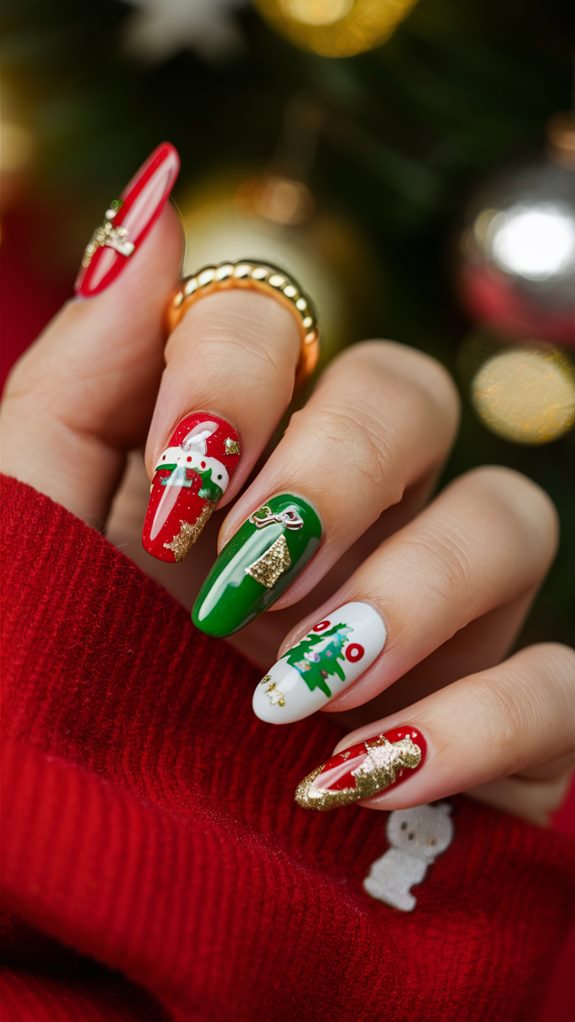
Christmas Tree Charms are delightful nail decorations that encapsulate the spirit of the holiday season in miniature form.
These tiny embellishments come in various designs, ranging from simple to intricate, often featuring miniature ornaments and stars. They offer a festive touch to your manicure, transforming your nails into a holiday celebration.
To apply these charms, first, select a base color that complements the design, such as rich greens or shimmering silvers.
Once your base coat is dry, secure the charms with a small amount of nail glue. For additional festive flair, consider adding subtle nail art like white dots for snowflakes or thin garlands, and finish with a clear topcoat to keep your design intact throughout the holiday festivities.
Gingerbread Cookie Designs
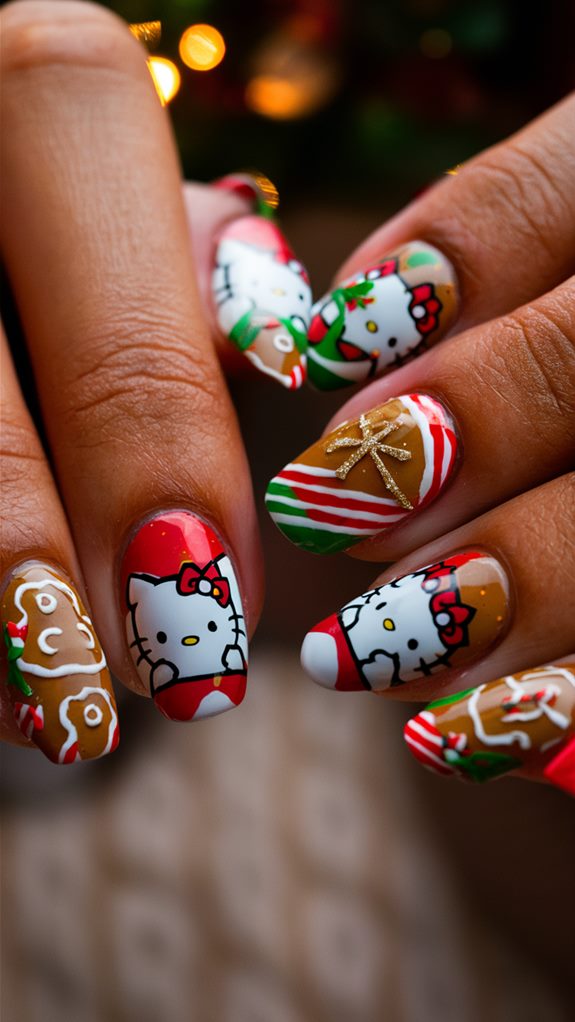
Gingerbread cookie designs capture the whimsical essence of the holiday season with playful charm.
Start by selecting a warm base color, like caramel or cinnamon, reminiscent of gingerbread dough. This sets the stage for delightful gingerbread figures that dance across your nails, spreading festive cheer.
Using a fine brush or nail art pen, outline and fill in the classic cookie shapes in a light brown shade. Add personality with tiny white dots for eyes and buttons, and embellishments like red bow ties or scarves.
Complete your festive look with additional accents such as gumdrop buttons or candy canes, sealed with a glossy top coat for a lasting finish.
Mistletoe Magic
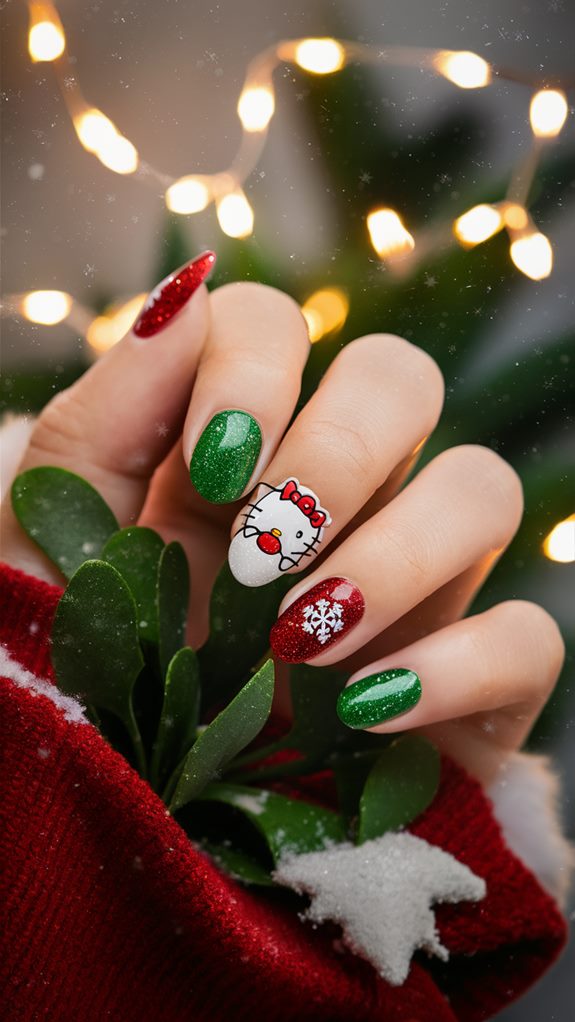
Mistletoe-inspired nail art captures the essence of the holiday season with its charming and festive design. The classic combination of deep red or crisp white base colors provides a perfect canvas for the intricate mistletoe patterns.
By using a fine nail brush and dotting tool, you can create detailed green leaves and clusters of red berries, bringing a touch of seasonal cheer to your fingertips.
To enhance the playful spirit of your nail art, consider adding a tiny Hello Kitty decal as an accent. This detail not only complements the whimsical theme but also adds a unique twist to your holiday look.
Finish with a glossy topcoat to ensure your festive design remains vibrant and protected throughout the celebrations.
Elegant Silver Sparkle
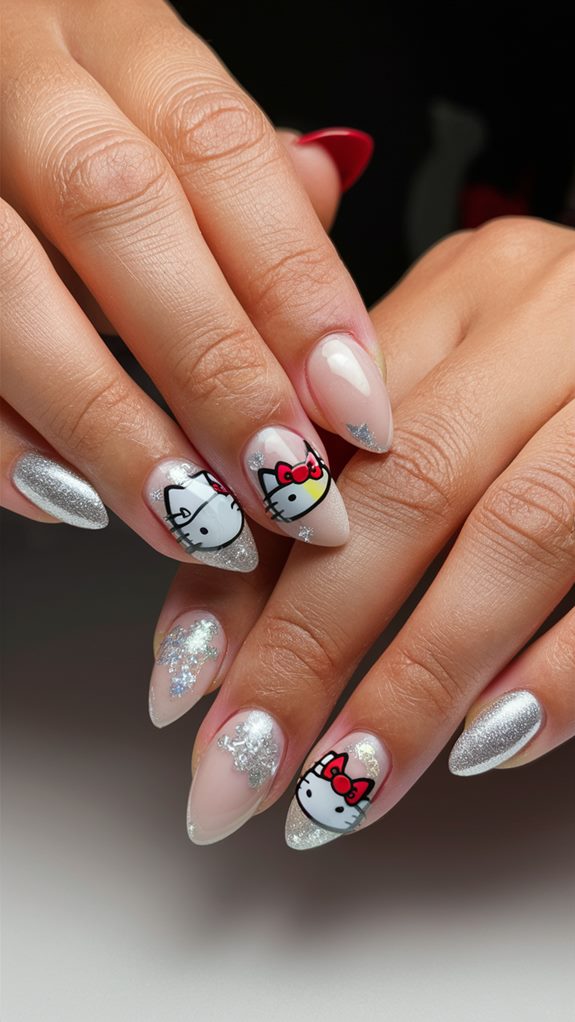
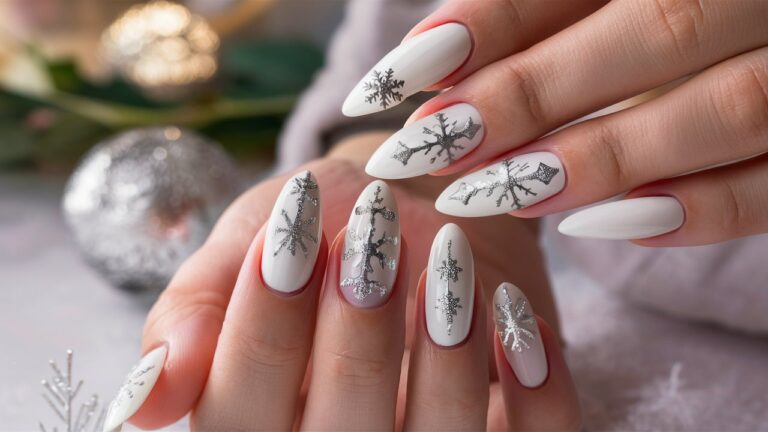
Adding an elegant silver sparkle to your holiday nails enhances their festive charm with a touch of sophistication. Silver sparkles mimic the glistening effect of snowflakes and shimmering tinsel, encapsulating the holiday spirit beautifully.
By layering a subtle silver glitter over a creamy white or soft pink base, you achieve a chic and graceful look perfect for holiday gatherings.
Begin by ensuring your nails are clean and shaped to your preference, then apply a base coat for protection and longevity. Once dry, select a soft, neutral hue as your base color before gently applying silver glitter polish—either fully covering the nail or creating a delicate gradient from the tips.
Finish with a high-gloss top coat to seal the design, adding a dazzling shine that makes your nails enchantingly festive.
Peppermint Swirl Delight
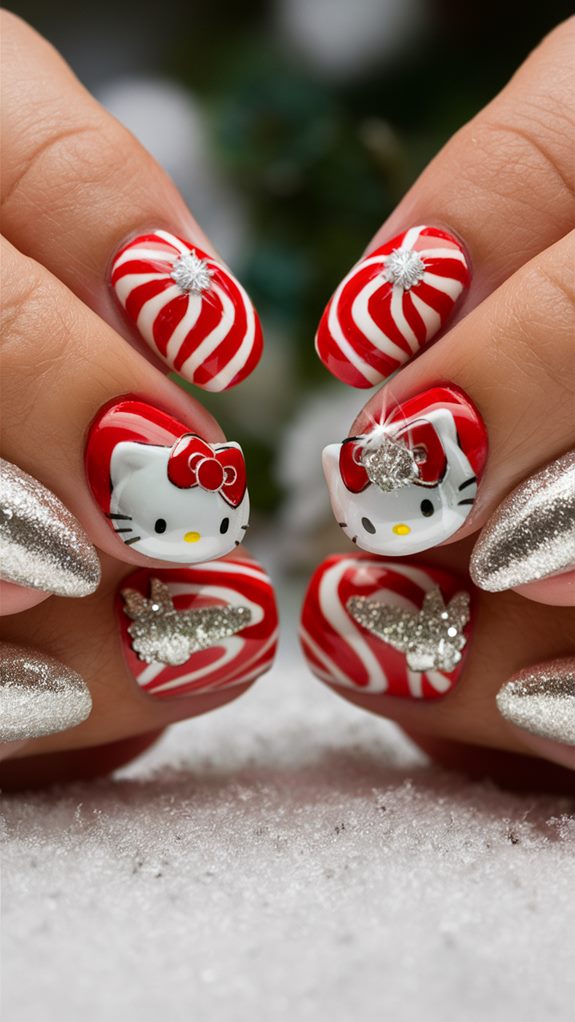
Capture the sweet essence of the season with Peppermint Swirl Delight nails. These captivating designs channel the refreshing charm of candy canes, bringing a festive touch to your fingertips.
To start, choose a crisp white polish as your base. This clean slate will make the red swirls pop, just like your favorite holiday treat. Once your base coats are dry, use a thin nail art brush to create those iconic red swirls. Don’t worry about making them perfect; natural variations add charm and authenticity.
Next, add a touch of whimsy by incorporating tiny Hello Kitty decals. Place them strategically to balance the bold swirls with a playful twist. The subtle addition of Hello Kitty adds a unique, adorable element that stands out.
Seal your art with a glossy top coat. It not only keeps your design intact but also adds a stunning shine that mimics the gloss of real candy.
Holiday Plaid Patterns

Holiday Plaid Patterns bring a sense of warmth and nostalgia, perfect for seasonal nail art.
Start by selecting a base color like deep red or forest green to capture traditional holiday tones. Then, use thin stripes of white, gold, or black to create the plaid effect, employing a fine nail art brush or nail tape for precision.
To add a playful twist, incorporate tiny Hello Kitty faces or bows into the plaid pattern on one or two accent nails. This keeps the design sophisticated yet fun.
Finish with a glossy topcoat to ensure your plaid nails remain vibrant throughout the holiday season.
Jingle Bell Details
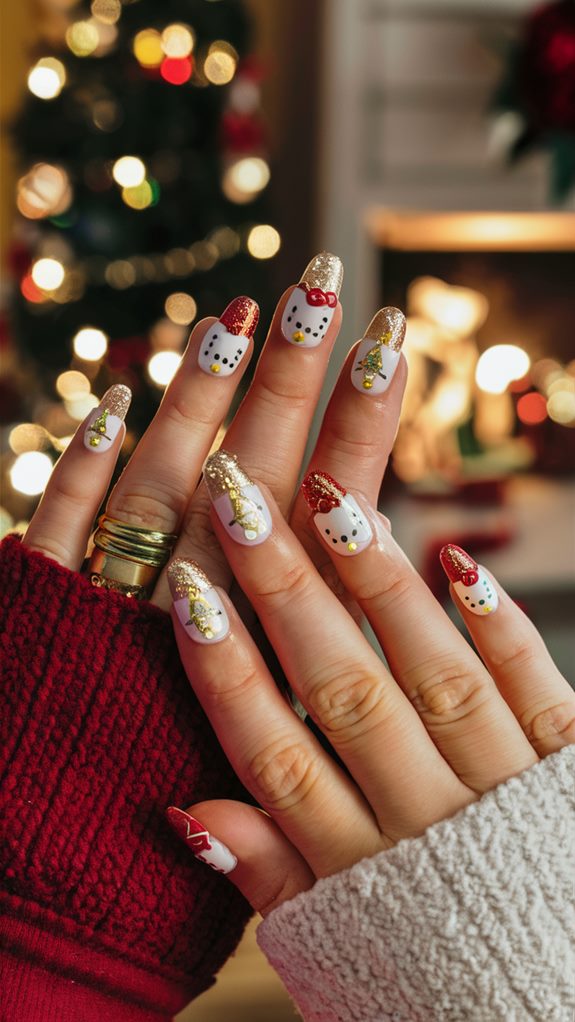
Enhancing your Hello Kitty Christmas nails with jingle bell details adds a whimsical and charming touch to your festive look. Incorporating tiny jingle bells introduces a playful element, perfectly capturing the spirit of the holiday season. Secure these miniature accents with nail glue to ensure they stay put throughout your festivities.
Choose bells in traditional gold and silver tones for a classic appeal, or opt for colored bells to match any additional designs you’ve selected.
Pair them with the iconic Hello Kitty bow or a snowflake pattern for a cohesive and eye-catching look. As you move, the delightful jingling sound will capture the magic of the holiday season with every gesture.
Warm Cocoa Tones
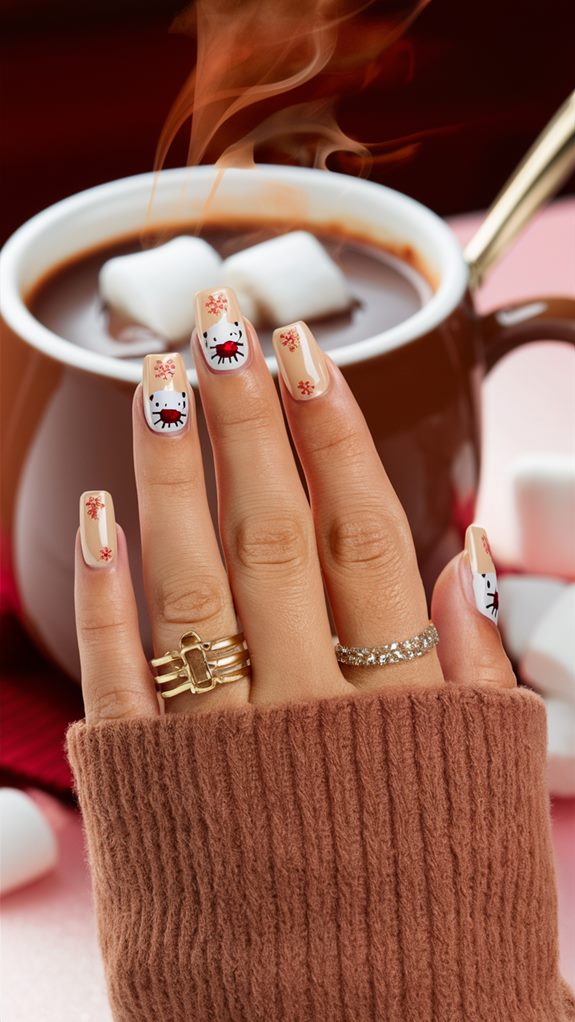
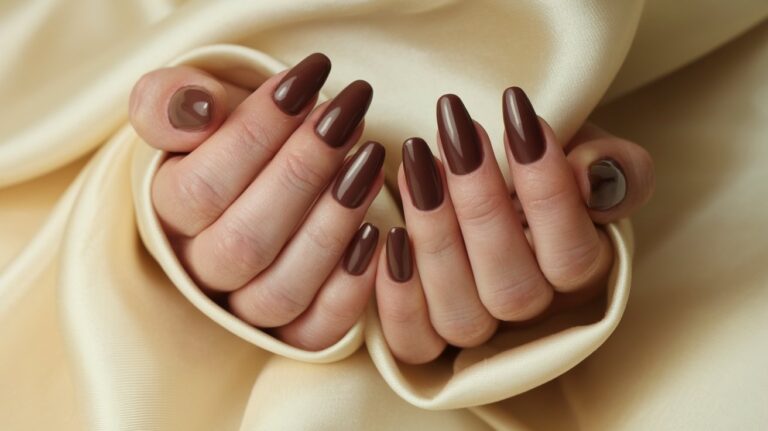
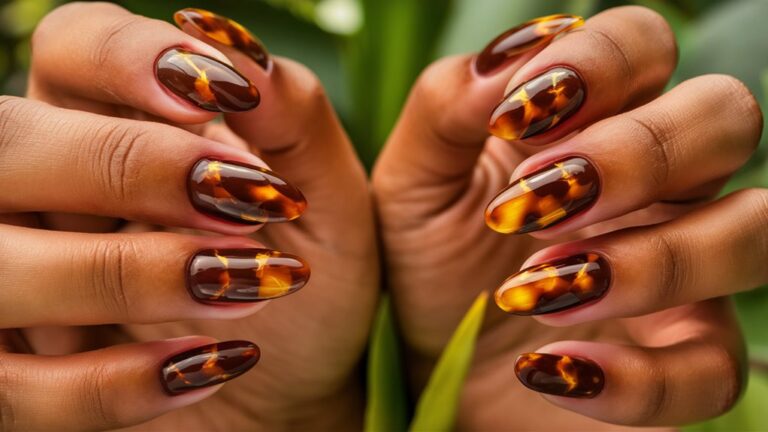
Warm cocoa tones on your nails evoke the cozy comfort of sipping hot chocolate by a crackling fire. Start by choosing rich, velvety shades of brown to form a lush backdrop for your festive nail design. These hues capture the essence of warmth and elegance, setting the stage for playful and cozy holiday art.
Enhance the depth of this base with subtle creamy beige or caramel accents, adding dimension without overshadowing the main design elements. Consider delicate swirls or stripes using a fine brush to mimic the frothy swirls in a cup of cocoa.
A touch of gold or bronze glitter polish can add a festive shimmer, reminiscent of twinkling holiday lights, ensuring your nails remain chic and inviting.
Starry Night Sky
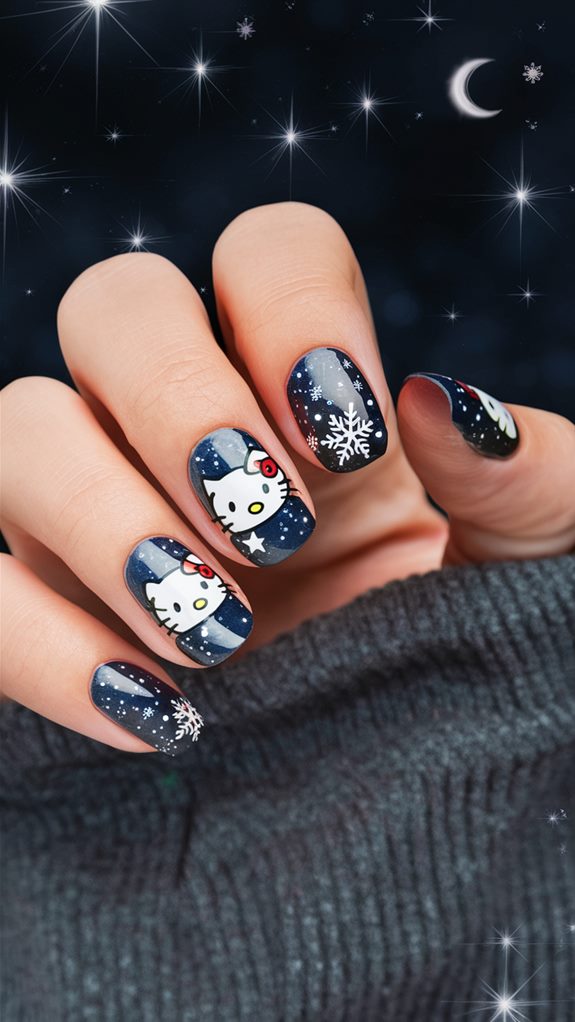
Create a captivating nail art design inspired by the starry night sky as the holiday season approaches. Start with a deep, midnight blue or rich indigo base to reflect the expanse of a winter sky, applying two coats for an even, opaque finish.
Once dry, add tiny stars with metallic silver or shimmering white polish, using a thin brush or toothpick for precise detailing.
Enhance the celestial theme by incorporating the Milky Way with a glittery gradient. Use a sponge to dab a mix of fine and chunky glitters, blending from the cuticle towards the tip for a seamless transition. This creates a captivating effect that mirrors the glow of a galaxy.
Christmas Pudding Accents
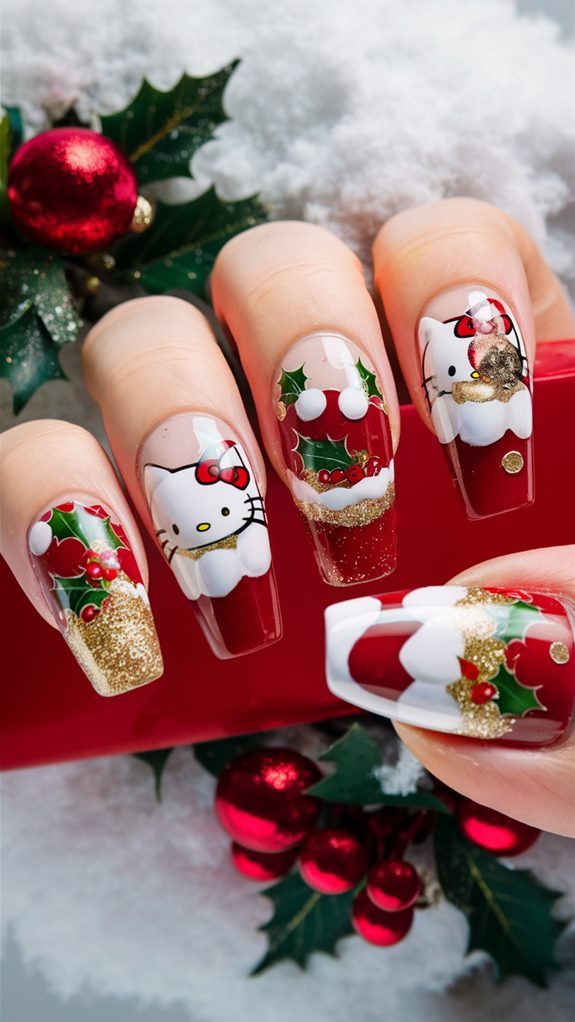
Christmas pudding accents on holiday nails offer a cozy and festive charm that perfectly captures the warmth and nostalgia of the season.
Imagine the rich colors of this classic dessert: deep browns, creamy whites, and pops of red or green, creating a delightful nod to holiday traditions. These hues come together to create a playful yet chic design that embodies the spirit of the season.
Begin with a warm, chocolatey brown base and add a dollop of white polish to mimic the icing. The imperfect drizzle adds to the charm, and tiny red holly berries with green leaves create the perfect finishing touch.
Festive Fair Isle Prints
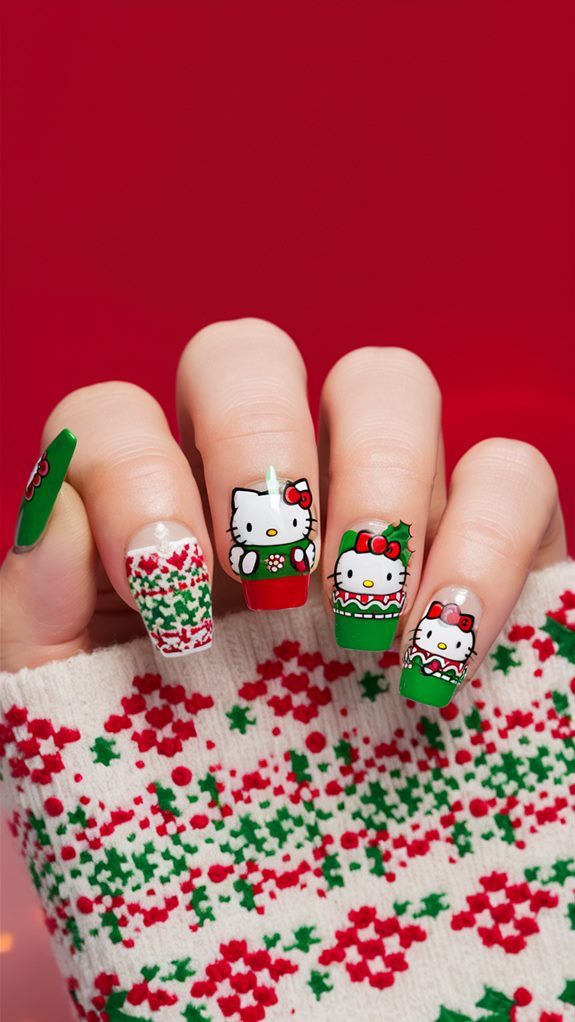
Festive Fair Isle prints add a cozy and winter-inspired charm to holiday nails, echoing the timeless knitwear patterns we all love. Imagine those detailed snowflakes, reindeer, and zigzag lines from your favorite winter sweater brought to life on your nails.
With some precision and the right tools, you can recreate this delightful design. Begin with a neutral base color, like cream or soft gray, to highlight the Fair Isle pattern. Use a fine nail brush or a dotting tool to craft symmetrical motifs like tiny hearts or snowflakes, complemented by geometric lines.
For a playful twist, consider adding Hello Kitty’s bow or face into the mix, and explore unconventional colors like icy blues, chic blacks, or metallics to give a modern flair.

