21 Gel Beach Nails
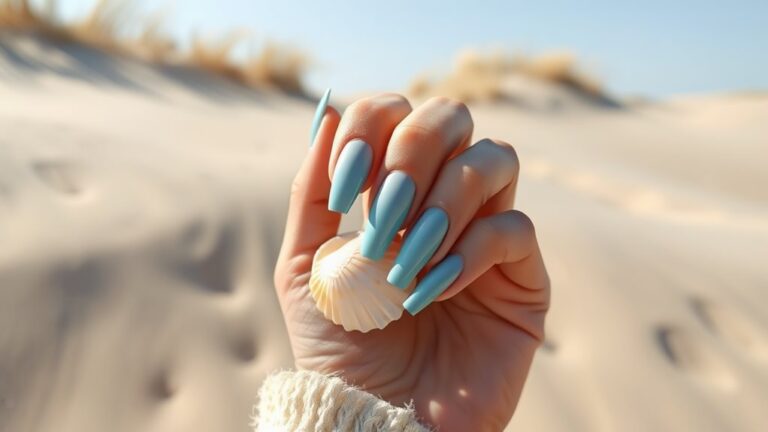
Get ready to transform your nails with 21 gel beach nail designs inspired by oceanic and tropical themes. Imagine coral sunset ombres, ocean wave swirls, and tropical palm leaves gracing your fingertips.
Feel the maritime charm of nautical stripes or the playful vibe of beach ball brights. Each design brings beachy elegance, ensuring your nails turn heads. Not sure why gel over acrylic? this breakdown of the differences covers it. Otherwise, dive deeper to discover techniques and tips that’ll bring these vibrant seaside masterpieces to life.
Coral Sunset Ombre
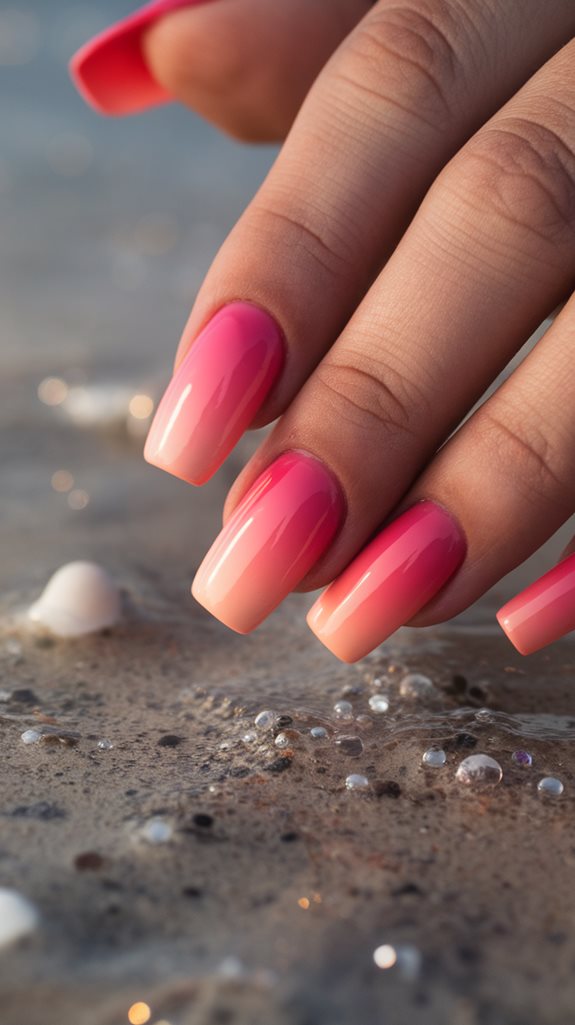
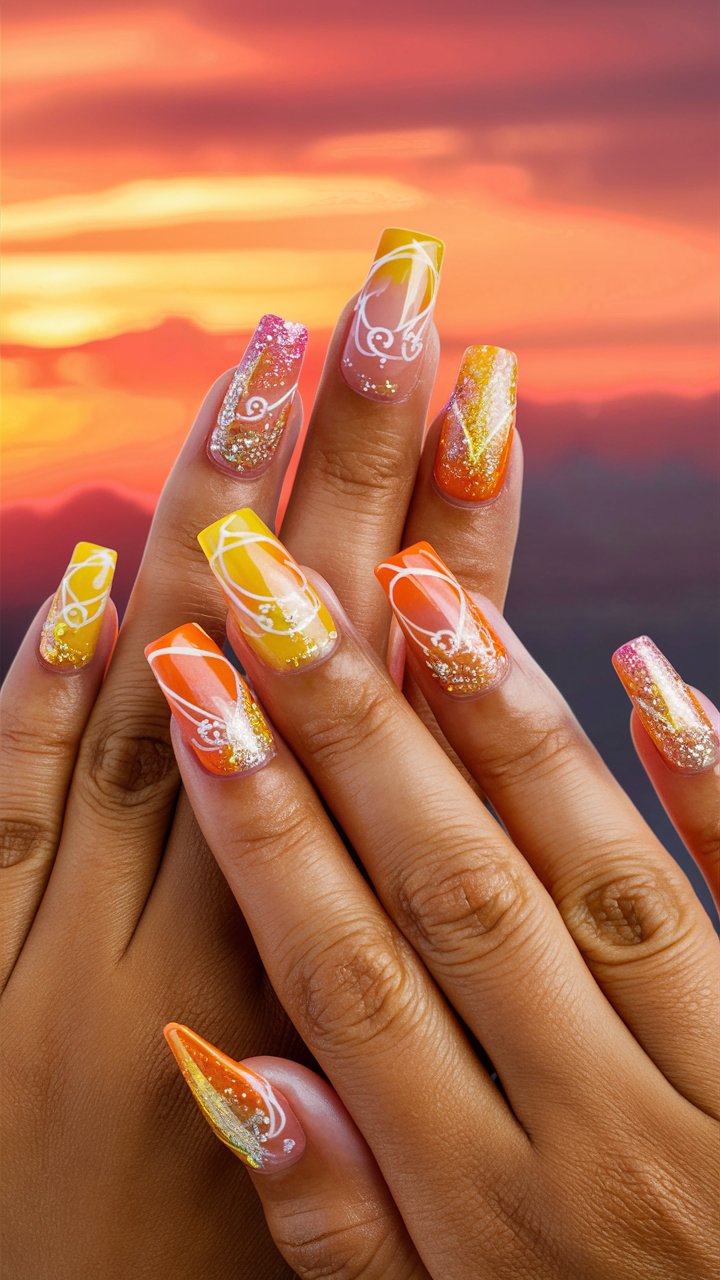
Picture the moment the sun drops behind the horizon and the sky turns from deep coral to soft peach in under a minute. That’s the reference photo for this ombre.
The transition works because it moves through three shades instead of two: deep coral at the cuticle, a coral-peach blend in the middle, and pale peach at the tip.
Start with a base coat, then use a small makeup sponge to dab layers of coral and peach gel polish onto the nail, blending where the colors meet.
Two thin coats blend better than one thick one. Finish with a clear top coat for shine and to lock in the gradient.
Tropical Palm Leaves
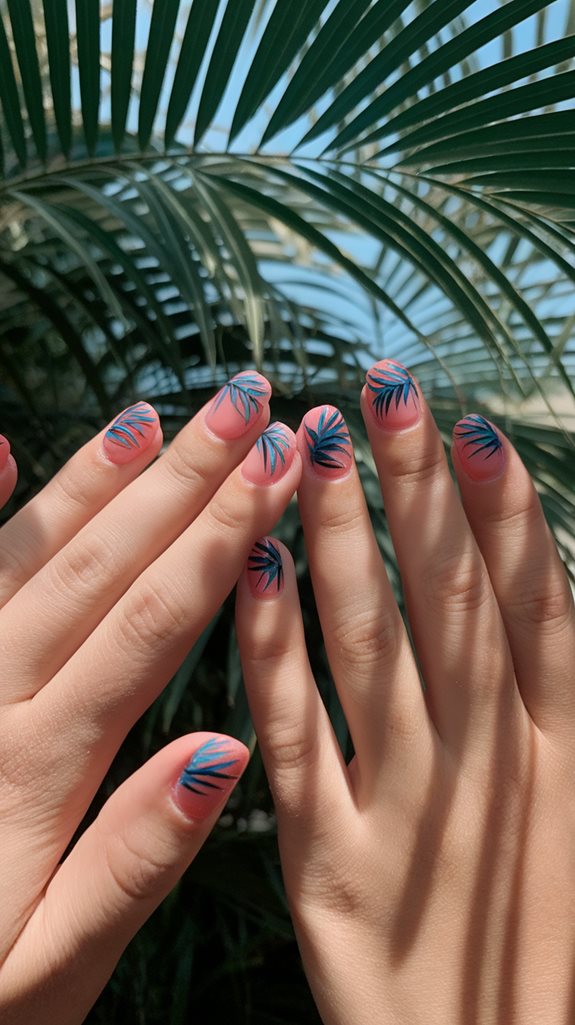
A tropical palm leaf design works because it doesn’t try to be a whole scene, just a few fronds rendered in layered green.
Start with a base coat in sandy beige or pale green so the leaves have a warm backdrop to sit against.
Use a fine detail brush to paint delicate palm leaves in two or three shades of green, layering for depth. A hint of gold along the veins adds contrast without turning the design busy.
Seal with a glossy topcoat. This finish holds up well through daily wear, and intricate leaf details stay crisper with gel than with regular polish.
Ocean Waves Swirls
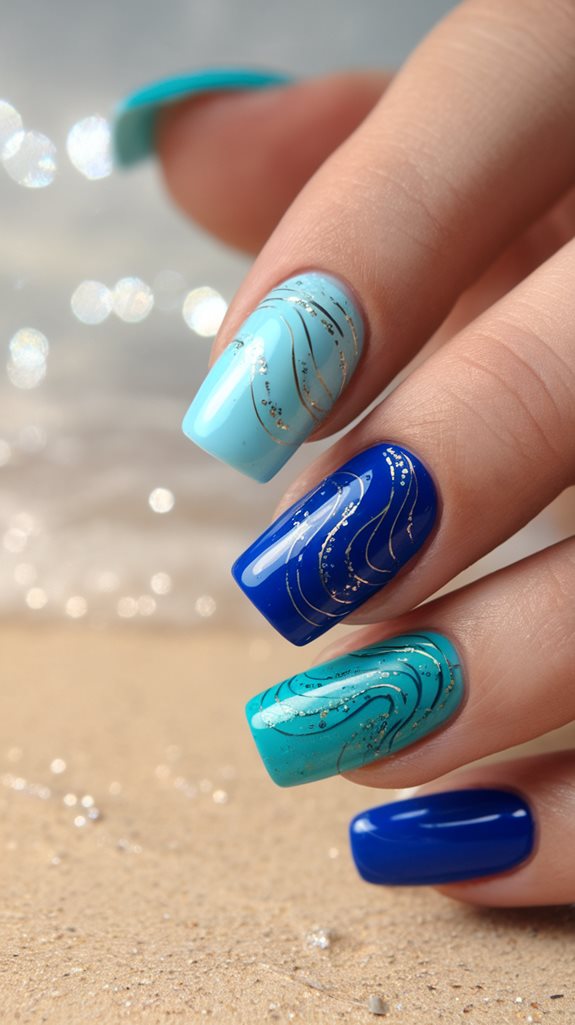
If you want a design that evokes ocean without painting a single literal wave shape, this is the one to try.
Pick two or three shades of blue and turquoise, then use a fine brush to pull thin, flowing lines across the nail that mimic how water actually moves, not stiff, symmetrical curves.
A touch of white worked into the blue suggests sea foam. A little shimmer polish over the top catches light the way sunlight does on open water.
Steady, slow hand movements matter more than fancy tools here. Practice the swirl motion on paper first if your hand isn’t used to freehand nail art.
Starfish Embellishments
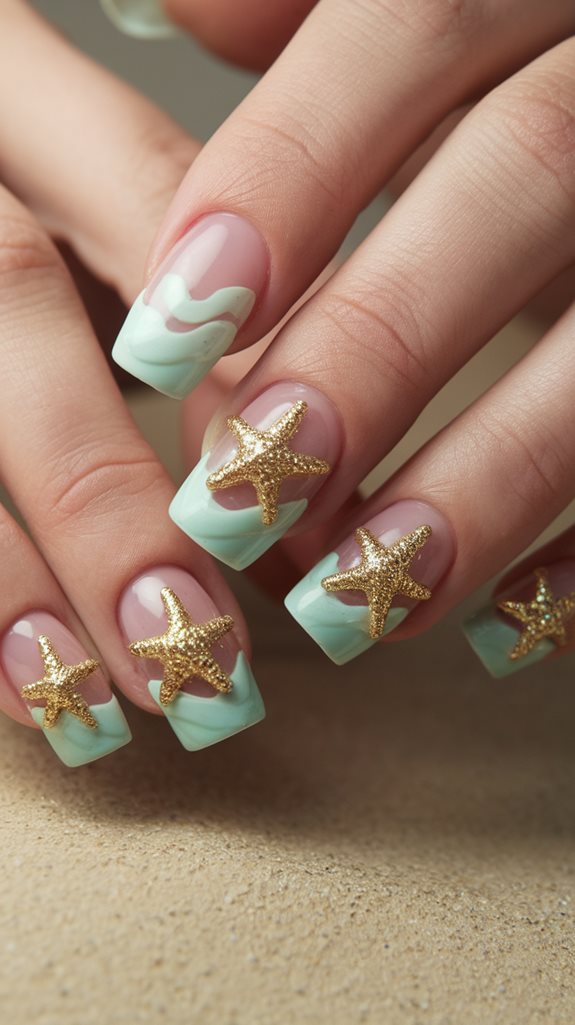
Starfish charms do more work than almost any other 3D embellishment on this list. They turn a plain manicure into something with real texture in seconds.
Go small and understated for everyday wear, or oversized and metallic if you want the nail to be the whole outfit’s focal point.
Gold or silver starfish come across as more polished. Colored resin ones feel more playful. Pick based on the rest of your palette, not just personal favorite.
Attach with a dab of clear gel or dedicated nail glue, press firmly for a few seconds, then seal everything under a top coat so the edges don’t catch on fabric.
Nautical Stripes
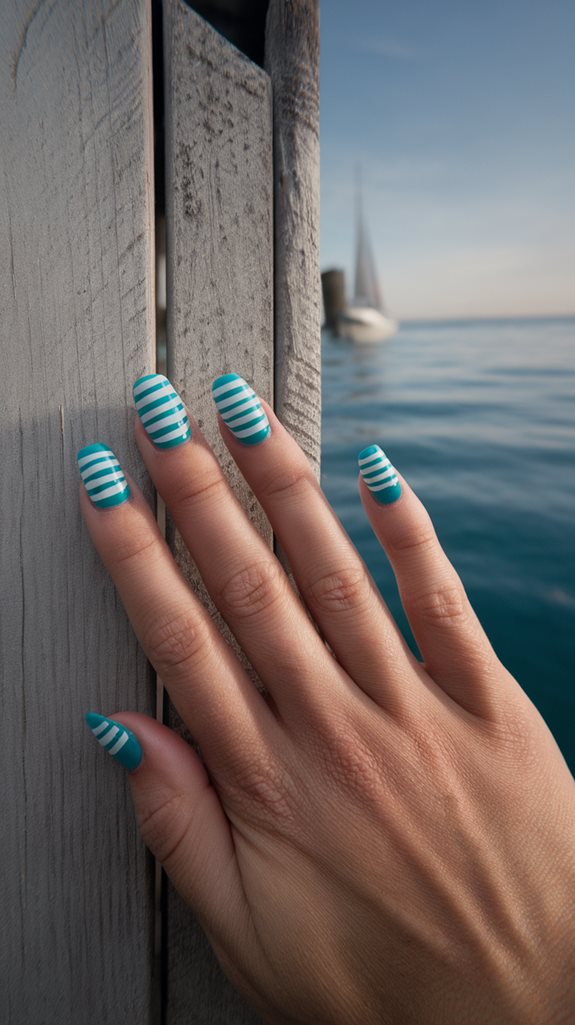
Stripes are one of the few patterns that look intentional both freehand and laid with striping tape. That reliability is why they’ve stuck around as a beach nail staple.
A classic navy and white palette is the safe choice. Swap in a brick red or a soft pastel for something less predictable.
Horizontal stripes read more classic; vertical lines feel more modern. Striping tape gives cleaner edges than freehand, but freehand looks more relaxed if the spacing stays close to even.
Gel polish keeps white from yellowing the way some regular polishes do after a week of wear, which matters more here since the contrast is the whole point of the design. For more on keeping any gel manicure looking fresh longer, see this guide to nail health under gel and acrylics.
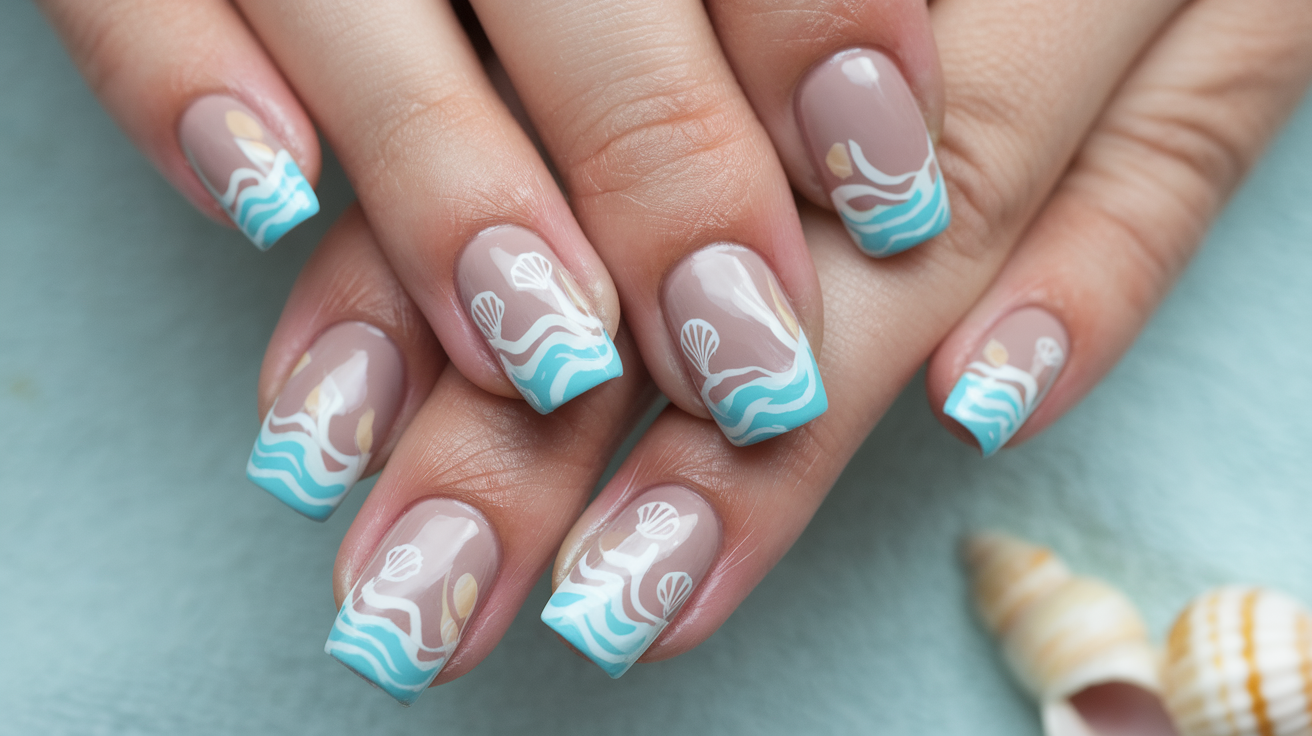
Seashell Accents
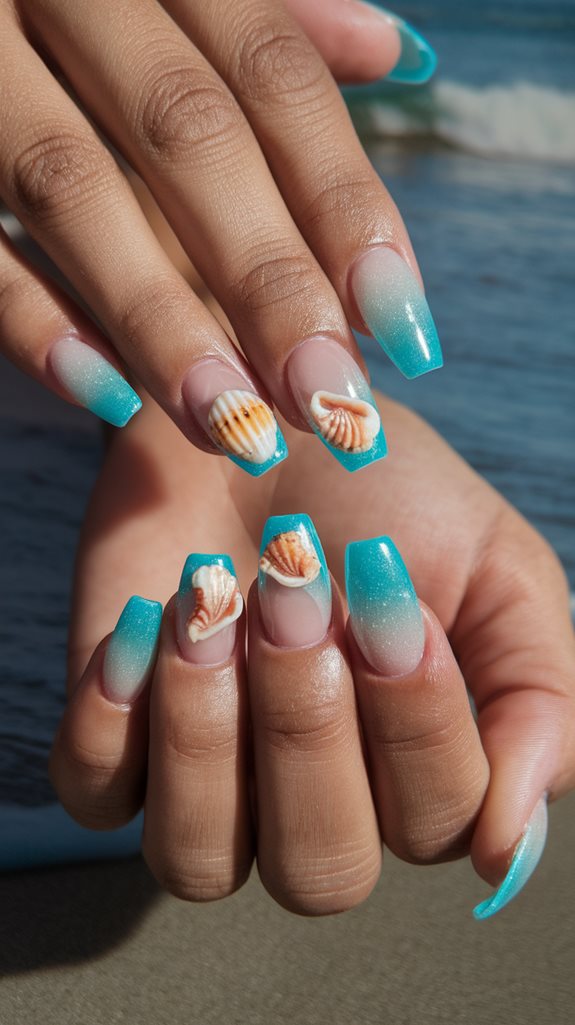
A single shell placed on one accent nail can carry an entire manicure. There’s no need to cover all ten nails to make the theme read clearly.
Pick flat, petite shells or shell decals that match your base color family rather than clashing against it.
Try one shell on an accent nail, or scatter smaller ones across two or three nails for a more layered look. Mixing shapes and sizes keeps it from looking uniform.
Shell embellishments hold their shape well under a gel top coat and don’t demand the same fine-motor precision as painted patterns, which makes this one of the easier designs on this list to recreate at home.
Mermaid Scales
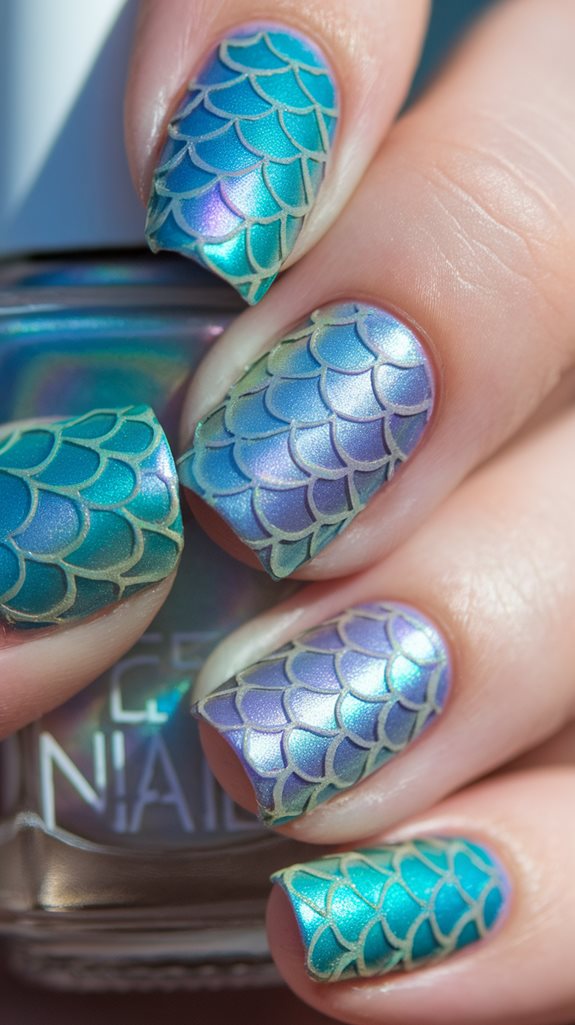
Mermaid scale nails lean fantasy, but the technique behind them is closer to fish-scale nail art than anything mythical.
Start with a base color that echoes the sea, aquamarine or teal both work. Layer iridescent glitter or holographic powder over it to mimic the way scales catch light.
Use a fine brush or a dedicated scale stamping tool to build the pattern, alternating two shades for depth.
One thing to know before committing: heavy glitter and holographic layers take longer to soak off at removal than plain polish, so plan for a slightly longer appointment or extra buffing time at home.
Seal with a glossy top coat to keep the shimmer intact through summer.
Flamingo Pink Hues
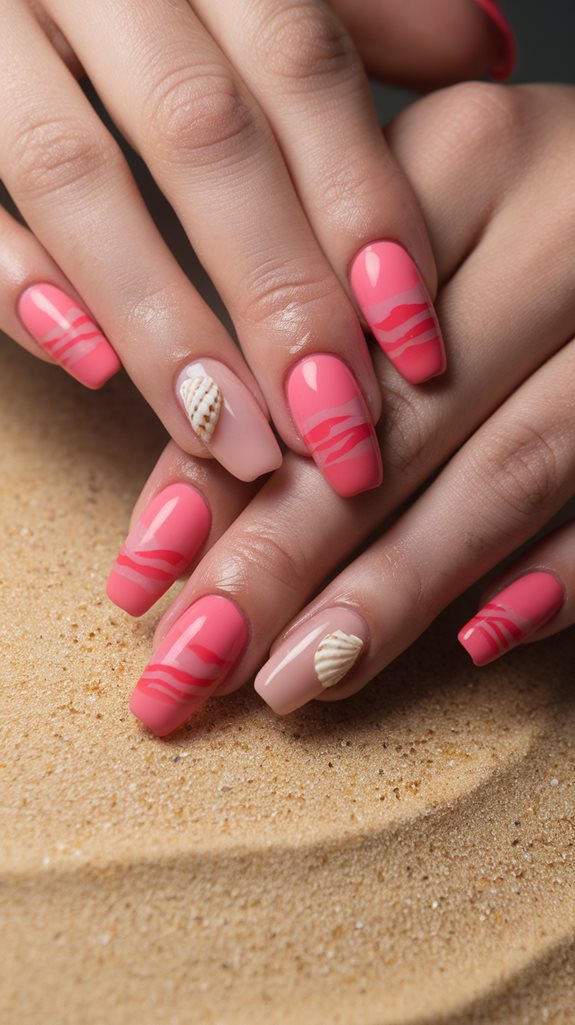
If your nail color usually skews neutral, flamingo pink is a low-commitment way to test a bolder palette for one season.
This shade echoes an actual flamingo’s plumage rather than a generic hot pink, so it feels more intentional against tan skin and sun-lightened hair.
Pair it with white or gold accents rather than another bright color to keep it from competing with itself.
Add simple geometric lines or small dots for texture, and mix in a matte finish on one or two nails for contrast against the shine.
This shade pairs well with warm-toned outfits, which is worth planning around if you like coordinating nail color with your outfit.
Jellyfish Glimmer
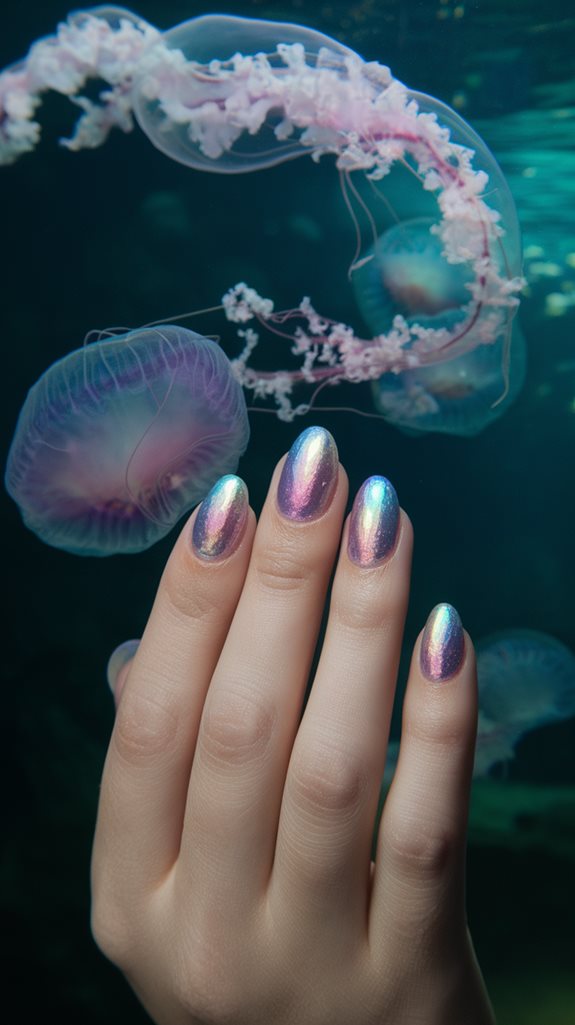
Jellyfish Glimmer is one of the harder designs on this list to get right, since it depends on translucency more than color.
A sheer, pearlescent gel polish does most of the work. It should look like the nail itself is glowing rather than painted.
Layer color-shifting powder or holographic flakes over the sheer base so the hue changes slightly depending on the angle of light.
Seal with a glossy top coat for the wet, underwater look. This one photographs better in natural light than under indoor lighting, since it needs daylight to show the color shift clearly.
Sandy Beach Neutrals
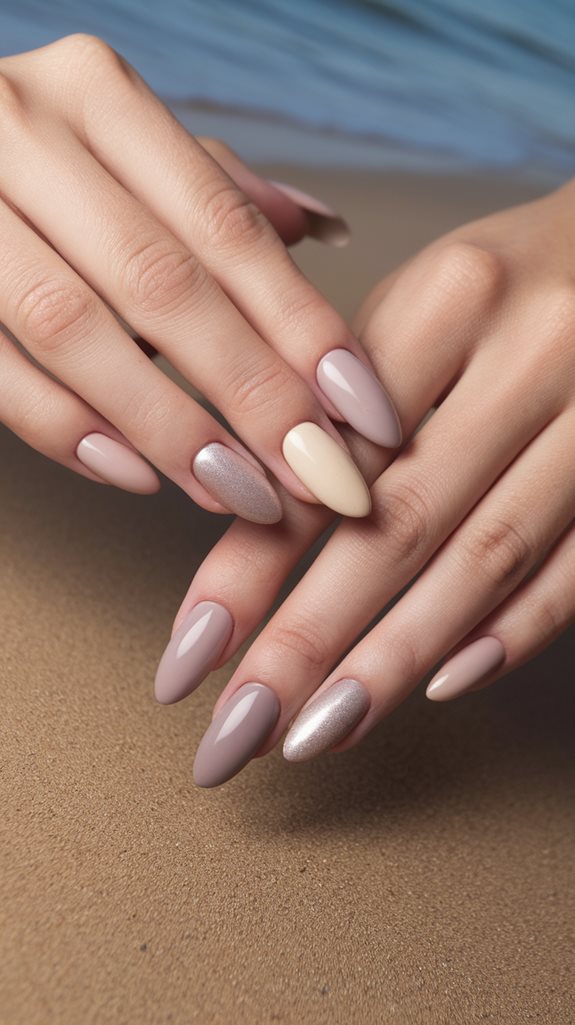
Where flamingo pink asks for attention, Sandy Beach Neutrals do the opposite. They’re built to go with everything already in your closet.
Soft beige, creamy taupe, and pale peach all feel coastal without leaning into any single trend.
Application is straightforward: prep your nails, apply a base coat, then two thin layers of your chosen neutral for even coverage.
Finish with a top coat for shine. This is the design to reach for if you want your manicure to last a full two weeks without needing a touch-up.
Pineapple Paradise
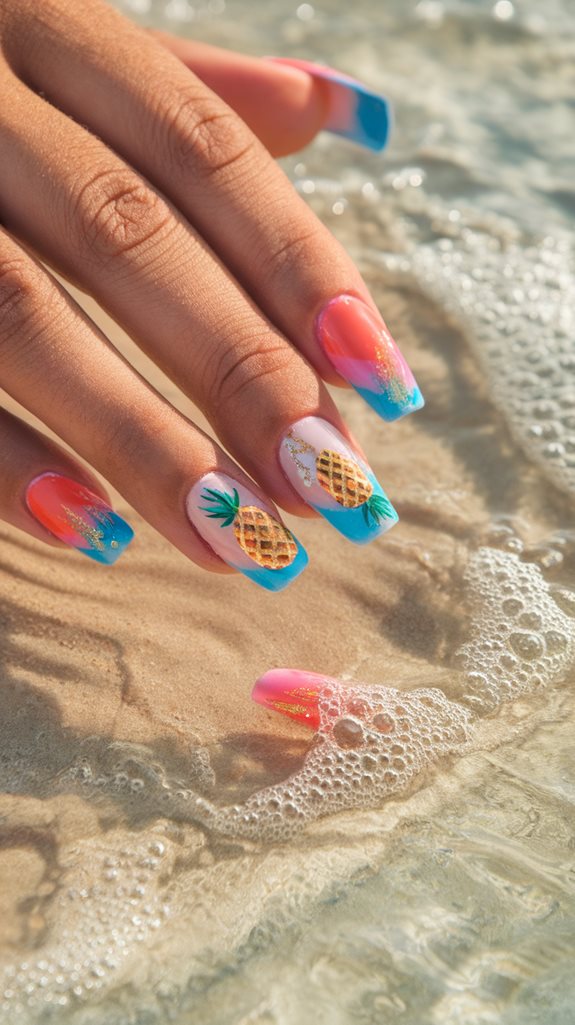
This one started as a nod to a drink with an umbrella in it, and it’s stuck around because yellow and gold feel like summer instantly.
Start with a protective base coat, then a rich pineapple-yellow gel polish.
Add tiny pineapple decals near the cuticle, or a light gold glitter accent on one nail to suggest the fruit’s texture without going full illustration.
Seal with a glossy top coat for shine that holds through pool days and salt water alike.
Seafoam Green Shimmer
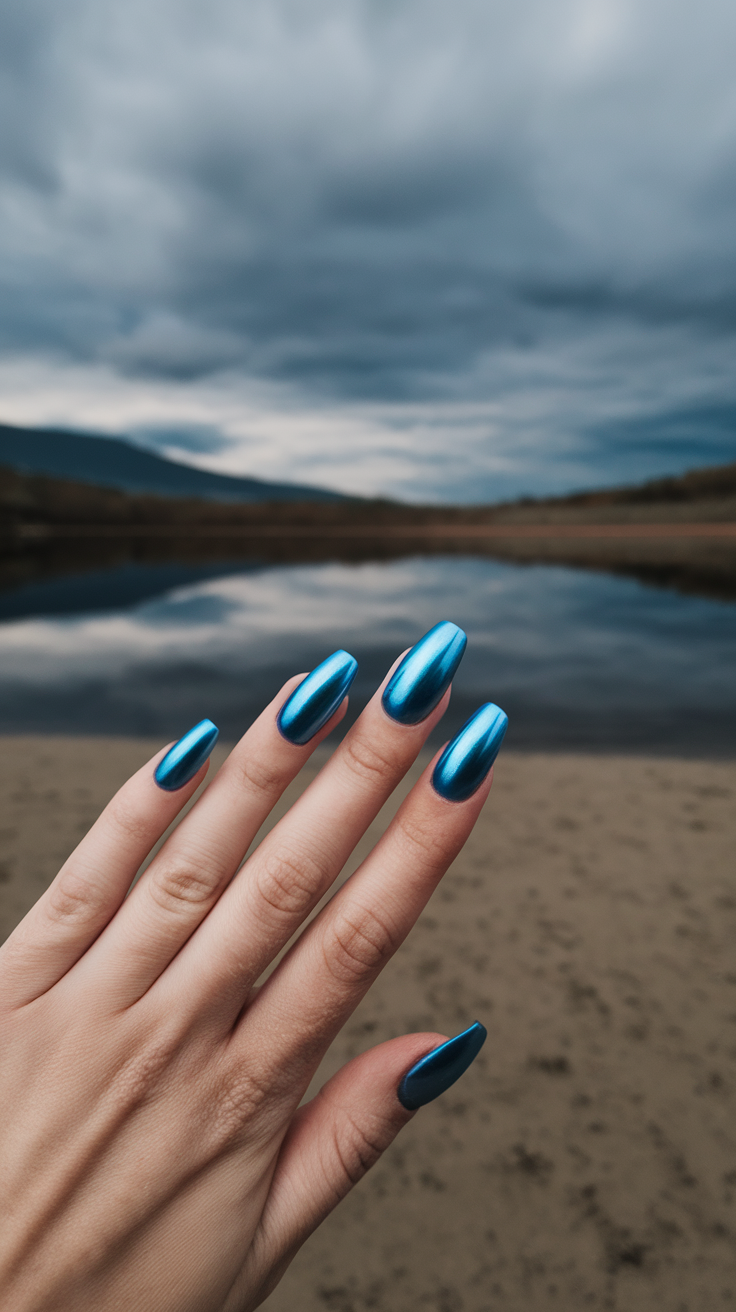
Seafoam Green Shimmer sits between a neutral and a statement color, which is why it works for both office-appropriate and vacation nails.
The shimmer should stay subtle, a fine, cool-toned sparkle rather than chunky glitter, so it stays refined rather than costume-like.
Start with clean, prepped nails and a base coat, then apply the shimmer polish in two thin coats, letting each dry fully before the next.
Finish with a glossy top coat for extra shine and to protect the shimmer particles from chipping off at the edges.
Sunlit Coral Reefs
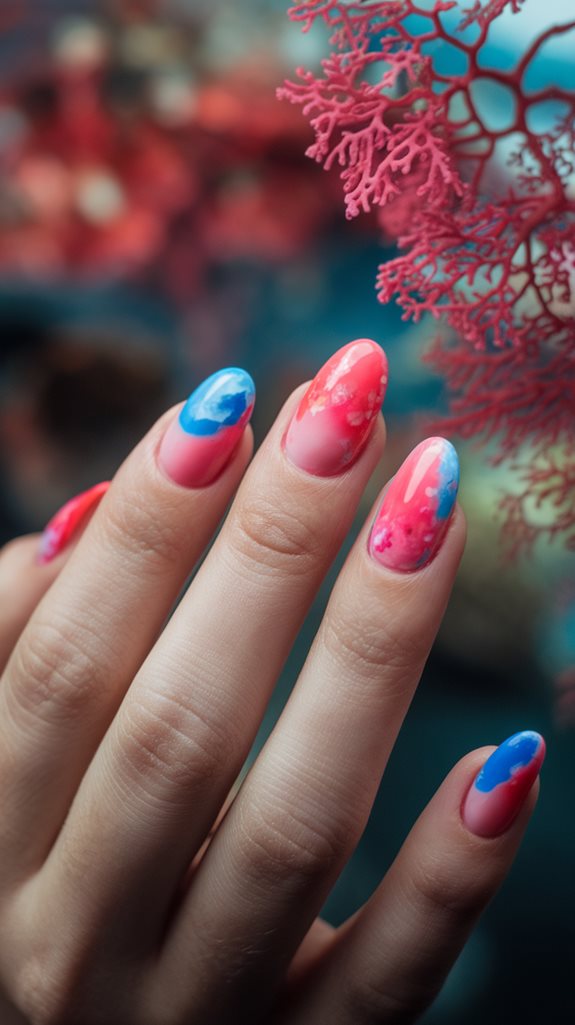
For anyone who wants a beach nail with more than one color story, this is the design to pick.
Coral, pink, and orange layered together mimic the way real reef color shifts with depth and light, rather than sitting as flat blocks.
Gel polish keeps these warm tones from fading or yellowing the way some regular polishes can after a week in the sun.
This design reads best with a soft gradient between the three colors rather than hard color-block lines, so blend at the transitions with a clean brush before curing.
Beach Ball Brights
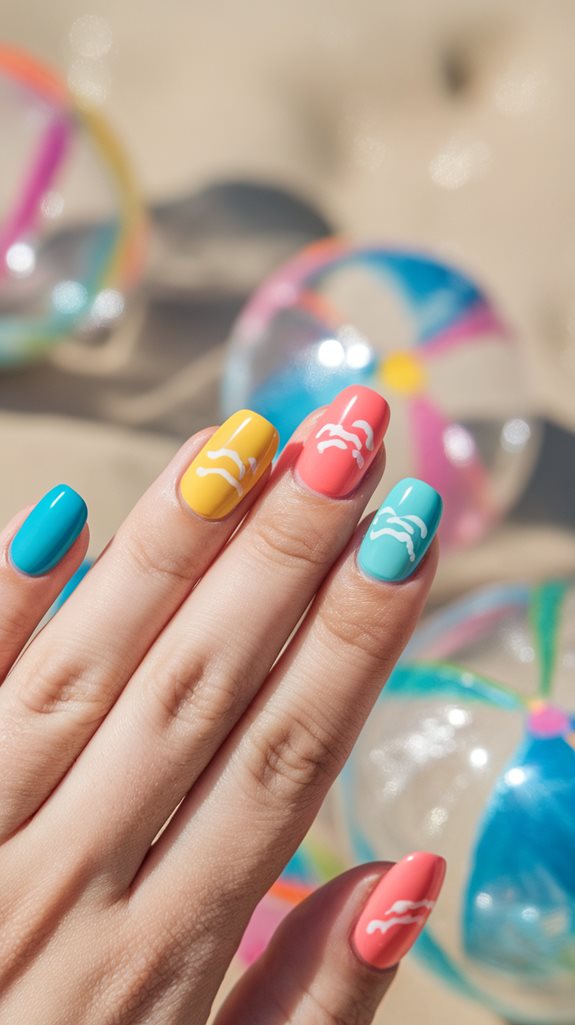
Try this one if your summer wardrobe already leans toward color. Electric blue, sunny yellow, and fiery red work best together, not as a design built around one accent shade.
These three hues are a deliberate reference to actual beach ball stripes, not just bright colors picked at random.
Apply each hue in alternating blocks, or blend two into an ombre for a softer effect. Gel polish keeps the colors from dulling with repeated pool and ocean exposure.
A glossy topcoat is non-negotiable here. A matte finish would mute the saturation that makes this design work in the first place.
Surfboard Patterns
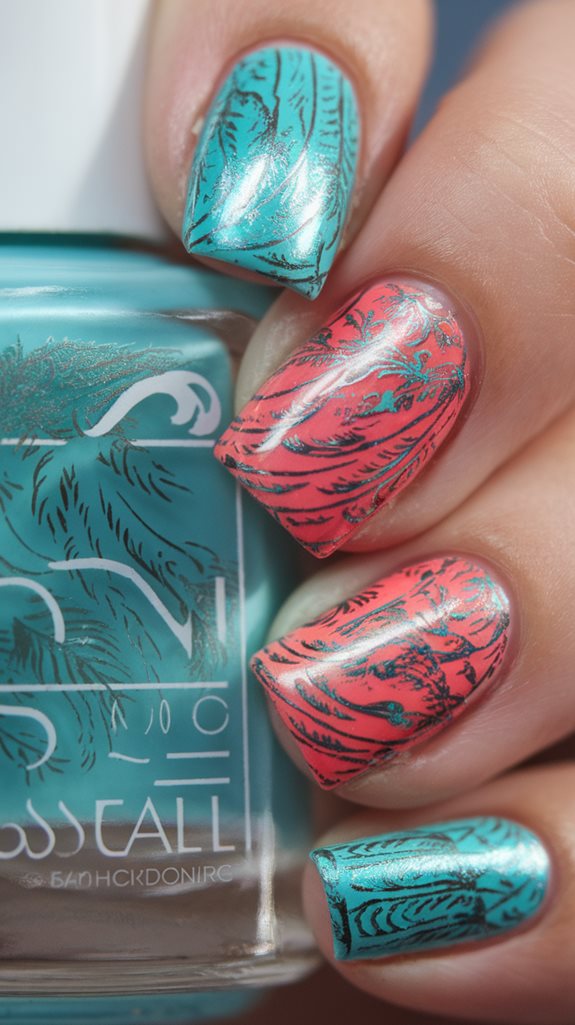
Surfboard patterns bring in a graphic element that most beach nail designs skip: straight lines and geometric shapes instead of waves or shells.
Start with a base color that echoes sand or deep ocean blue, then add stripes or angular shapes that reference real surfboard graphics rather than random patterns.
Fine brushes or nail art pens are worth the investment here, since precision separates a sharp graphic design from a smudged one.
This design holds up equally well for surfers and non-surfers alike. The pattern feels like summer even for someone who never gets near the water.
Underwater Bubbles
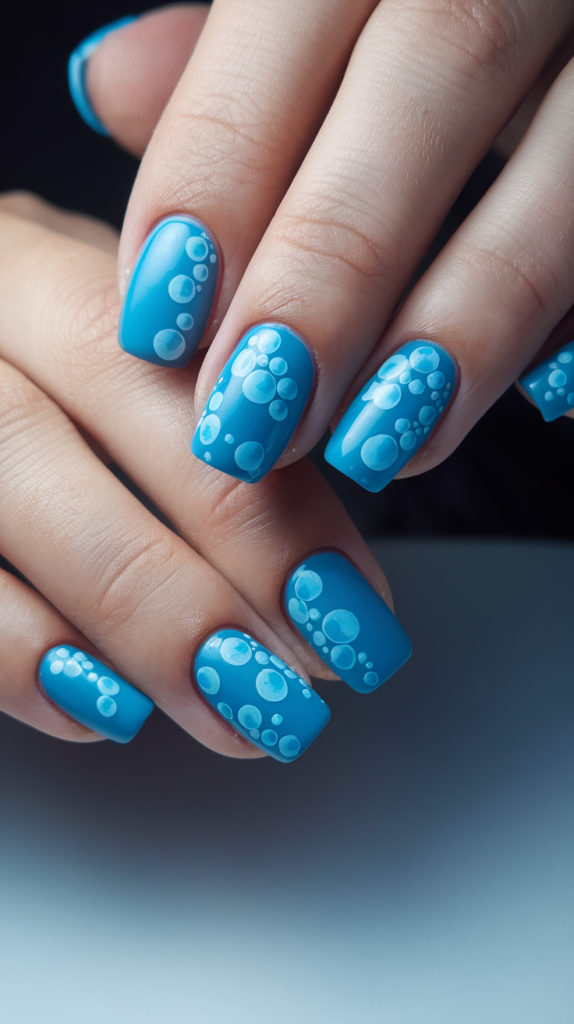
This design started as a way to add dimension to a plain blue manicure without adding another color.
Delicate, translucent circles drifting across a sea-blue base create a playful, slightly mysterious effect that’s easy to control with a dotting tool.
Start with a base coat in your favorite aquatic shade, then use a dotting tool to place bubbles of varying sizes in white or silver.
Layer a clear gel top coat directly over the dots for a raised, 3D effect that makes the bubbles look like they’re actually floating above the nail.
This is one of the simpler designs on this list to master, even on a first attempt at nail art.
Seaglass Sparkle
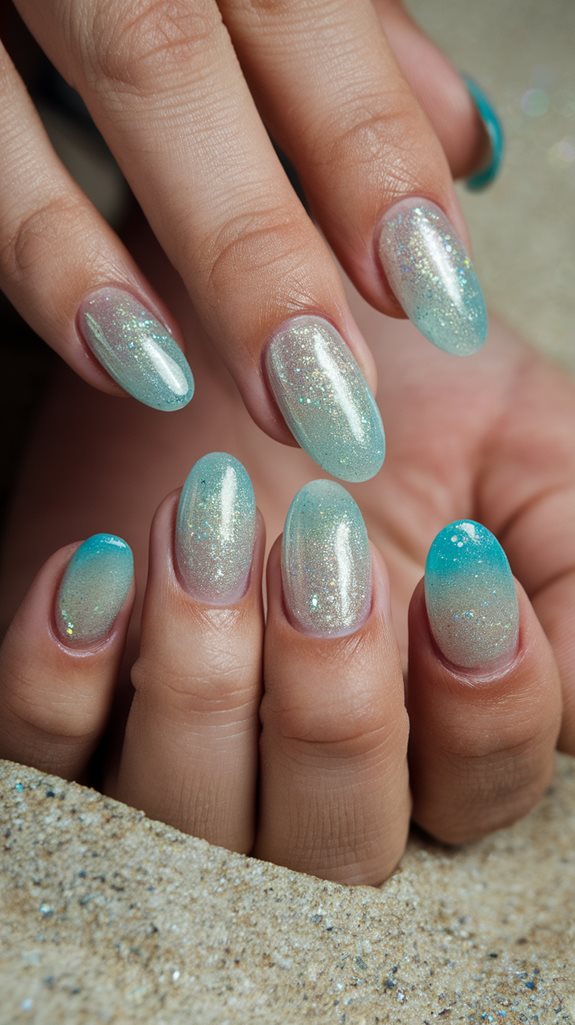
Unlike the bold colors in Beach Ball Brights, seaglass sparkle works because it comes across as soft, worn glass, not polished gemstones.
Pale turquoise, soft aqua, and seafoam green all mimic the frosted look of real sea glass better than a saturated teal would.
Apply a base coat, then two coats of your chosen shade for opacity, followed by a layer of fine glitter or a shimmery top coat.
Cure fully under a UV lamp for durability. Glitter topcoats need a slightly longer cure time than plain polish, so don’t rush this step if you want the finish to last.
Sunflower Sunshine
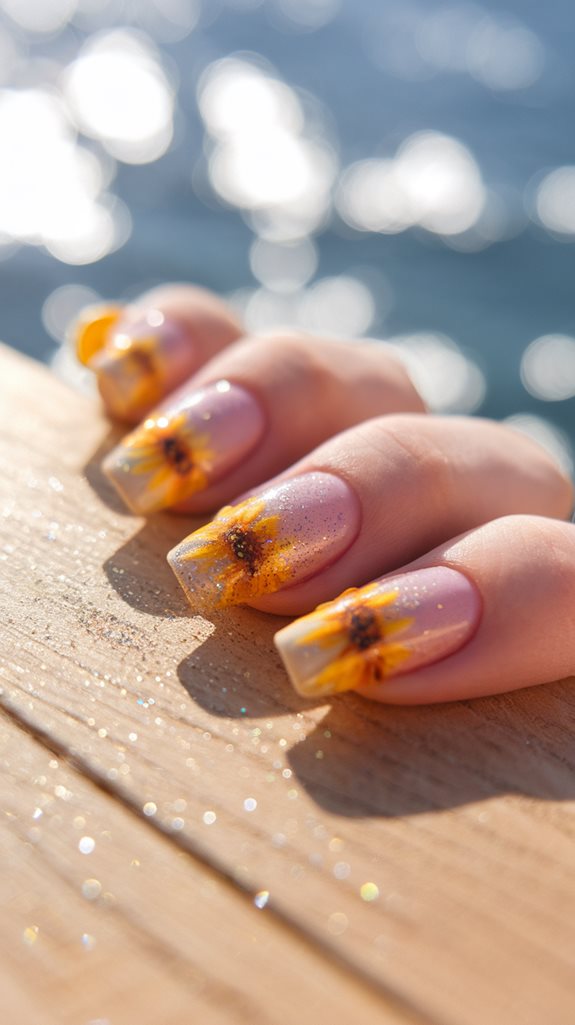
Sunflower Sunshine skips the ocean theme entirely and leans into warm, land-based summer color instead.
Bright yellow and warm gold together look like sunflower fields rather than plain yellow nails, which is a subtle but real difference.
Start with a lively yellow base coat, then add subtle golden accents or a small sunflower decal near the cuticle for detail.
Finish with a glossy top coat to seal in the color. This shade works especially well against tan skin, where cooler yellows can look washed out.
Driftwood Textures
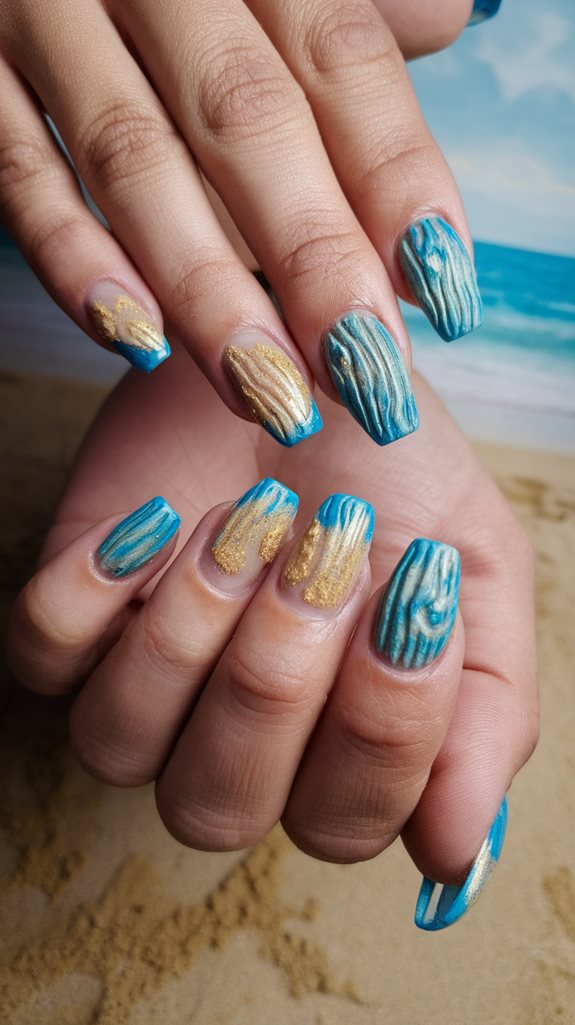
If most of the designs on this list feel too bright for your taste, this is the one built around muted, earthy tones instead.
Start with a muted, sandy base color, then use a fine detail brush to paint soft, wavy lines that mimic real driftwood grain rather than straight wood-grain stripes.
Layer different shades of gray and taupe to build depth, blending at the edges so the lines don’t look like separate segments.
A matte topcoat suits this design better than a glossy one. Worth noting: matte finishes show fingerprints and oil more easily than glossy ones, so this design needs slightly more upkeep between touch-ups.
Aquatic Abstracts
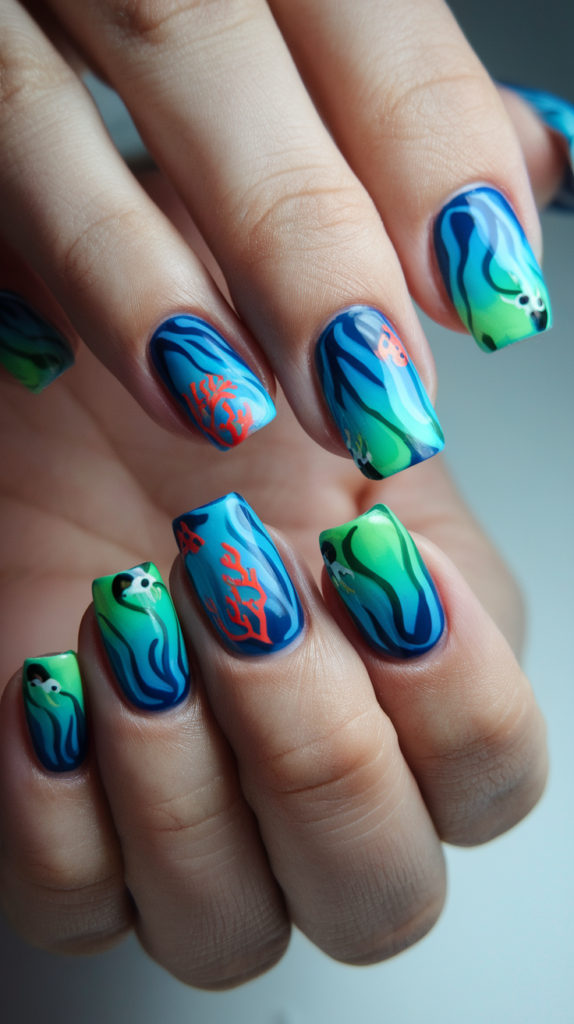
This is the design to pick if you want something more artistic than literal: waves, fish, and coral rendered as loose shapes rather than recognizable illustrations.
Swirling blues and greens form the base, with small intricate coral patterns layered on top for detail.
Glossy topcoats reflect light the way water does; matte finishes read more like sand. Mixing both across different nails adds contrast without extra color.
Bold strokes matter more than precision here. This design rewards a looser hand than most others on this list.
Coastal Blues
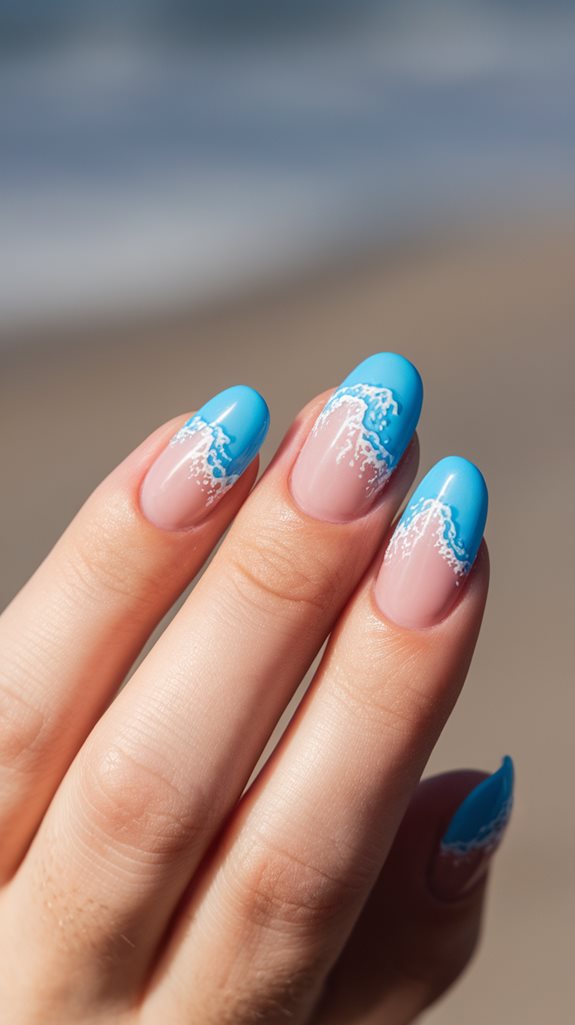
Picture a quiet beach where the sky and ocean blur into the same blue. That’s the reference for this one.
Deep navy at the base fading into a gentle sky blue at the tip mirrors the actual gradient you’d see looking out at open water.
Apply a base coat, then a gradient of blues using a makeup sponge for smooth blending between shades.
Finish with a glossy top coat to mimic sunlight on water. For a different nail shape with the same seaside palette, see these French tip beach nail designs.