21 Winter French Tip Nail Ideas
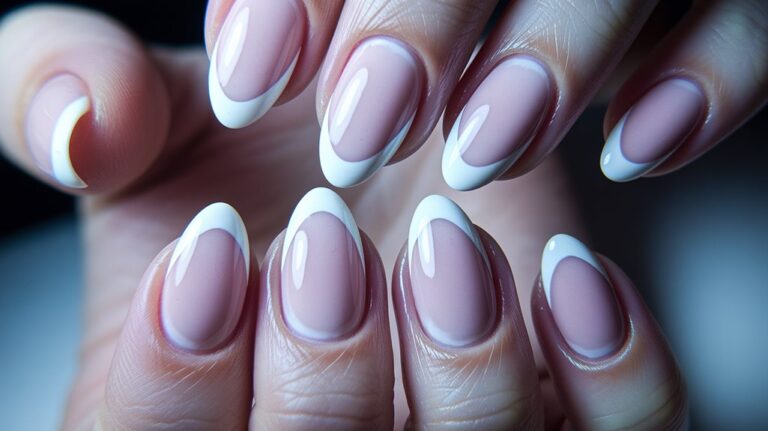
The French tip keeps almost the same shape from decade to decade, which is why winter versions of it get away with so much. Swap the white line for something metallic or icy and the whole manicure reads as seasonal without touching the classic silhouette underneath.
The 21 designs below range from a five-minute polish swap to a few techniques worth practicing on a spare nail first. Our guide to pairing nail color with an outfit covers the styling side if you want more context.
Frosty White Tips With Silver Glitter Accent

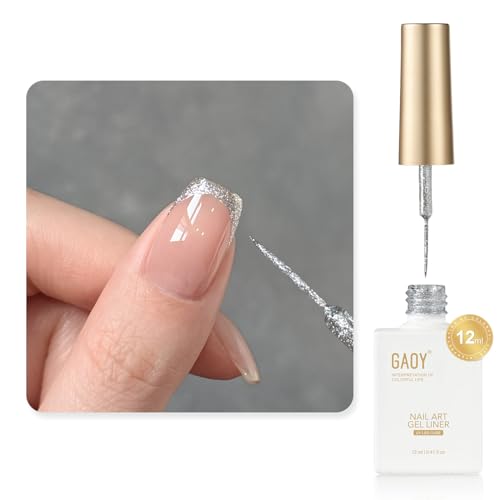
A plain white tip turns into a winter look with one extra step: a fine silver micro-glitter brushed over the smile line while the white polish is still tacky, so the two layers grip each other instead of sliding apart.
One coat of glitter gives a light sparkle; a second coat covers the tip in full. A striping brush keeps the glitter along the edge instead of spreading across the whole nail.
This one takes the same amount of time as a regular French manicure, just with a different bottle in your hand for the last step.


Icy Blue Ombre French Tips
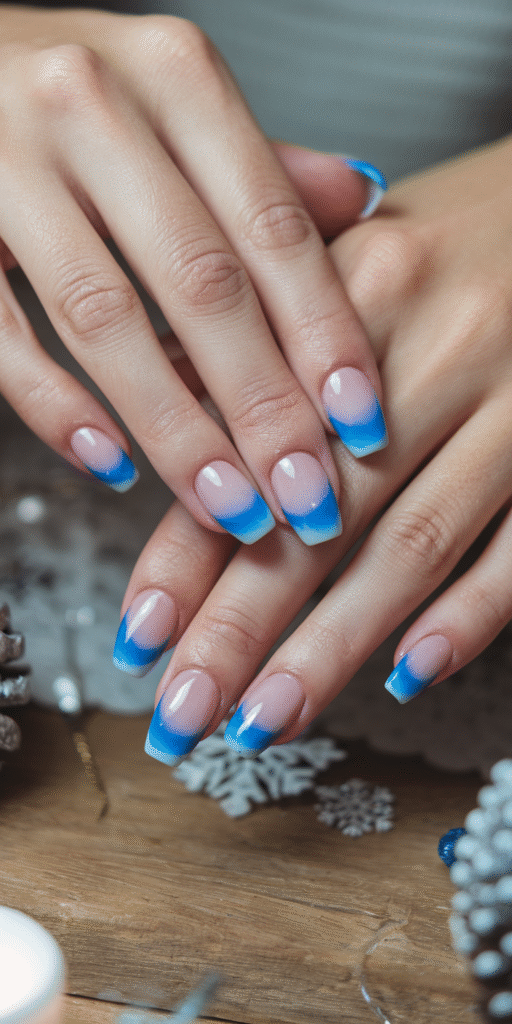
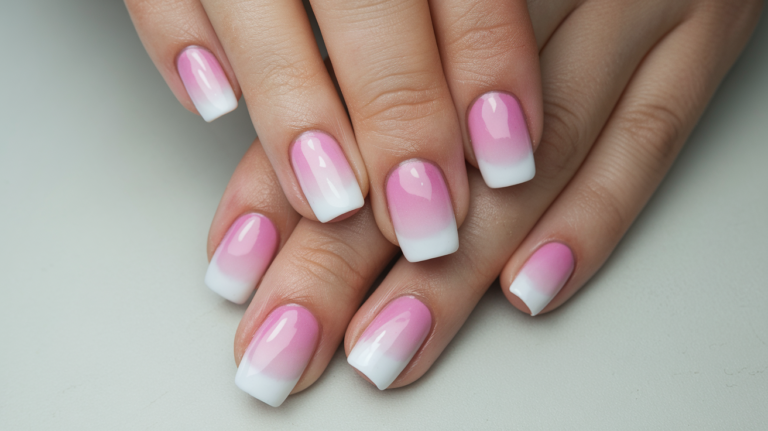
A makeup sponge blends powder blue into white with less patchiness than a brush does, which is the whole trick behind this ombre tip.
Start light near the cuticle and dab more blue toward the free edge with each pass. Curing each layer under LED before adding the next keeps the colors from smearing into each other.
A high-gloss topcoat over the finished gradient gives it the glassy look of actual ice rather than a flat painted color.

Snowflake Detail on Classic French Manicure
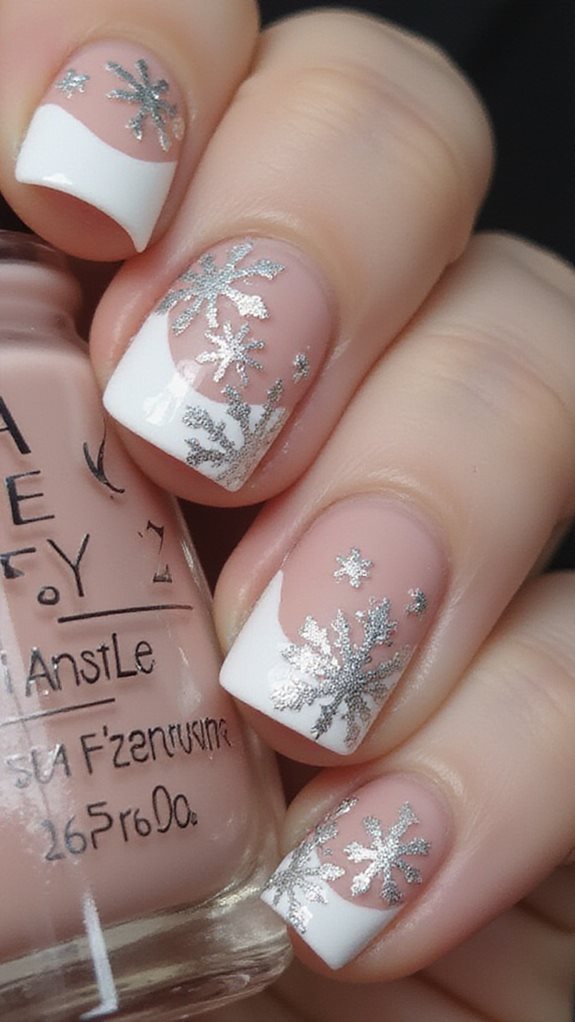
A snowflake is just three crossing lines with small dashes off each one, which is why it’s one of the easier freehand designs to learn on nails.
A size 00 or 000 detail brush handles lines this thin far better than a standard polish brush can. Practice the crossing pattern on paper first if your hand isn’t steady yet.
One or two accent nails per hand keeps the design from turning into a wall-to-wall pattern. Placing the snowflake near the cuticle rather than dead center leaves the classic French tip visible underneath.


Deep Navy Tips With Gold Foil
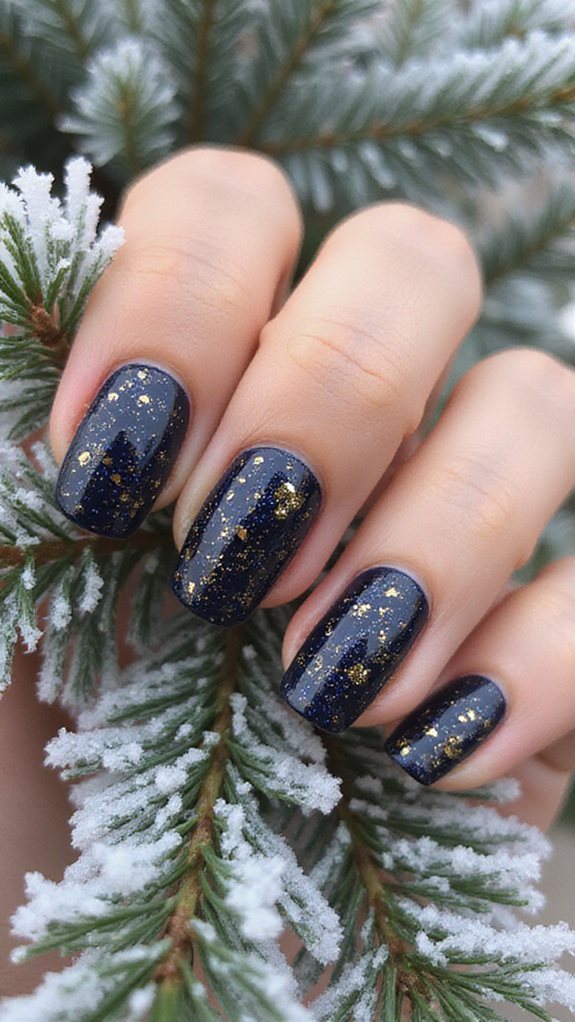
Swapping white for navy at the tip reads as a grown-up variation on the French manicure rather than a whole new design.
A high-pigment navy needs no more than two coats for full opacity, painted along a clean smile line with a striping brush.
Gold leaf pressed onto foil adhesive along that same line, once the adhesive turns tacky, adds a metallic edge without covering up the navy underneath. Seal the whole thing and cap the free edge so the foil doesn’t lift within a day.


Shimmering Silver Chrome French Tips
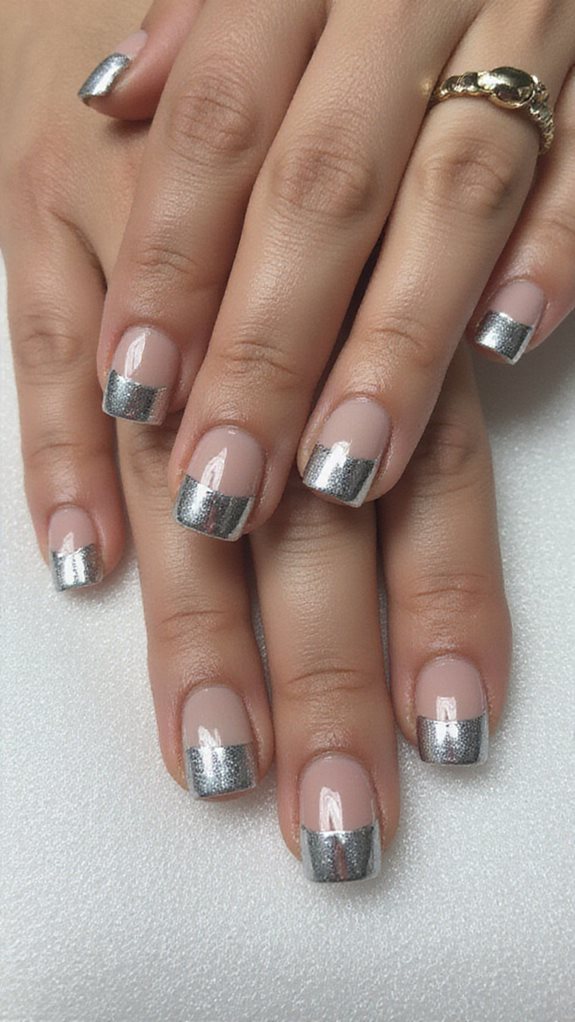
Chrome powder over a black base gives a truer mirror finish than the same powder over a lighter color, since black reflects nothing of its own to compete with.
A no-wipe topcoat matters more here than with most other finishes. Standard topcoats can dull chrome and take the mirror effect down to a plain shimmer.
Our chrome French tip designs piece goes deeper into chrome application if this technique interests you.


Cozy Cable Knit Sweater Design Tips

A knit-textured stamping plate turns a plain white or cream base into something that reads as cable-knit sweater rather than plain polish.
Stamp the pattern onto the cured base with a silicone stamper, which transfers finer detail than a rubber one does.
A raised gel paste traced along the same lines gives the pattern actual texture instead of a flat print. This one takes longer than most on this list, so it suits an occasion where you have the extra time to sit for it.

Burgundy and White Diagonal French Tips

A strip of tape angled across the nail at 45 degrees is what turns a straight French line into a diagonal one, no freehand skill required.
White base first, then tape, then two coats of burgundy on one side of the line. Pull the tape off while the burgundy is still wet, or the edge tears instead of staying crisp.
An oxblood or wine-toned burgundy gives fuller opacity in two coats than a brighter red-toned burgundy does.


Holographic Glitter Gradient Tips
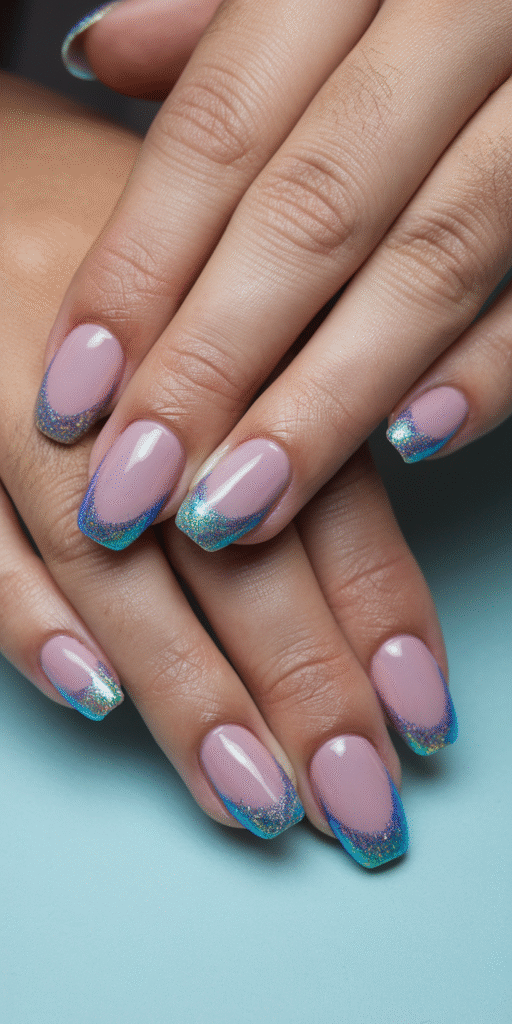
Dabbing holographic polish with a makeup sponge, rather than painting it on, is what gives this gradient its gradual fade instead of a hard line.
Fine glitter particles first, then a few larger flakes near the tip, build depth that a single glitter size can’t manage on its own.
Let each layer cure under LED before adding the next. Rushing this one tends to drag the fade line and blur the effect.


Matte Black Tips With Crystal Accents
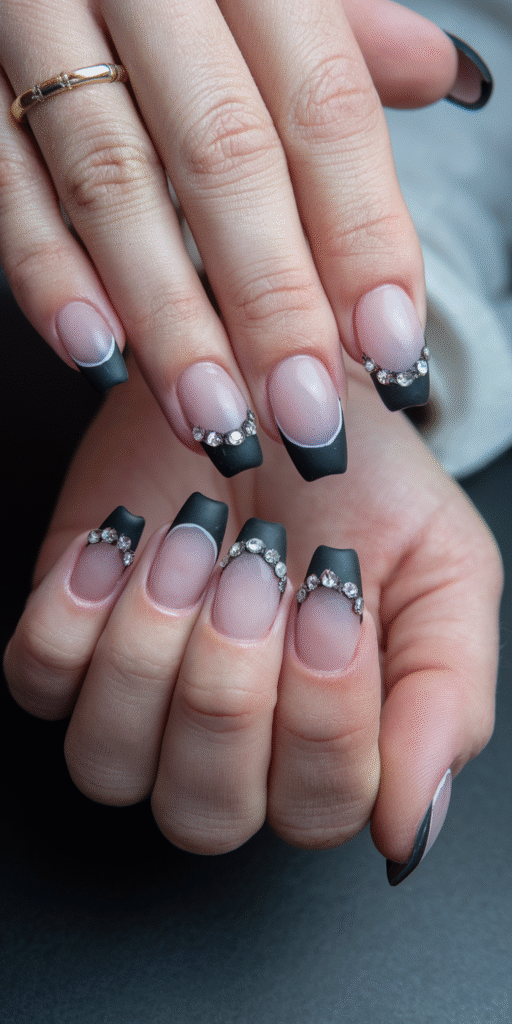
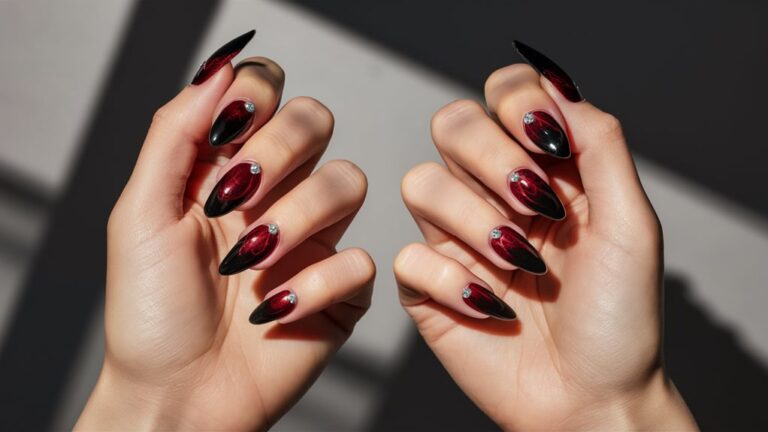
Matte black absorbs light instead of reflecting it, which makes a single crystal against it stand out more than the same crystal would against a glossy finish.
Placing crystals off-center along the smile line reads as more considered than lining them up in a straight row. Press each one into the topcoat while it’s still tacky, then cure to lock it in.
A handful of small crystals does more here than one large one, since matte black gives them less competition to stand out against.


Candy Cane Striped French Tips
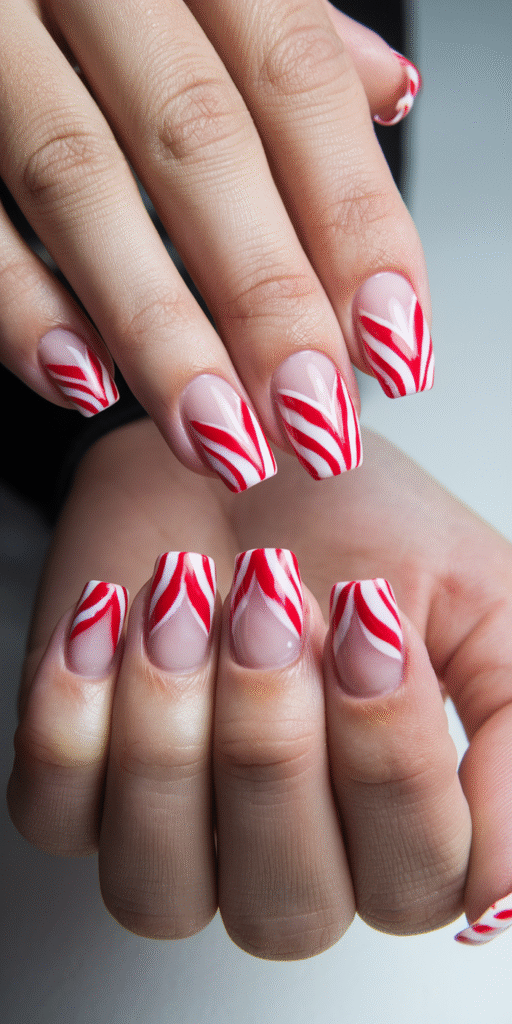
Alternating red and white stripes at an angle across the tip is what reads as candy cane rather than plain diagonal stripes in any two colors.
White base first, cured all the way, then striping tape at 45 degrees before each red stripe goes on. Pull the tape off right after each stripe rather than waiting until the end, or the colors bleed into each other.
This design suits a Christmas party more than any other look on this list. Our festive Christmas nail designs collection has more options in the same spirit.

Emerald Green Tips With Gold Line Detail
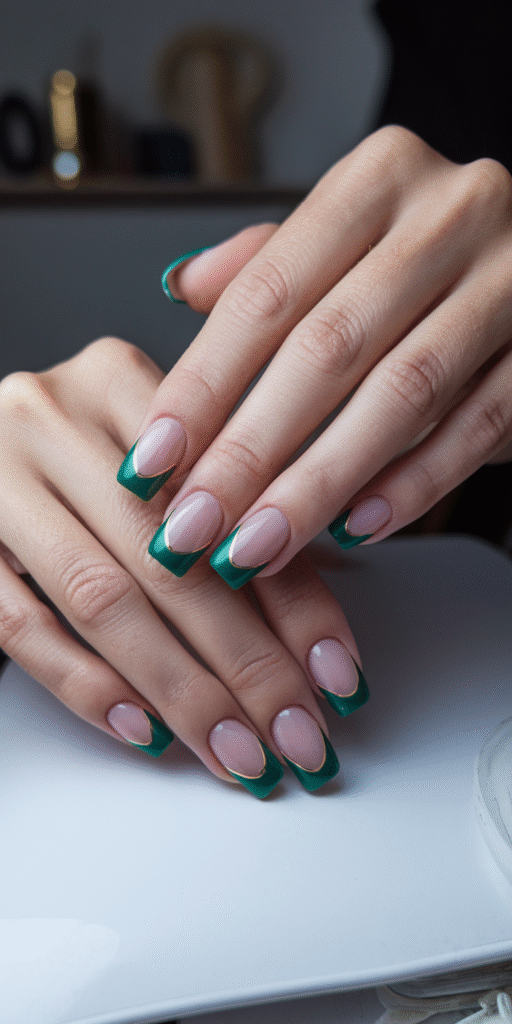
A thin gold line traced right above the emerald tip does more for this look than a full gold border would; too much gold competes with the emerald instead of framing it.
Resting your hand on a flat surface and pulling the brush toward you in one motion gives a straighter line than trying to push the brush away from you.
Practice the line on a scrap surface first if you haven’t used a striping brush before. It takes a few tries to get the pressure right.


Pearl-Embellished White French Tips
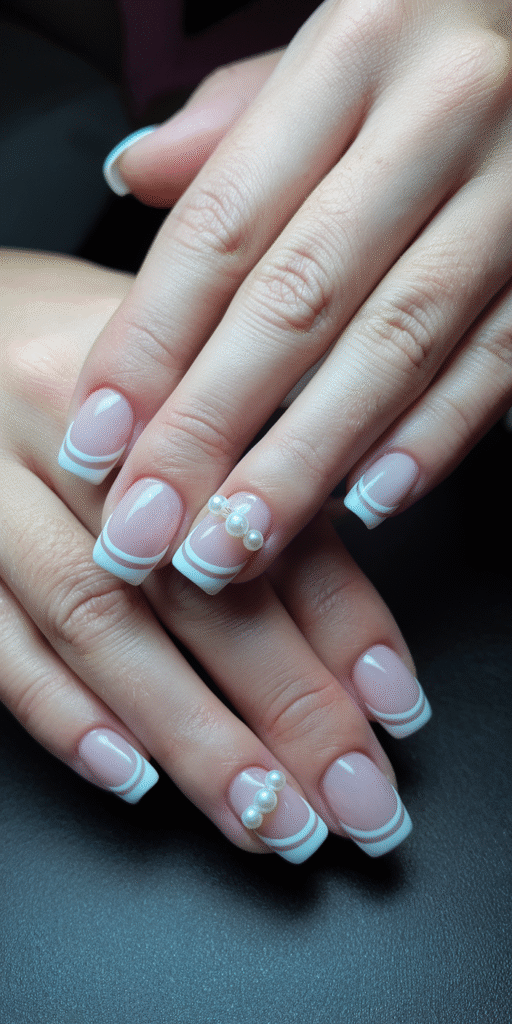
Pearls pressed into uncured gel hold on tighter than pearls dotted onto wet topcoat, which matters if you want them to survive more than one wash of dishes.
Tweezers give more control than fingers for placing pearls one at a time, the smaller caviar-bead sizes most of all.
Champagne or iridescent pearls shift color under different lighting; plain white stays the same under any light, which is worth deciding on before you buy a whole set. Almond and coffin shapes give the pearls more room along the tip than a shorter shape does.


Midnight Blue Tips With Star Accents
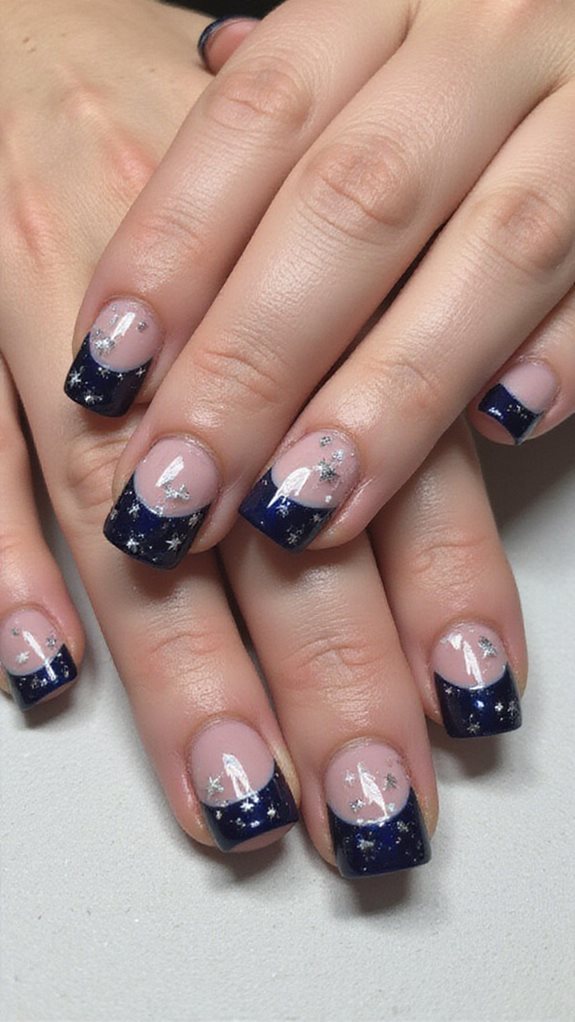
A navy dark enough to read as night sky needs two coats of a well-pigmented polish; anything lighter reads as blue rather than midnight.
Tiny silver stars pressed into tacky gel with a damp dotting tool stay put better than stars added after the gel has cured.
A thicker topcoat than usual seals the stars all the way and keeps them from catching on fabric or hair throughout the day.


Rose Gold Metallic French Tips
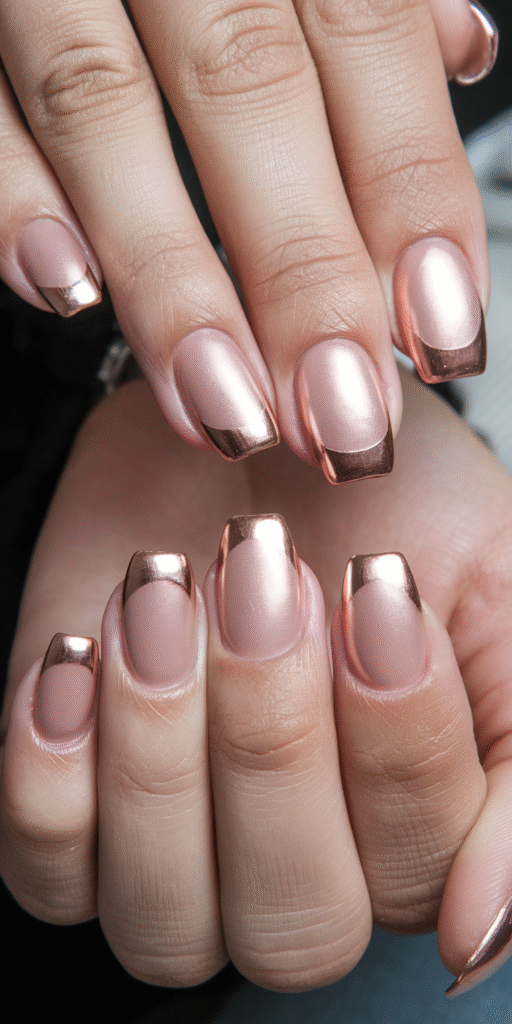
Rose gold’s copper-pink tone warms up a nude base in a way plain gold or silver doesn’t, which is why it pairs well with cold-weather neutrals.
Chrome powder or a metallic gel formula, painted in thin strokes, holds its shine better over a full day than a standard metallic polish does.
Blending the rose gold into the base with a makeup sponge, rather than painting a hard line, softens the whole look and pairs well with burgundy, forest green, or navy outfits.


Plum Purple Tips With Silver Shimmer
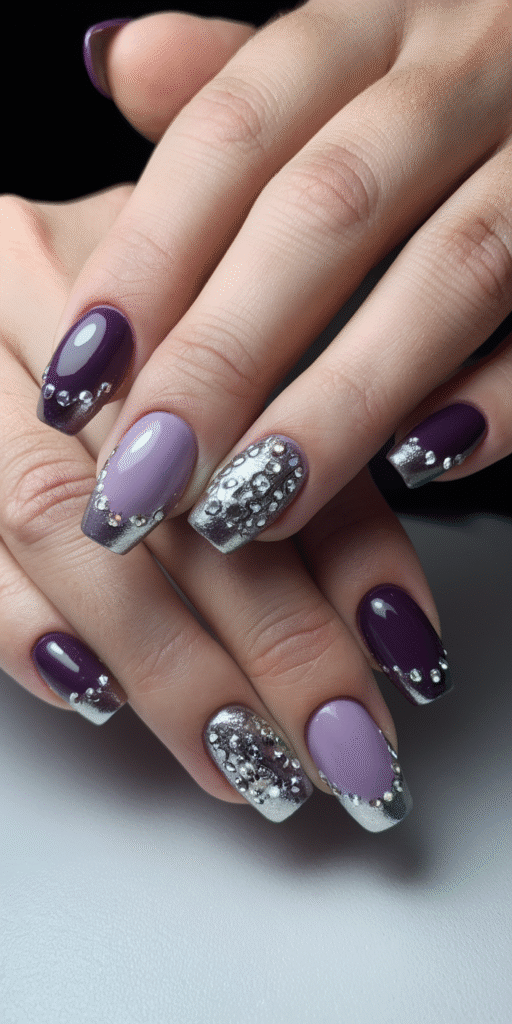
Two coats of plum give a deep enough base that a silver shimmer topcoat layered on top stands out, instead of getting lost against a lighter purple.
Micro-fine silver shimmer catches more light than chunky glitter does over a dark base, which is why it reads as shimmer rather than sparkle.
Keep the shimmer confined to the tip, and let the plum carry the rest of the nail. Covering the whole nail in shimmer flattens the contrast that makes this design work.


Snowfall Glitter Fade French Tips

Dense glitter at the tip, thinning out toward the cuticle, is what reads as falling snow instead of a solid glitter tip.
A makeup sponge with less glitter loaded onto it each pass creates that thinning effect on its own, without needing to dilute the polish itself.
Mixing three glitter sizes, fine, medium, and a few chunky flakes, gives more texture than one uniform size does across the whole gradient.


Frosted Glass Effect Tips

Two or three sheer coats of a milky white shade, like Essie’s Blanc or OPI’s Alpine Snow, build a translucent look that a single opaque coat can’t reproduce.
A matte topcoat on top finishes the effect; gloss reads as wet nail polish, while matte reads closer to actual frosted glass.
Mixing white polish into clear base at about one part white to three parts clear gives a similar sheer effect if you don’t want to buy a dedicated milky shade.


Cranberry Red Tips With White Accents
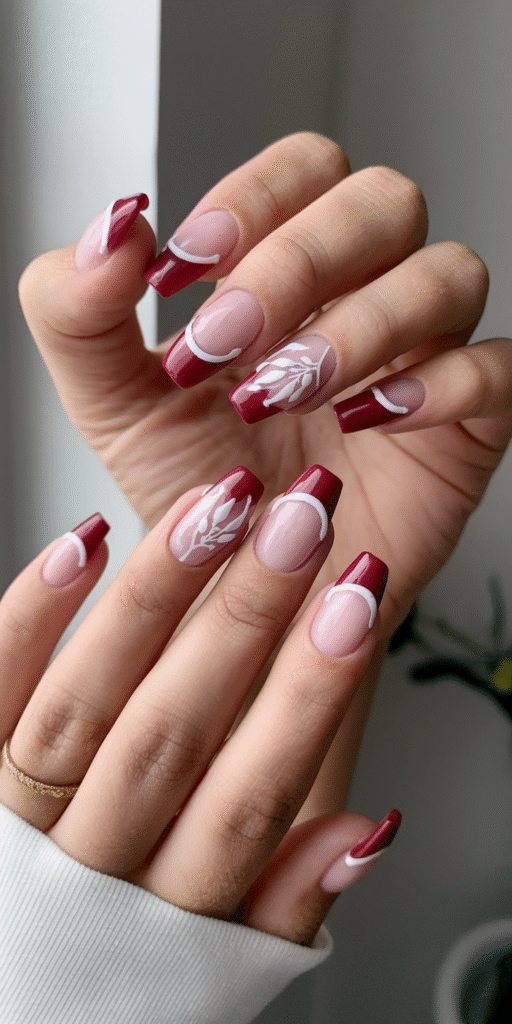
Cranberry needs two coats to reach full opacity, same as most reds with red-oxide pigment underneath.
A detail brush dipped in white gel gives cleaner tip lines than trying to use the standard polish brush that comes with the bottle.
Flip the palette for a variation: white base, cranberry tips, with tiny hand-painted holly berries near the cuticle instead of on the tip itself.


Icicle-Inspired Clear and White Tips
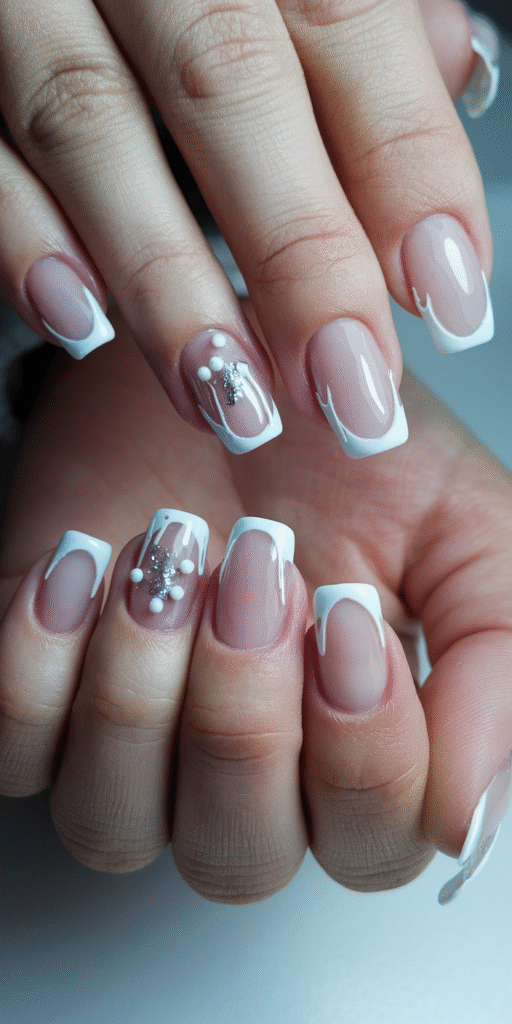
Uneven, tapered white tips look more like real icicles than a razor-straight French line does. This is one of the few designs on this list where imperfection is the point.
A clear builder gel piped along the tip in raised drops adds texture that flat polish can’t fake on its own.
A little chrome powder on one or two nails, not all ten, keeps the reflective effect from overwhelming the icicle shapes.


Champagne Gold Foil French Tips
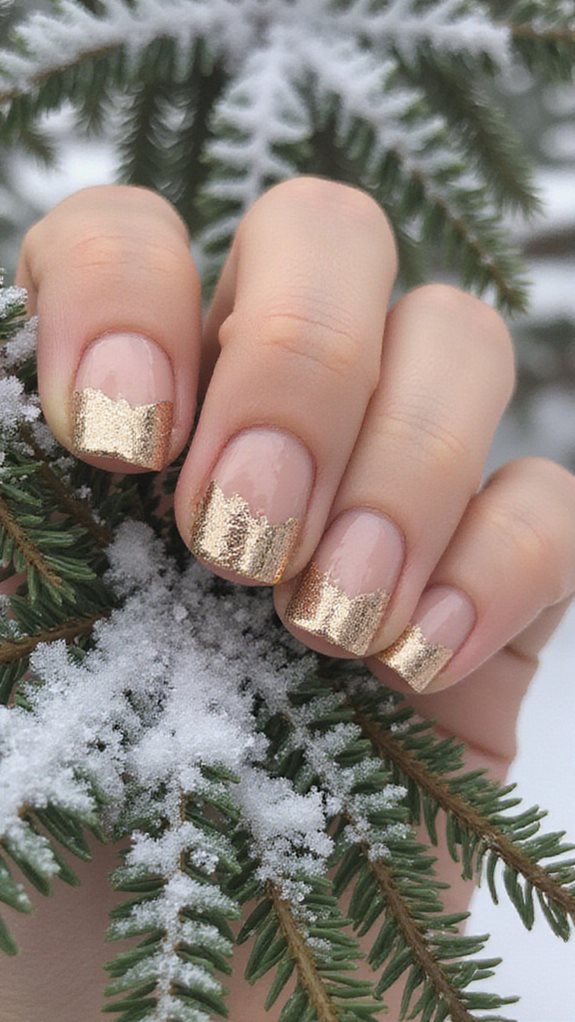
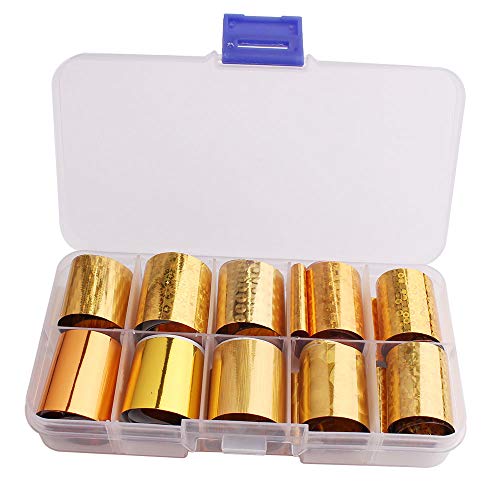
Foil needs its own adhesive, not direct pressure onto wet polish, to transfer without tearing.
Cut the champagne gold foil into strips matching your nail width before you start, rather than tearing pieces off as you go.
Press the foil onto the tacky adhesive colored side up, then peel it away in one motion. A slow, hesitant peel tends to leave patchy spots instead of a clean transfer. Our gold nail ideas collection has more metallic looks if this one works for you.


Winter Wonderland Scene French Tips
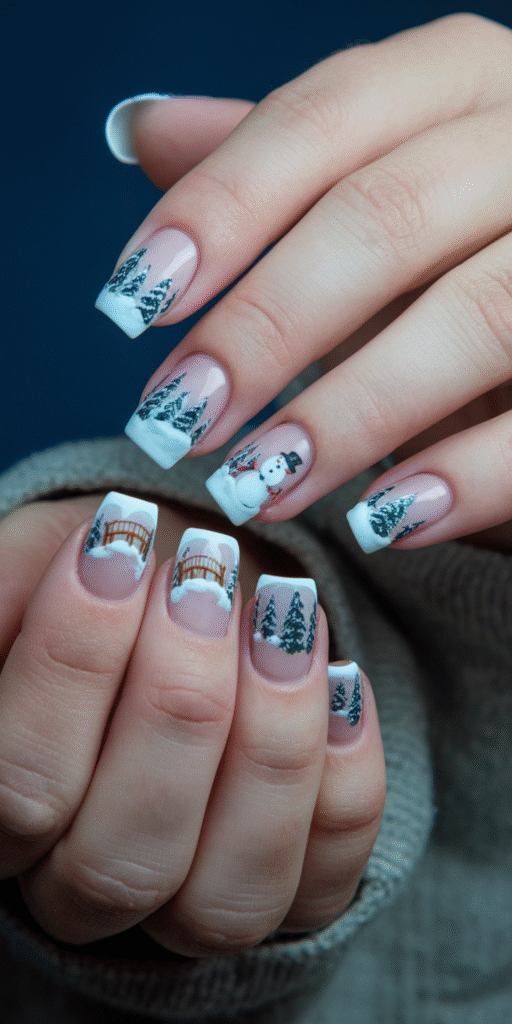
This is the most involved design on this list, and it’s worth setting aside real time for rather than rushing between other tasks.
A very fine liner brush handles the pine trees and tiny cottage roofs; a standard detail brush is too thick for shapes this small.
Thick white gel stippled on rather than brushed flat gives the snow actual texture. Almond and coffin shapes give the whole scene more room to play out than a short, rounded nail does.

Frequently Asked Questions
How Long Do Winter French Tip Nails Typically Last?
Two to three weeks with a gel manicure and proper application. Cuticle oil daily and gloves outdoors both slow down the chipping that cold, dry air speeds up.
Can Winter French Tip Designs Work on Short Nails?
Short nails handle most of these well, and metallics, snowflakes, and jewel tones tend to hold their own even on a smaller canvas. Keeping the tip line thin leaves more of the nail bed visible, which balances the proportions.
What Nail Shape Works Best for French Tip Designs?
Almond and oval shapes give the most surface area for a clean tip line. Square shapes work too, but the corners need more careful edge-work to keep the line even.
How Much Do Professional Winter French Tip Manicures Usually Cost?
Somewhere between $45 and $75 at most salons, with the higher end covering added detail like snowflakes, glitter, or chrome that takes extra time in the chair.
Can I Do Winter French Tips at Home Myself?
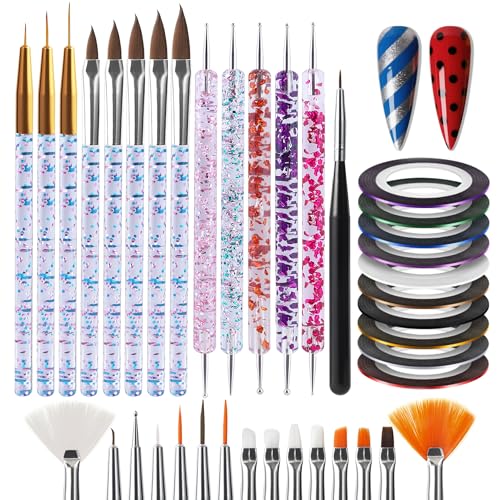
Yes, and most of these designs are built around tools that work at home just as well as in a salon: striping tape, a fine detail brush, and a steady base coat, color, topcoat routine.
Final Thoughts
A dehydrated nail bed and a good base coat do more for wear time than any topcoat added at the end. Thin layers, cured all the way between coats, hold up longer than one thick layer rushed through.
Chrome and foil need speed and firm pressure while the adhesive is tacky; everything else on this list rewards patience more than speed. Either way, a proper seal over the free edge is what buys you the extra week of wear.