22 Short Oval Nail Ideas
Short oval nails split the difference between practical and polished. A few classic French tips with narrow 2-3mm curves, nude in three clean strokes, or a red with cool blue undertones all look intentional instead of fussy.
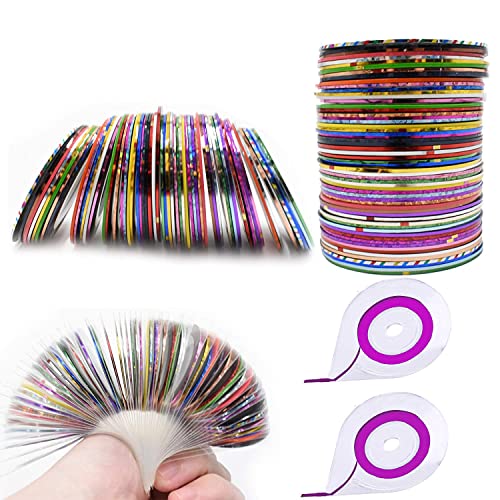
Soft pink gradients built with a makeup sponge, metallic copper laid on in vertical strokes, or geometric lines taped off with striping tape work just as well if you want more texture without much extra effort.
Two thin coats hold up longer than one thick one across nearly every design below. Here’s what actually works.
Classic French Tips With a Modern Twist
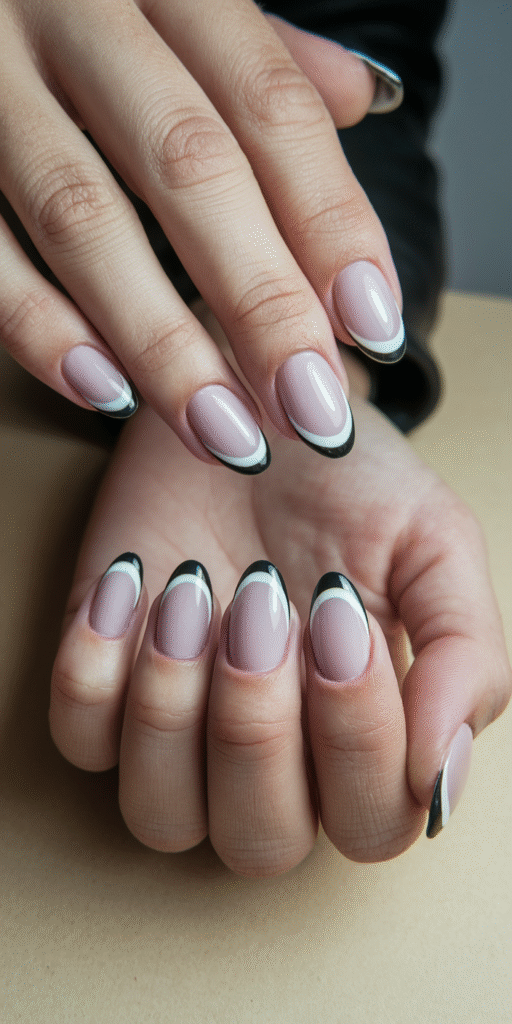
The classic French manicure needed an update for shorter nails, and shrinking the tip solved it. A narrower band follows the nail’s curve better than the wide tips made for long nails ever could.
Use a nail guide, or go freehand if your hand is steady, and keep the tip to 2-3mm. A quality base coat first keeps the white from staining the nail underneath.
Skip stark white if you want something less office-standard: nude-pink with a champagne tip, soft gray with a white edge, or sheer coral with a rose gold line all feel current rather than dated.
Gel polish plus a high-gloss topcoat gets you the most wear out of this before the tip line starts to grow out and look ragged.
If you’re still deciding on a shape before committing to a design, the trade-offs between almond and coffin nail shapes are worth a look — oval sits in a different spot on that same spectrum.


Nude Perfection for Everyday Elegance

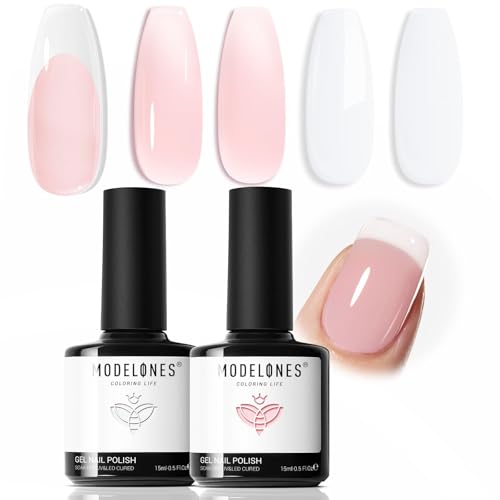
Not every manicure needs to announce itself. Nude polish is the one that shows up to work, dinner, and everything between without asking anyone to notice it first.
Nude covers more ground than people assume, from pale pink to warm beige and taupe. Pink undertones look best in cooler nudes; yellow undertones lean toward warmer beige.
Apply in three strokes, center first, then each side, and keep the coats thin. Two coats is usually enough opacity without building up ridges at the tip.
It’s the one color in this list you could wear to a job interview and a wedding in the same week.


Bold Red Statement Nails
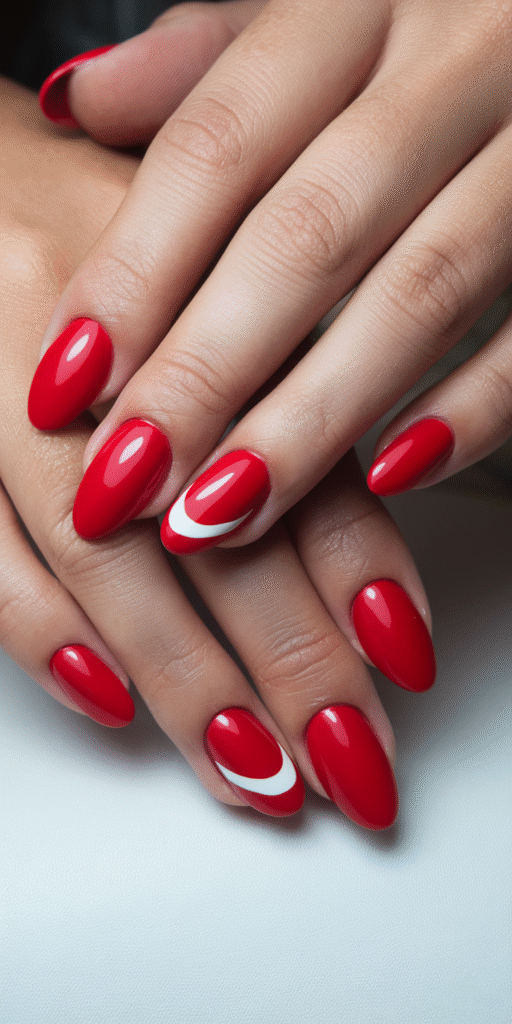
Red on a short oval nail reads confident rather than costume-y, since there’s less surface area for the color to overwhelm.
Go for a true red with a blue undertone over a warm orange-red. Apply a base coat, then two thin layers of polish, letting each dry fully before moving to the next.
A gold accent nail or a small geometric line on one finger adds interest without turning the whole look busy.
Matte topcoat reads more modern; high-gloss reads more classic. Either works, but clean cuticle work matters more here than with any lighter shade, since red shows every stray edge.


Soft Pink Gradient Ombre
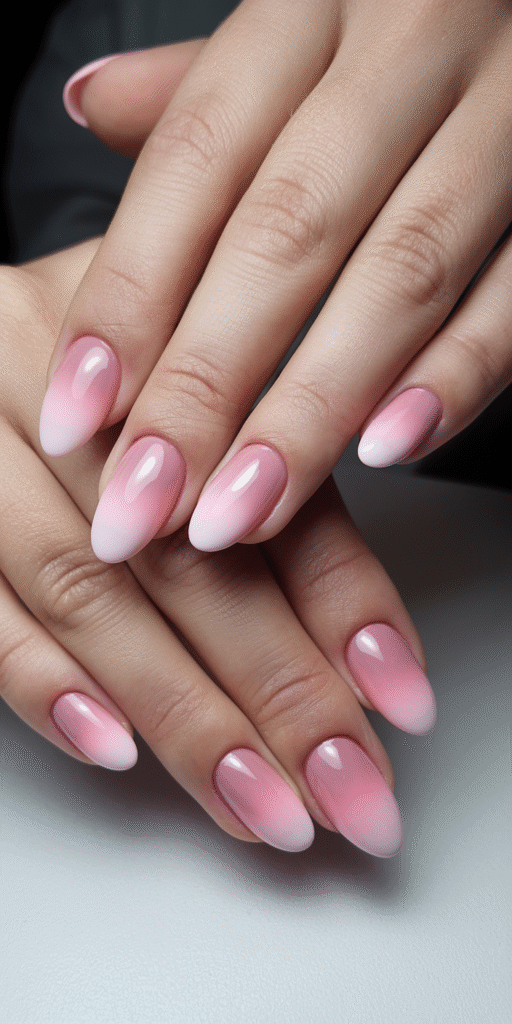
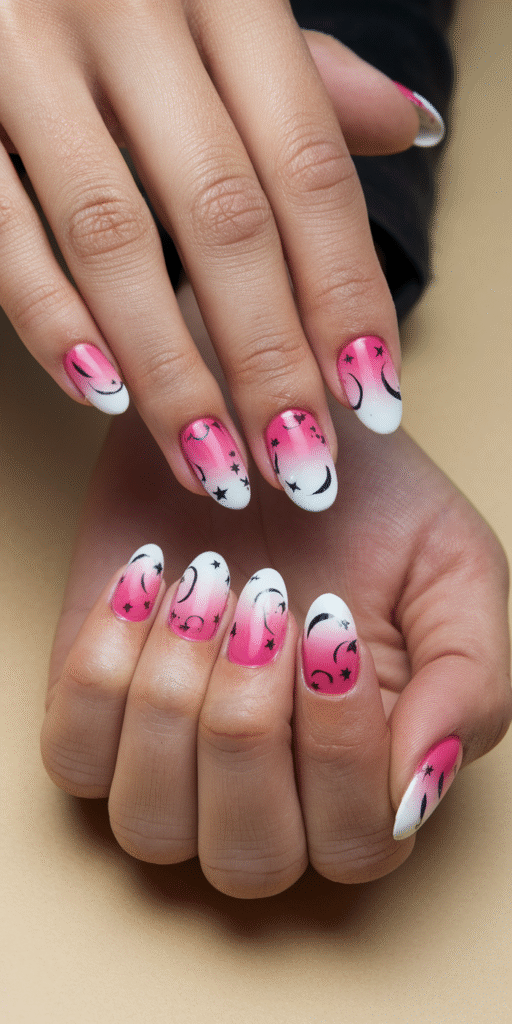
A pink gradient does what a single flat color can’t: it draws the eye along the curve of the nail instead of just sitting on top of it.
Start with a white base, then build up pink from the cuticle toward the tip in layers, going darker as you move up.
A makeup sponge or a gradient brush, dabbed while the polish is still tacky, blends the shades into each other instead of leaving hard lines.
Topcoat between layers keeps the color from streaking as you add more.


Minimalist White and Gold Accents
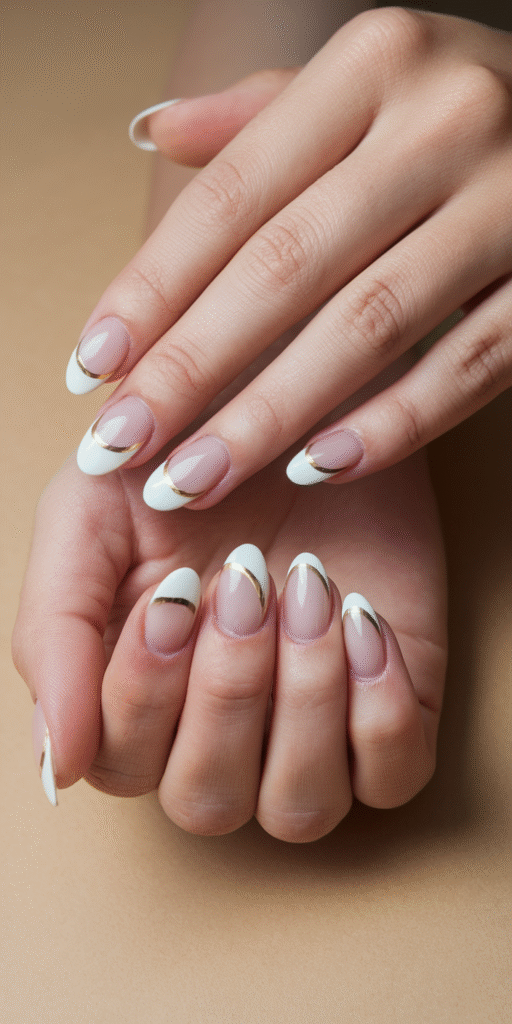
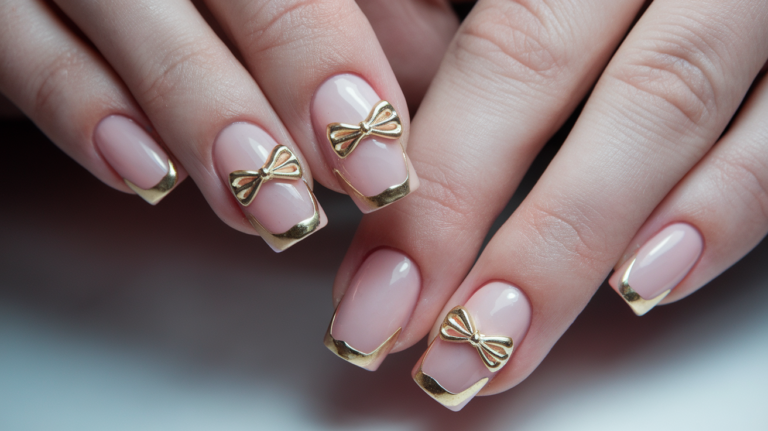
White and gold is the pairing to reach for when you want something dressier than nude without going full color.
A crisp white base, then a thin gold foil strip or a fine metallic line near the cuticle, is usually all it takes. A single diagonal line or a few small dots does more than a full pattern would.
Keep the gold to one or two nails per hand. Past that, it stops reading as an accent and starts competing with itself.
Gold pairs with a lot more than white — there’s a full range of gold nail looks worth browsing if you want the metallic to carry the design instead of just accenting it.


Glitter Tips for Subtle Sparkle
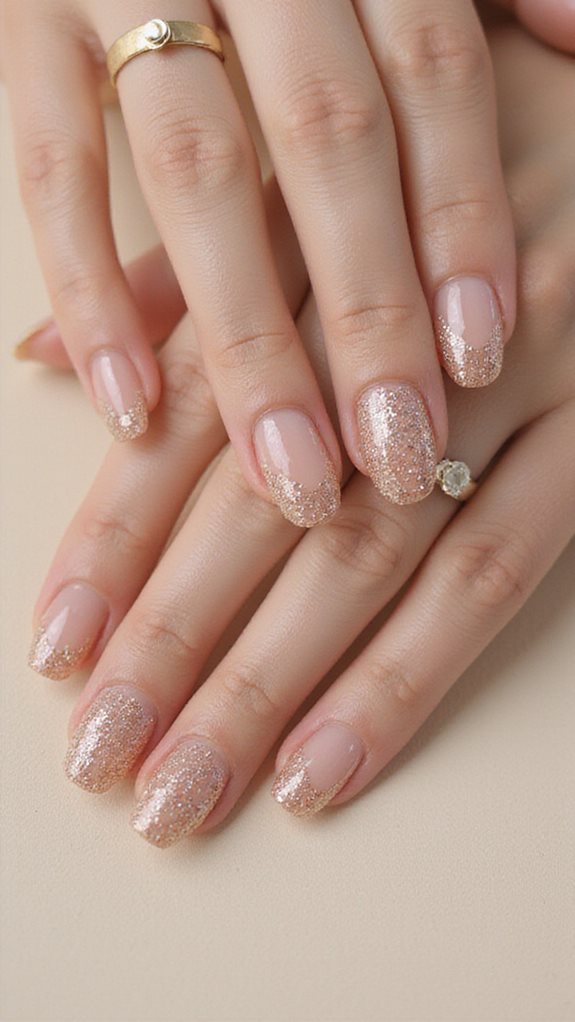
Full glitter nails can look like a lot on a short nail bed. Glitter just at the tips gives you the sparkle without the commitment.
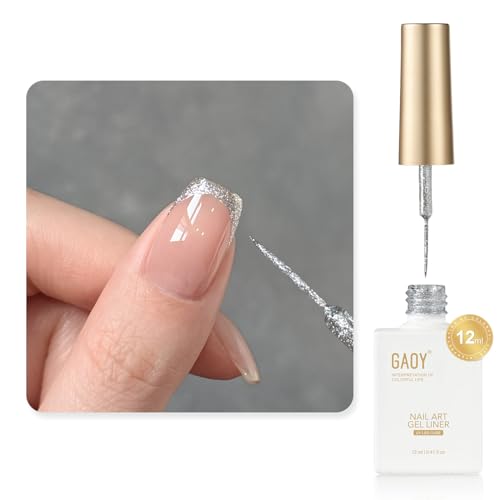
Start with a nude or clear base, then brush fine glitter polish onto the tips only, fading it toward the center for a soft gradient rather than a hard line.
Layer glitter sizes if you have them: micro particles first as a base, then a few larger pieces on top, used sparingly.
Work in three thin coats and move quickly so the glitter doesn’t clump. A good topcoat at the end holds everything down and adds wear time.


Matte Black Chic
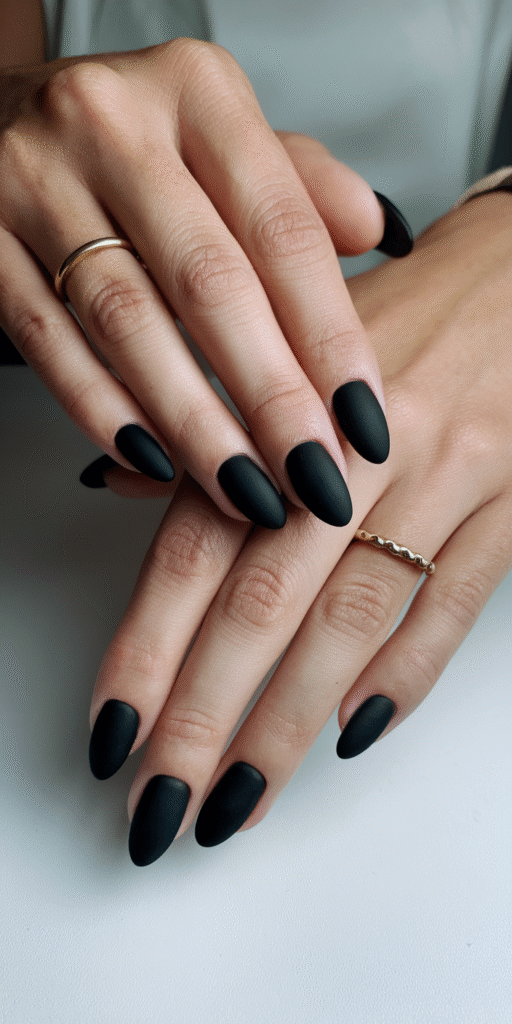
Matte black without the shine reads harder than glossy black, but the softness of an oval shape takes some of the edge off.
It sits somewhere between a bold color and a neutral, which is why it works for nearly any occasion once you’ve committed to it.
The main risk is texture showing through unevenly, so apply in thin, even coats and let each one dry before the next. Two coats of a good matte topcoat should be enough.


Pastel Rainbow Design
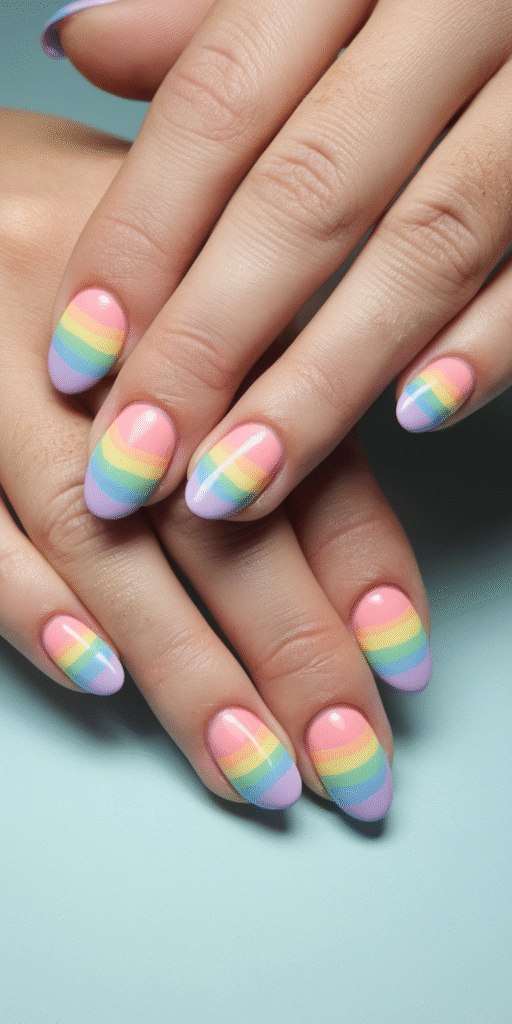
A full rainbow in saturated color can overwhelm a short nail bed fast. Pastels give you the same idea with room to breathe.
Paint a white base first so the pastels don’t turn muddy, then add thin horizontal bands of lavender, mint, peach, and soft yellow.
A damp makeup sponge dabbed along the color borders blends one shade into the next instead of leaving hard stripes.


Rose Gold Chrome Finish
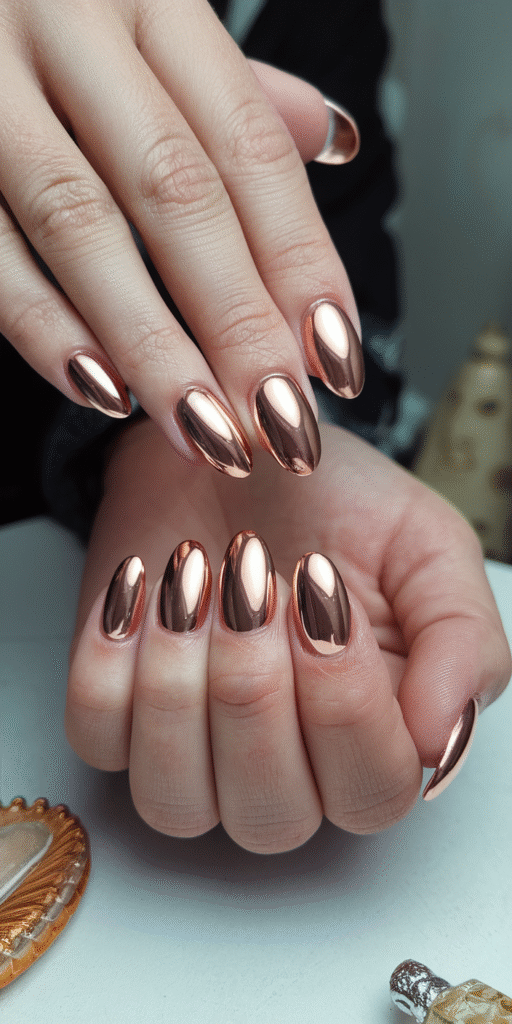
Chrome powder buffed over a tacky gel base is the closest a home manicure gets to mirror finish.
Rub the powder into the nail with a silicone applicator or a clean finger using small, firm circles. The warm rose gold tone flatters most skin tones better than silver chrome does.
The curve of a short oval catches light differently than a flat square nail would, which is part of why chrome looks especially good on this shape.
Seal it with a no-wipe topcoat so it doesn’t tarnish. This finish holds up well for two weeks or so before the shine starts to dull.
Chrome isn’t limited to a full nail, either — the same powder-and-buff method shows up on tips in these chrome French tip designs, for a lighter version of the same shine.


Delicate Floral Nail Art
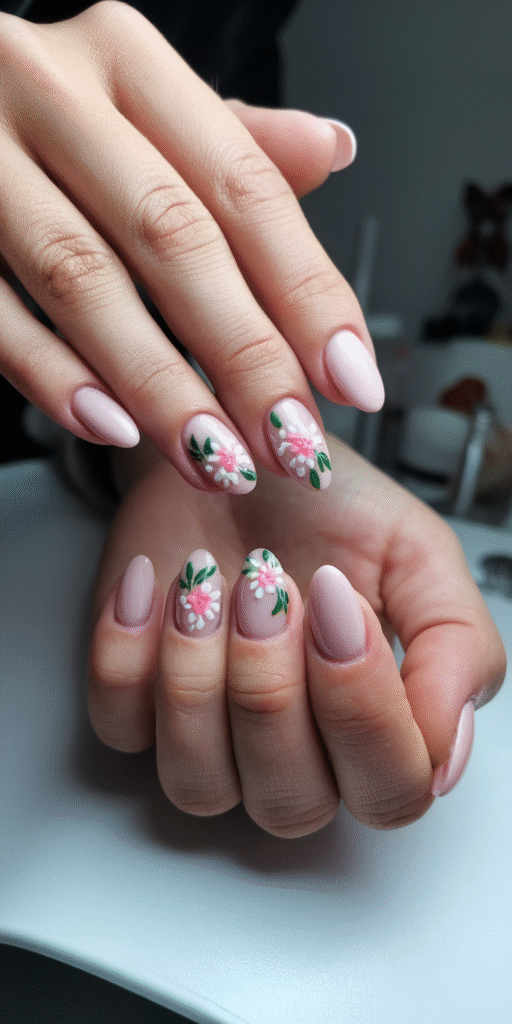
Hand-painted flowers sound harder than they are once you learn one trick: the dot-and-drag method.
Place a small dot of polish, then drag it outward into a teardrop shape for each petal. Three to five petals clustered together look like a flower even if they’re not perfectly even.
A fine detail brush handles the stems and leaves. Light pressure keeps the lines thin.
A tiny rhinestone or micro-bead at the center of each flower adds some dimension if you want to push it further.
Seal the whole thing with a quality topcoat so the color doesn’t fade before the design does.

Geometric Patterns in Neutral Tones
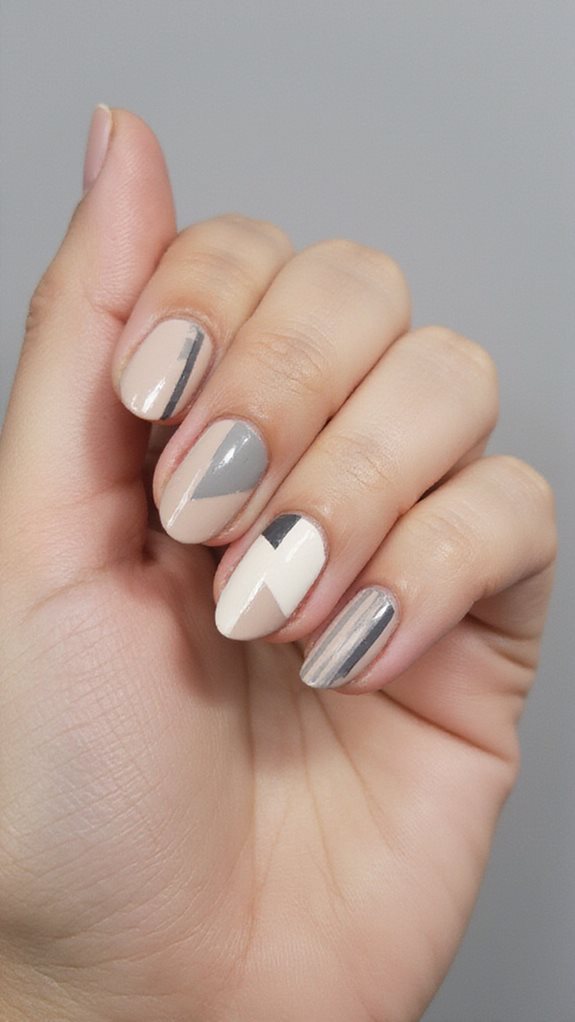
Neutral geometry is the design equivalent of a blazer. It’s structured enough to notice and quiet enough to wear anywhere.
Beige, taupe, and soft gray in triangles, chevrons, or straight lines hold up in a workplace as easily as a weekend brunch.
Striping tape or a nail guide gets you clean edges. Hand-drawn lines are harder to keep straight on a curved oval surface, so tape is worth the extra step.
Pull the tape while the polish is still slightly wet, not after it’s fully dry, or you’ll lift the edge of the design with it.


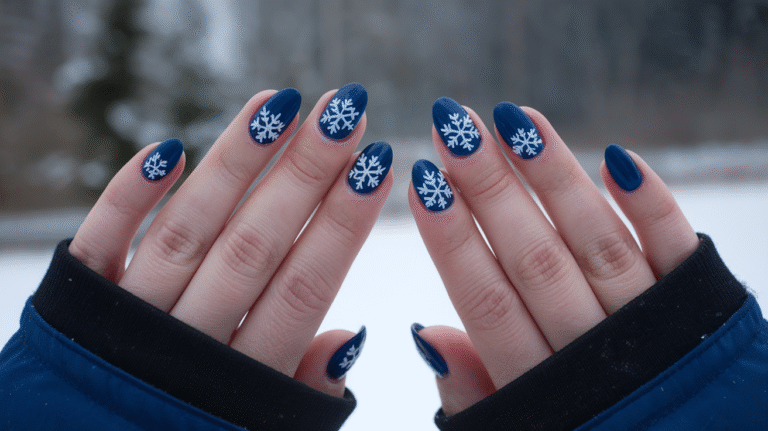
Deep Berry Winter Vibes
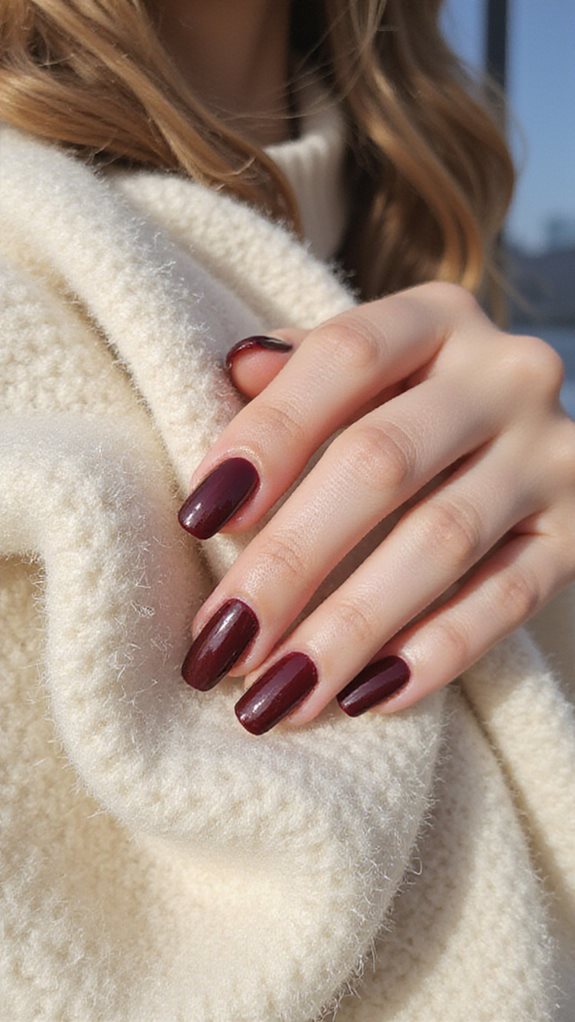
Burgundy, cranberry, and plum are the three shades worth keeping on hand once the weather turns.
A base coat followed by two thin layers gets full coverage without the color pooling at the cuticle. The curve of a short oval also softens how heavy a dark polish can look.
A matte topcoat adds contrast against the deep color, or you can add a touch of fine glitter for shimmer instead.
For a gradient version, blend two or three berry tones from cuticle to tip. Build the color in thin layers rather than one heavy coat, and clean up the edges with a brush dipped in acetone.


Pearl and Crystal Embellishments
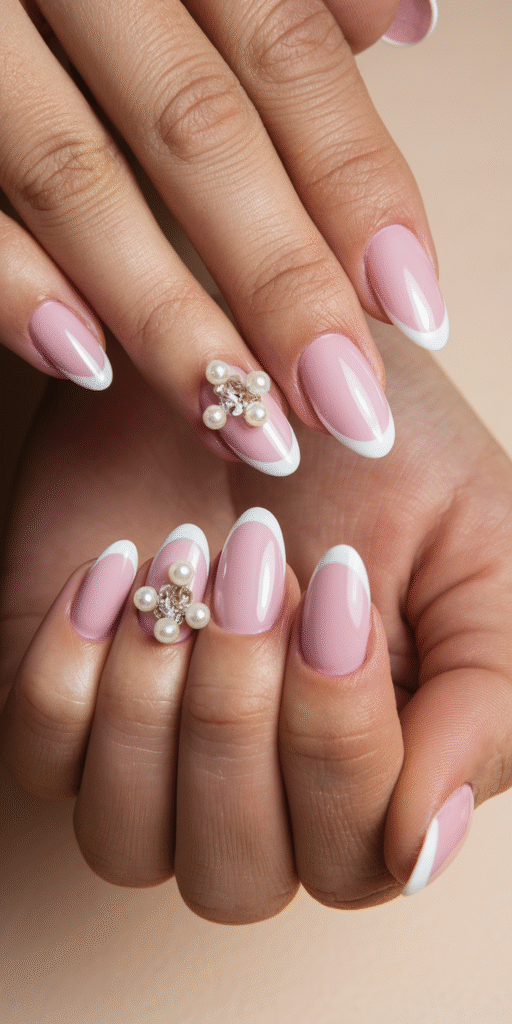
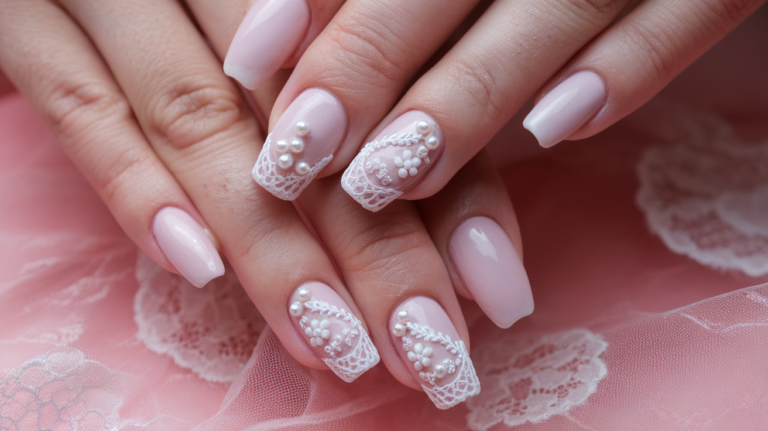
Pearls and small crystals turn a plain manicure into something closer to jewelry, without the price tag of actual jewelry.
Place one or two larger pearls at the base or center of the nail, then scatter smaller ones off to the side rather than in a straight line. Asymmetry looks more deliberate than a perfectly even row.
Match undertones: sapphire-blue crystals pair well with silver pearls, while amber crystals sit better next to cream ones.
Press each piece into a tacky gel topcoat and seal with another layer of topcoat once everything is set, or they’ll catch on fabric and pop off within a day.


Marble Effect With Silver Veins
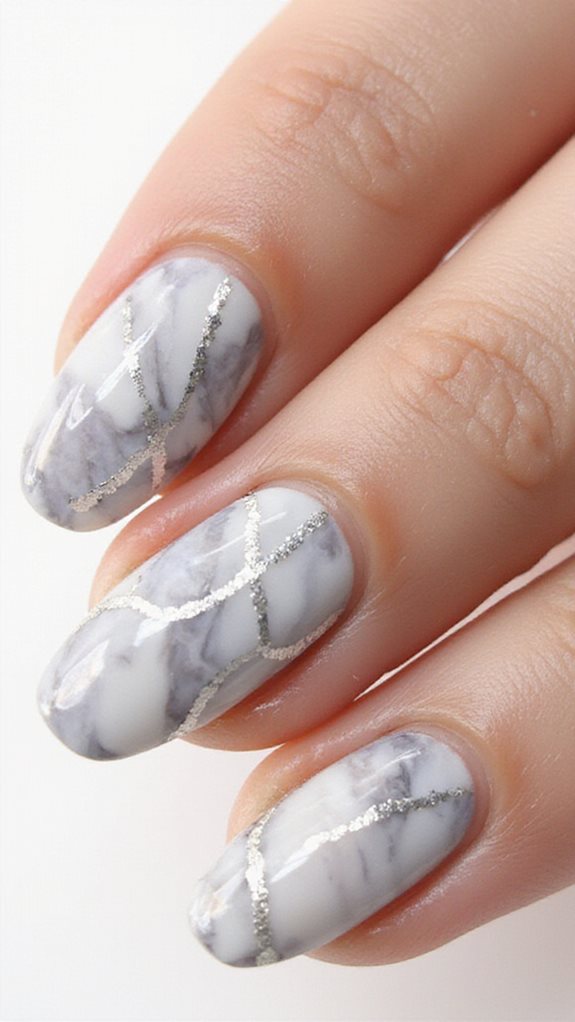
Real marble has no repeating pattern, which is the whole trick to faking it convincingly on a nail.
Drop a contrasting polish onto a wet light base coat, then drag a thin brush or a toothpick through it in loose, uneven swirls.
For the silver veins, trace thin, broken lines through the swirls with a fine liner brush rather than one continuous line.
Work fast while the base is still tacky. A high-gloss topcoat at the end makes it look closer to polished stone.

Coral Summer Brights
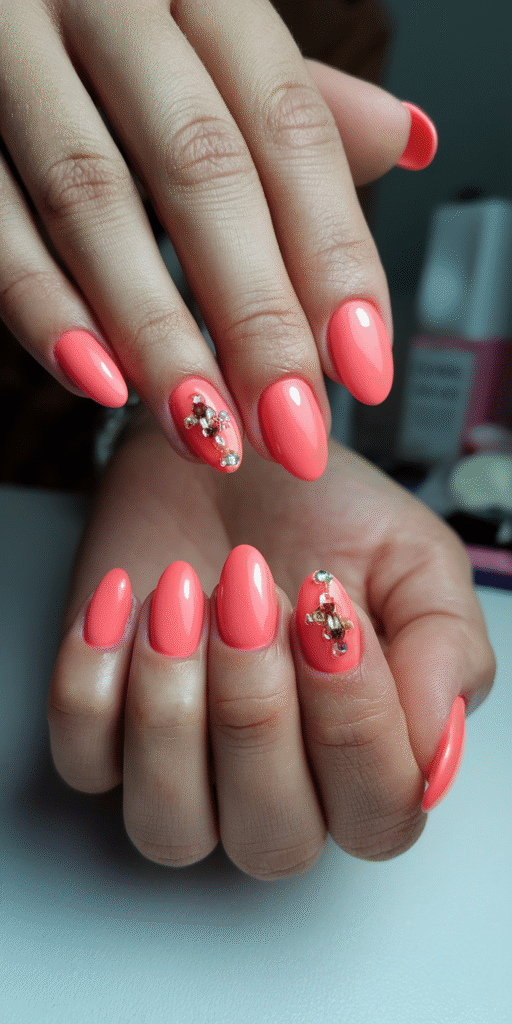
Coral works when white feels too stark and pink feels too soft. It sits right in between.
The range runs from peachy to a deeper salmon, and a gel formula holds its shine longer than regular polish will. Two thin coats over a base coat gives the fullest color.
This season it’s showing up paired with a crisp white tip or a bit of negative space rather than solid coverage edge to edge.
White accent lines, a touch of gold foil, or a gradient with a makeup sponge all dress it up without losing the warmth that makes coral flattering on most skin tones.


Negative Space Line Art
Sometimes the most interesting choice is leaving part of the nail bare on purpose.
Bare strips break up the polish with thin lines of exposed nail, which tricks the eye into seeing more length on a shorter oval than is actually there.
Start with a clear base, then lay striping tape over the sections you want to stay bare before applying color around it.
Use a fine brush for metallic accents or abstract shapes, and pull the tape while the polish is still slightly wet for a crisp edge instead of a jagged one.


Vintage-Inspired Burgundy
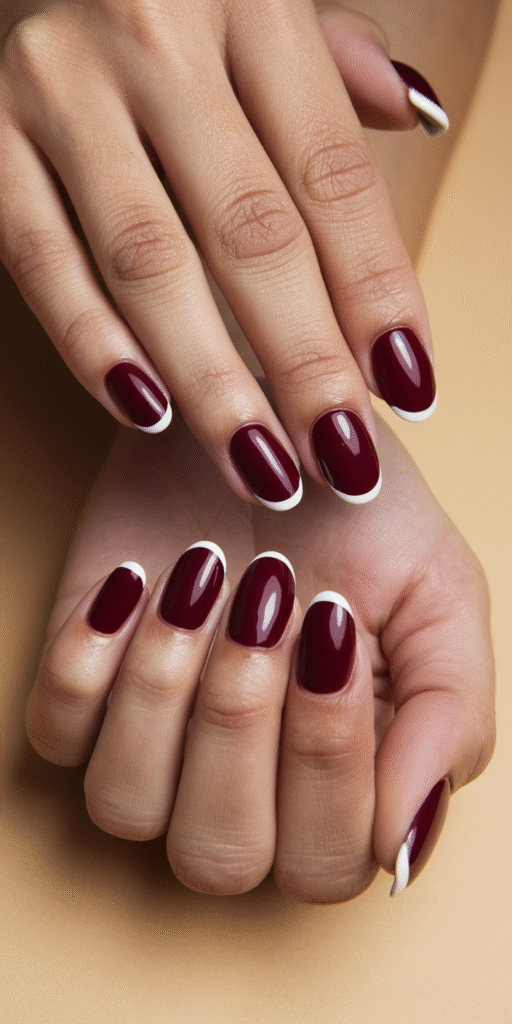
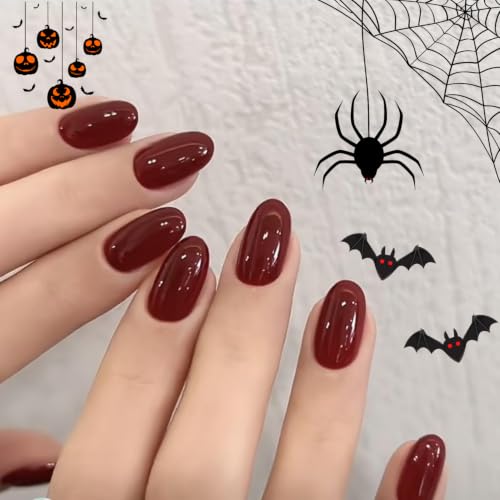
Deep burgundy is the shade that made 1940s manicures instantly recognizable, and it still works the same way now.
Use a good base coat, then two thin burgundy layers, letting each one dry completely before the next goes on.
Thin coats matter more here than usual. Go too thick and the color streaks instead of settling flat.
Pick a formula with red undertones rather than one leaning purple if you want the period-accurate look instead of a modern wine shade.
Cuticle oil before you start keeps the deep pigment from staining the skin around the nail. Finish with a glossy topcoat.


Holographic Accent Nails

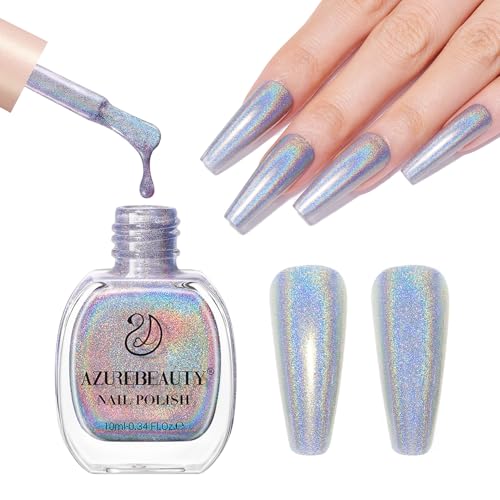
One holographic nail does more work than ten glitter ones. It catches light in a way plain shimmer can’t.
The ring finger is the usual pick. Layer the holographic topcoat over a dark base color to get the rainbow effect to show up strongest.
Let each layer dry fully before adding the next; rushing it here is what causes the finish to look cloudy instead of crisp.
A clear protective topcoat on top keeps the shimmer from dulling and helps it resist chipping.


Soft Lavender With White Details
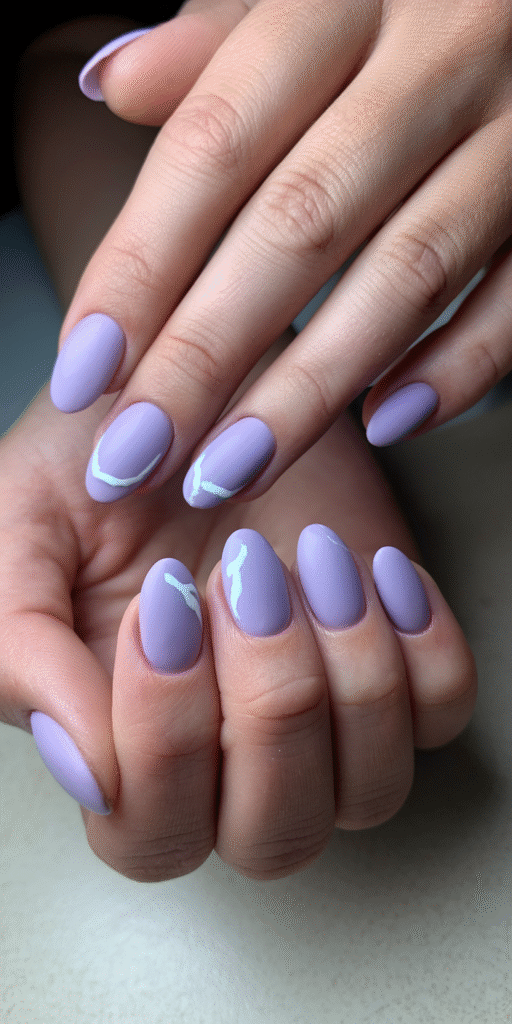
Lavender and white together land somewhere between playful and grown-up, which is a hard balance for most pastels to pull off.
Two thin coats of lavender as a base, dried fully, then a fine detail brush for simple white daisies or a few loose roses on top.
Small floral details like this work better on short nail beds than an elaborate design would, since there’s less room for the pattern to get cramped.
Seal the white detailing with a clear topcoat so it doesn’t chip off before the base color does.


Metallic Copper Glow
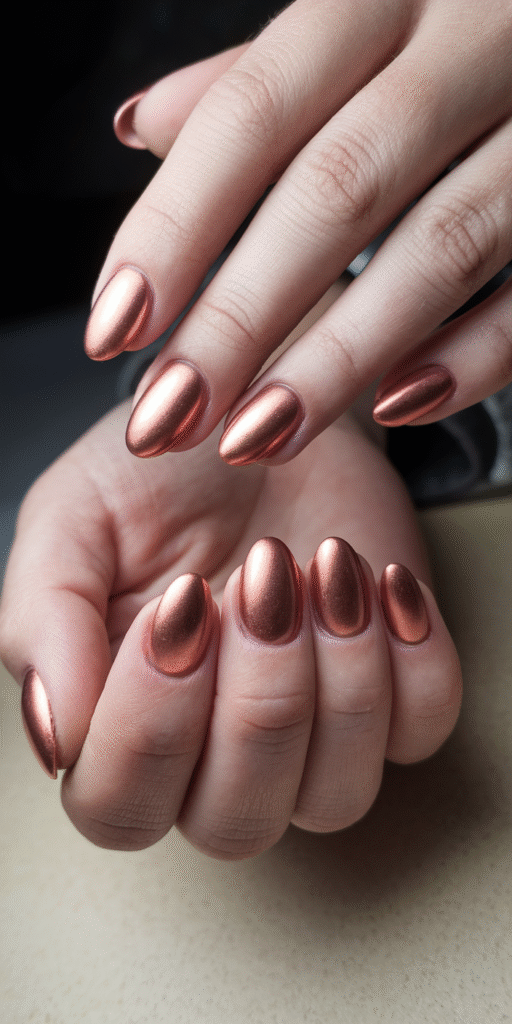
Copper reads warmer than gold and less flashy than rose gold, which is why it works for people who find metallics a little much.
A black or deep brown base underneath keeps the copper from turning muddy and makes the shimmer stand out more.
Apply in thin, even coats from cuticle to tip using vertical strokes. A dotting tool or striping brush down the center of the nail adds a subtle accent line if you want more detail.
Finish with a high-gloss topcoat for shine and to protect the metallic finish from scratching.


Two-Tone Color Block Design
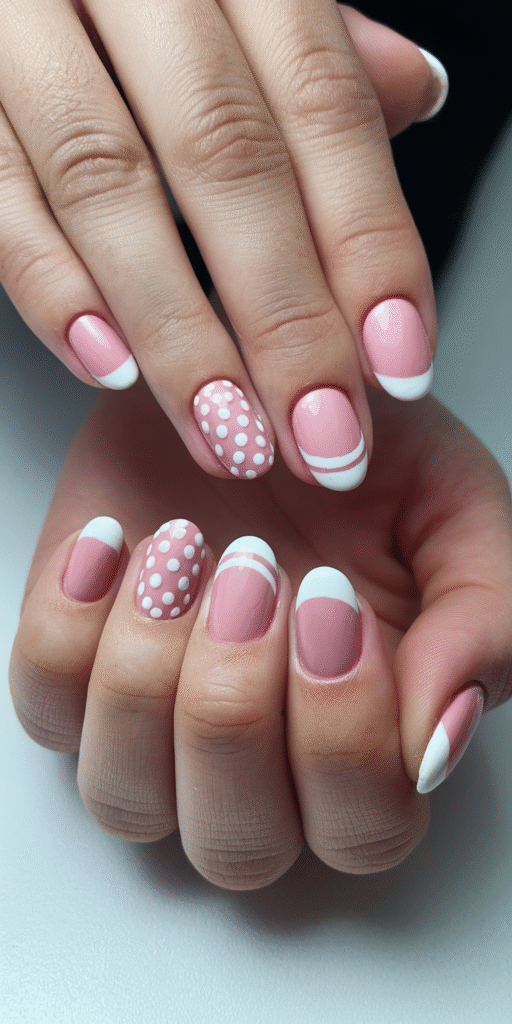
Splitting a nail into two colors is a bigger visual move than most people expect from something this simple to do.
Base coat first, then nail tape or a striping brush to mark the division. Horizontal, vertical, and diagonal splits all work, though diagonal tends to look the most current.
Navy and cream is an easy pairing to start with. Black and white gives more contrast if you want the line itself to be the focal point.
The curve of an oval nail rounds off what would otherwise be a hard geometric edge. Apply each color in thin coats, and pull the tape while it’s still slightly wet so it doesn’t peel the polish with it.

Clear Base With Dried Flowers
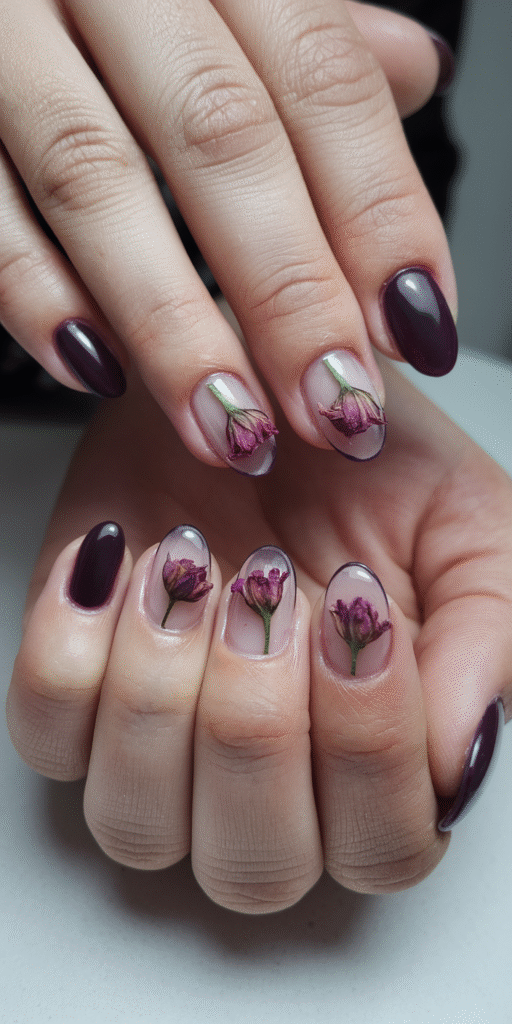
Pressed flowers under clear polish look more delicate than almost anything you could paint on by hand.
The clear base gives the petals a smooth surface to stick to, and it keeps any pigment from the dried flower from bleeding into the natural nail.
Once the flower is placed, the clear base also acts as a barrier that keeps out moisture, which is what causes pressed petals to break down over time.
Build up several thin layers of clear base over the top to fully encase the flower rather than one thick coat, which tends to trap air bubbles around the petals.


Frequently Asked Questions
How Do I Properly File My Nails Into a Short Oval Shape?
File from each corner toward the center in one direction, not back and forth, which weakens the nail edge over time. A short oval holds up better against snagging than a square shape does, since there are no sharp corners to catch on things. Filing technique matters even more if your nails are already weak — this guide to caring for brittle nails covers what to change if they’re chipping or peeling no matter how careful you are.
What Nail Length Is Considered Ideal for Short Oval Nails?
About 2-3mm past the fingertip is the sweet spot. Much longer and you lose the durability that makes this shape practical for daily use; much shorter and the oval curve barely reads.
How Often Should I Trim My Short Oval Nails to Maintain Shape?
Every 7-10 days is typical, though it depends on how fast your nails grow. File right after trimming while the edge is fresh, since waiting lets the shape drift out of round.
Do Short Oval Nails Work Well With All Finger Shapes and Sizes?
Yes, more so than most other shapes. The curve visually elongates wider fingers and doesn’t overwhelm narrower ones, which is why it’s the shape most nail techs default to when someone can’t decide.
What Tools Do I Need to Achieve the Perfect Short Oval Nail Shape?
A glass or fine-grit file, a buffer, a cuticle pusher, and a good pair of clippers cover it. Work from the corners inward in a single direction, and keep the curve angle consistent nail to nail so they match.
Final Thoughts
That’s 22 ways to wear a short oval nail, from a five-minute nude to a marbled design that takes some patience. Most of them come down to the same basics: a clean base coat, steady brush control for anything with a gradient, and a topcoat that actually seals the edge.
Nail length, cuticle condition, and how hard you are on your hands day to day should all factor into which design you pick. Whatever you choose, thin coats and full drying time between them will get you further than any single technique on this list.