24 Gold Nail Ideas to Try This Year
Gold sits in an odd spot among metallics. It’s warm enough to flatter most skin tones, but neutral enough to sit over almost any base color without a fight. That’s part of why the same color shows up as a single coat of polish, a French tip, a full chrome finish, and a foil accent, and each one looks like a different manicure.
Some of the designs below take five minutes (two coats of polish, done). Others, like water marbling or chrome, take a few tries before they look the way they do in a salon. Either way, the technique details below matter more than the color choice, since most of these hold up or fall apart based on how the polish or product is applied, not which gold you picked.
Classic Solid Gold Polish

Cooler skin tones tend to suit a champagne or pale honey gold with a blue-toned undertone; warmer skin tones can handle a deeper, brassier gold without it looking dull against the skin.
Metallic polish drags more than a regular cream formula, so apply thin coats and wait a full two minutes between them instead of rushing straight into a second layer. Two coats gives full opacity.
Finish with a high-shine topcoat rather than a standard one. It’s the difference between the polish looking like polished metal and just looking like yellow nail polish.


Gold French Tips
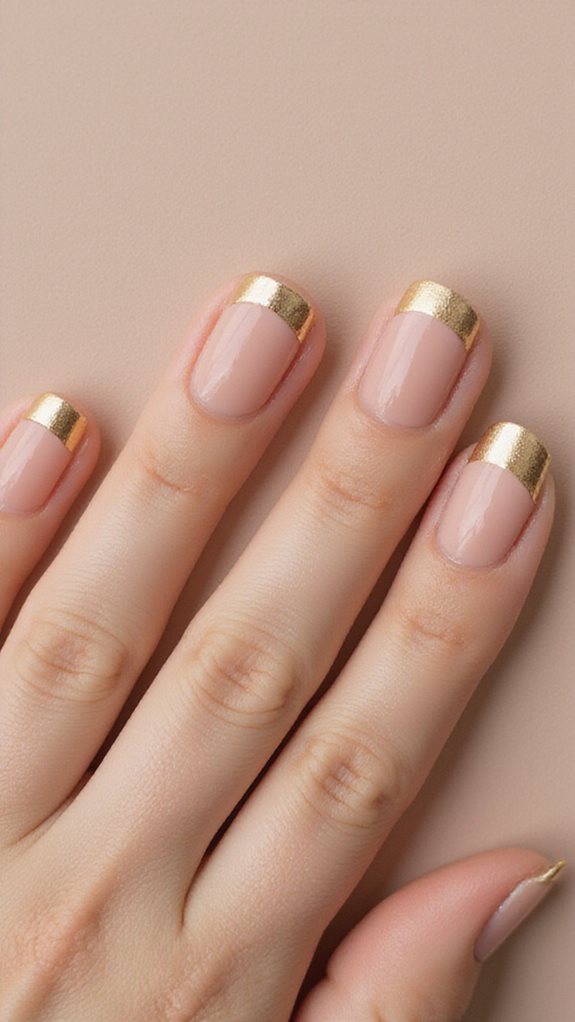
Swapping the usual white tip for gold works over a sheer nude or clear base, so the metallic edge is the only thing drawing the eye.
Striping tape gives a cleaner tip line than freehanding it with a brush, especially on a first attempt. Press the tape down firmly at both edges before painting, or polish will bleed underneath it.
A thin tip line stays understated for daytime; a thick tip pushes the whole look toward evening. For a bolder take on the same shape, the red French tip designs piece has more on how color changes it completely.


Geometric Gold Patterns
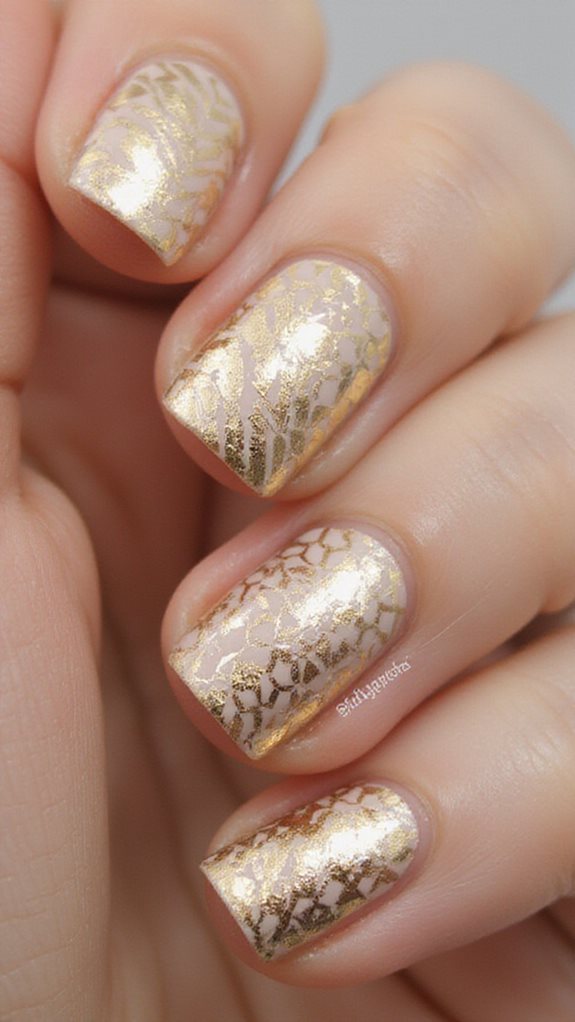
Gold striping tape or foil tape cuts clean triangles, diamonds, and chevrons without needing a steady freehand line.
Let the base color dry completely before placing the tape. Tape on wet or tacky polish lifts the color underneath when you peel it off.
A dark base, navy or emerald work well, gives the gold lines something to stand out against. Pull the tape off at a low angle rather than straight up, which keeps the edge of the shape crisp instead of smudged.

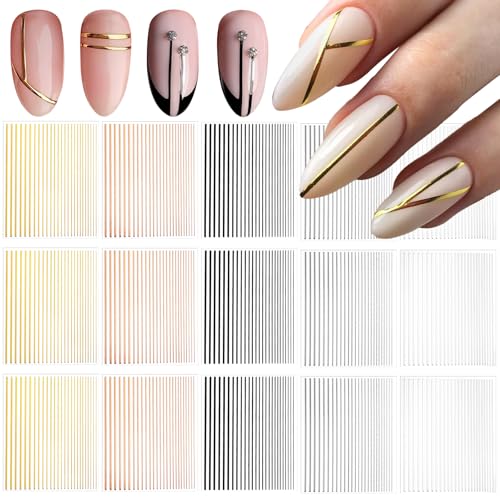

Gold Foil Accent Nails
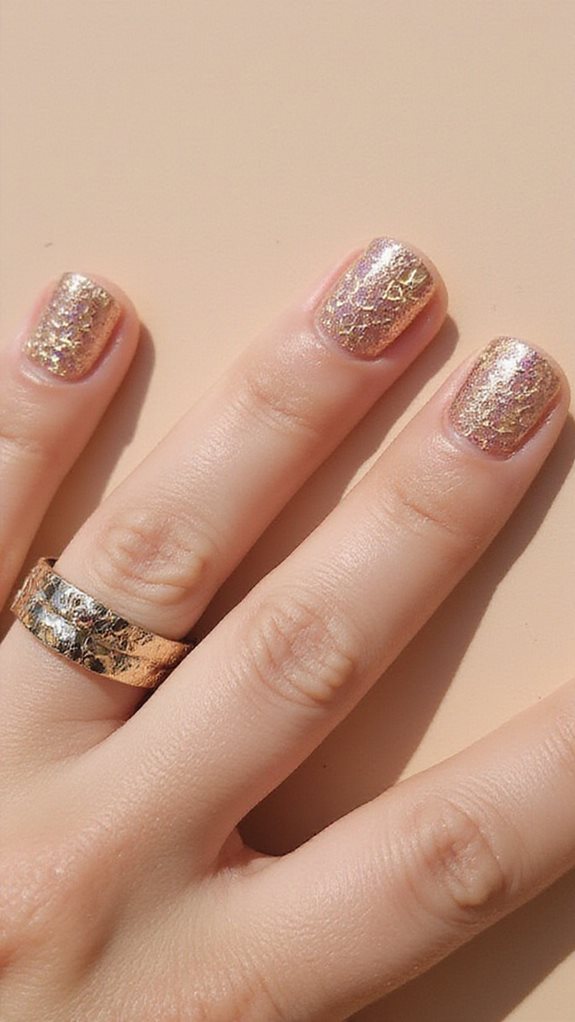
One or two accent nails does the job here. Foil has a lot of visual weight, and covering all ten nails can look busy fast.
Apply foil adhesive over your dried base coat and wait until it turns from milky to clear and tacky, that’s the window to press the foil sheet on. Press firmly, then peel the backing sheet away slowly and at a low angle rather than yanking it straight off.
Holographic foil catches more light than a solid gold sheet; solid foil gives a cleaner, more uniform metallic look. Try both over a black base to see the difference clearly.


Matte Gold Finish
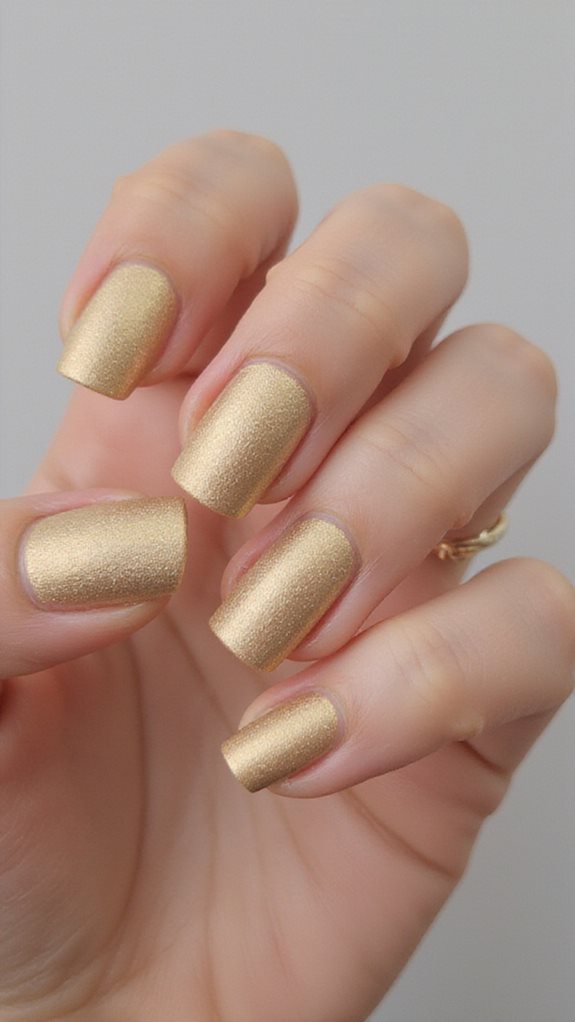
A matte topcoat pulls the shine off gold without dulling the color itself, which is useful if a full-shine metallic feels like too much for work.
Two coats of regular gold polish go on first and need to dry fully. Then one pass of matte topcoat, applied in a single stroke per nail. Going back over it while it’s setting causes the streaking, which has nothing to do with the polish itself.
Matte wears down faster than glossy polish, so plan on refreshing the topcoat every three or four days if you want the flat finish to hold.


Gold Glitter Gradient
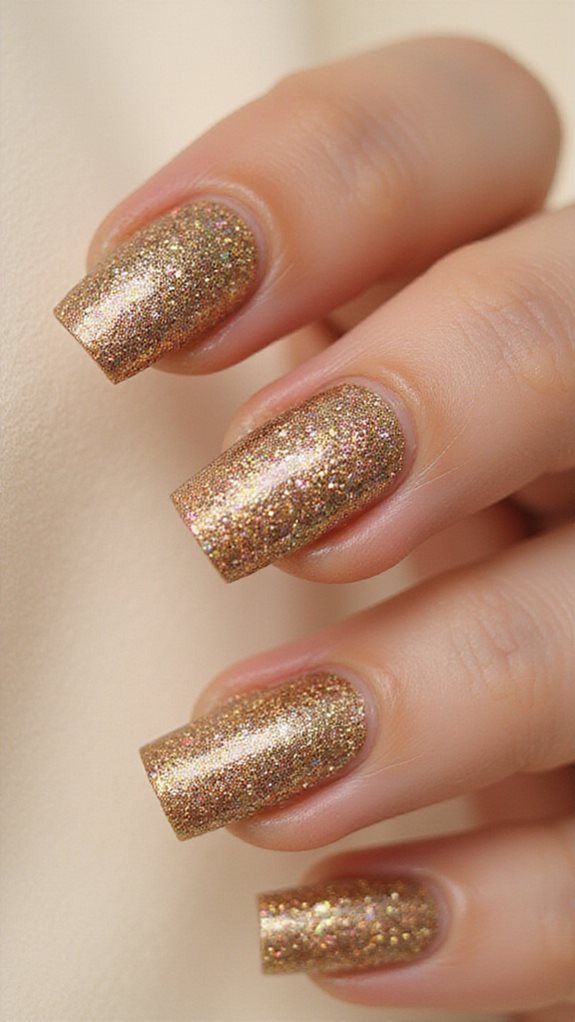
A makeup sponge builds this gradient better than a brush. Dab dense glitter polish at the tip first, then work the sponge down toward the cuticle with less pressure each pass so the color thins out gradually.
Two or three light layers stay easier to control than one heavy one, which clumps instead of fading smoothly.
Glitter texture needs two or three coats of topcoat, not one, to smooth over the particle edges. A glitter gradient that skips this step often turns out gritty instead of glassy.


Rose Gold Elegance
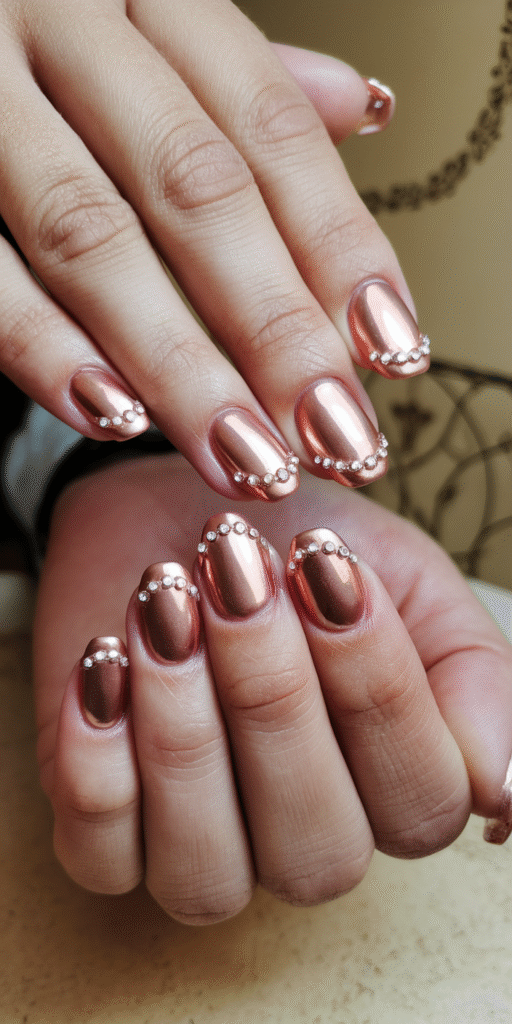
Rose gold leans pink where standard gold leans yellow, which makes it sit closer to a blush than a metallic on most skin tones.
Over a nude or blush base it stays soft and everyday; over black or deep burgundy it turns into something you’d wear for a night out. Both use the same two thin coats plus topcoat as any other gold polish.
Small crystals or pearls along the cuticle line add detail without changing the base color, if you want something between plain polish and a full nail-art design.


Gold Leaf Application

Gold leaf sheets (the imitation kind sold for nail art, not real gold leaf) tear into organic, uneven pieces that look nothing like a printed foil pattern.
Pick up small torn pieces with tweezers or a soft, dry brush and press them onto a tacky base coat. A dark base, deep burgundy, midnight blue, or black, gives the biggest contrast.
Keep this to accent nails. Gold leaf cracks and lifts if it flexes too much across a full nail’s surface, so a smaller area holds up longer.


Minimalist Gold Lines
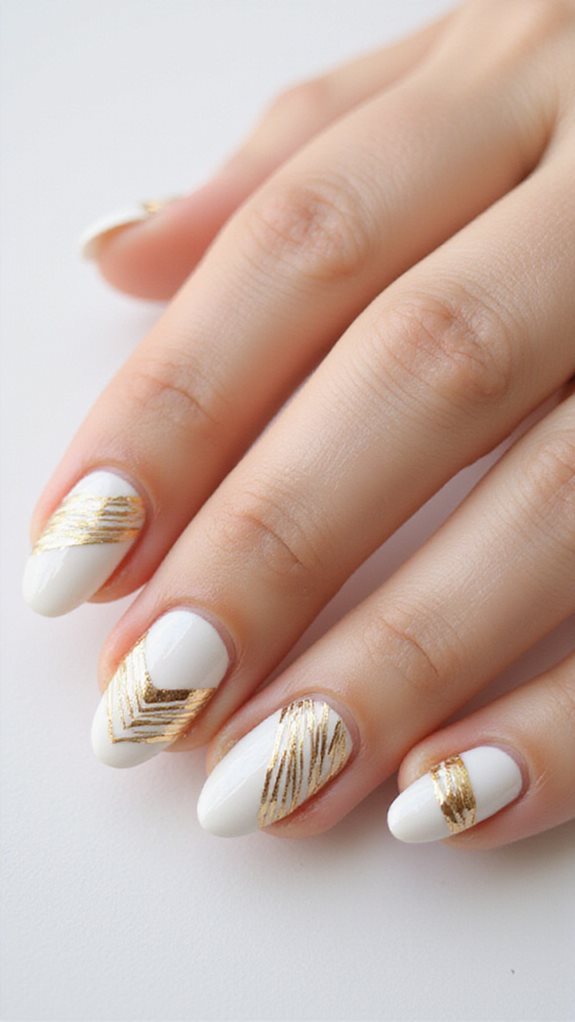
A single thin gold line, drawn with striping tape or a fine detail brush, does more here than a full design would.
A vertical line down the center makes the nail look longer; a horizontal line near the cuticle reads more like a bracelet than a nail design. Nude, white, or clear bases work best since the line needs contrast to actually show up.
Keep it to one or two accent nails. Once it spreads across all ten, it stops being minimal. If you want to see how far the less-is-more approach can go, the guide to minimalist nail designs goes further into this style.


Chunky Gold Glitter
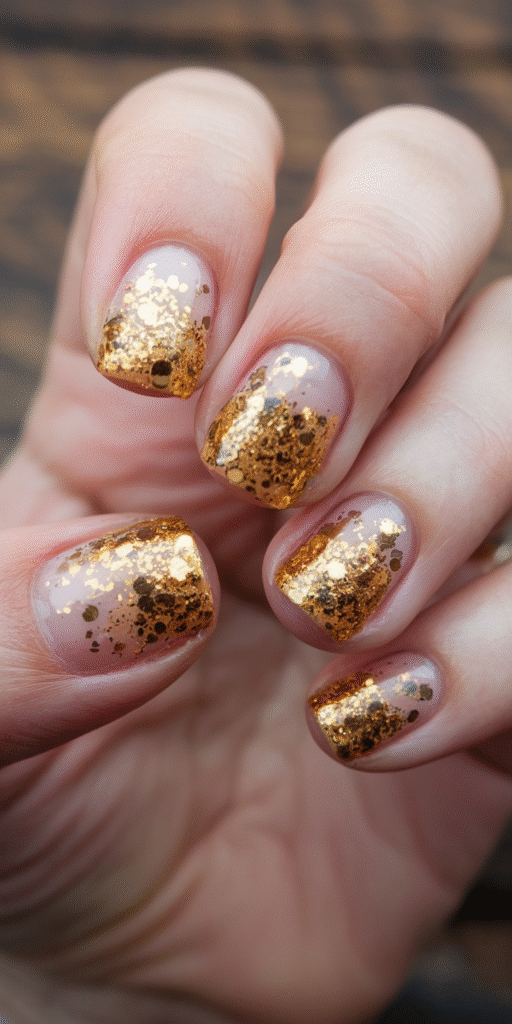
Large glitter particles need to be pressed into tacky polish rather than brushed on, or most of them end up sitting loose on the surface instead of embedded in it.
Apply a base coat, then while it’s still tacky, pack glitter on with an orange stick or a gloved fingertip. Full coverage reads bold; a single glitter accent nail against a nude or black set keeps the rest of the hand quiet.
Chunky glitter needs two to three coats of topcoat, more than fine glitter needs, to smooth the surface enough that it doesn’t catch on fabric or hair.

Gold Marble Effect
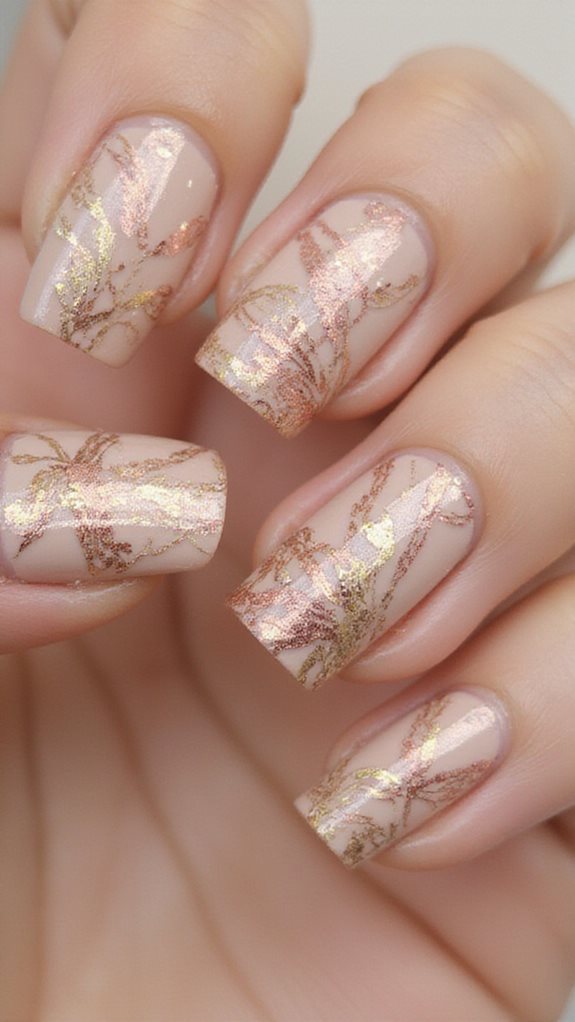
Water marbling starts with room-temperature water. Cold water makes the polish sink instead of spreading into a thin film on the surface, and that’s usually why this technique trips people up on a first try.
Drop gold polish into the water, let it spread, then drag a toothpick through it to create swirling veins before dipping your taped nail in at an angle.
Gold over white gives a clean, classic marble; gold over navy pushes it toward something bolder. Either way, tape around the cuticles first, since cleanup around the nail is the messiest part of this technique.


Negative Space Gold Designs
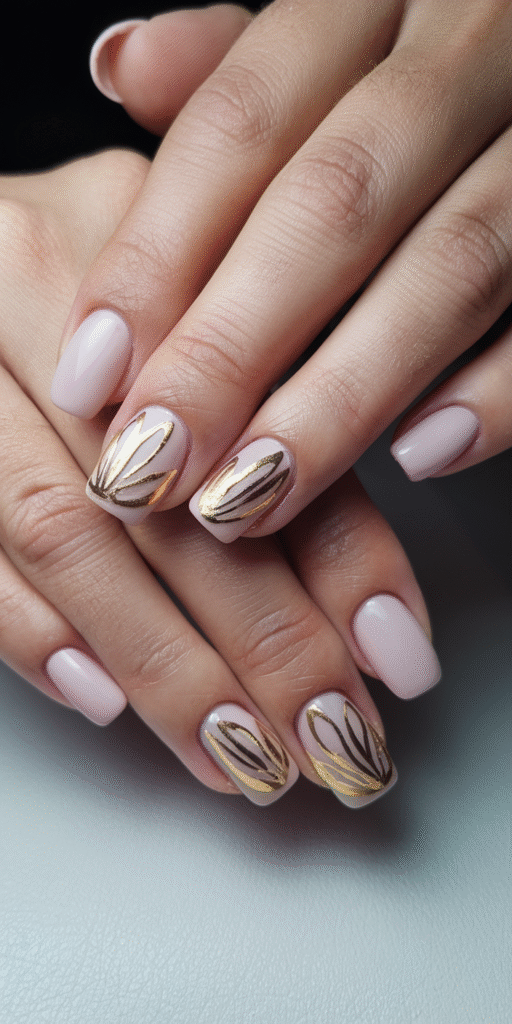
Leaving part of the natural nail bare and framing it with gold is one of the better options for shorter nails, since the exposed section keeps the design from looking crowded.
A diagonal cutout across the tip, or a half-moon shape at the cuticle, both work with just striping tape and a base coat, no freehand painting required.
Keep the bare section buffed and clean before you start. Any ridges or dryness on the exposed nail will show, since there’s no polish covering it up.


Gold Chrome Mirror Finish
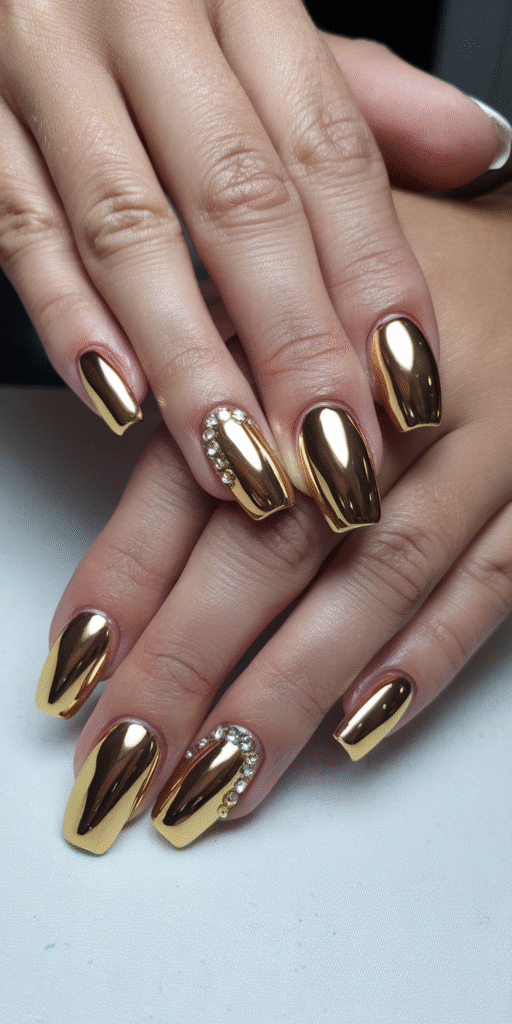
Chrome powder needs to go on with a silicone applicator or a soft makeup sponge, not a brush. A brush leaves visible streaks in the finish that no amount of buffing fixes afterward.
Buff the powder into a tacky gel base using small circular motions until the whole nail catches light evenly.
A no-wipe topcoat matters more here than with any other finish on this list. A standard topcoat dulls chrome powder and takes the mirror effect down to a plain shimmer. This same finish, done on just the tips instead of the whole nail, is in the chrome French tip designs collection.


Abstract Gold Brushstrokes
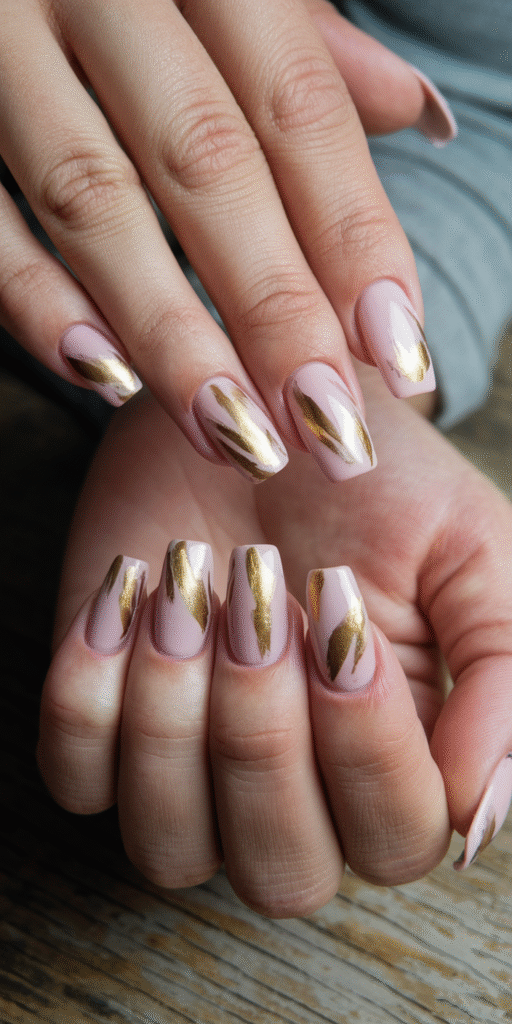
A thin nail art brush loaded with gold polish and dragged in uneven, angled strokes across the nail gives this its hand-painted look. Symmetrical strokes here look stiff; uneven ones look intentional.
Nude, black, or clear base colors give the strokes the most contrast to work against.
Layering two gold shades, a warm one and a rose gold, over each other while the first is still tacky adds depth without needing extra tools or steps.


Gold Ombré Nails
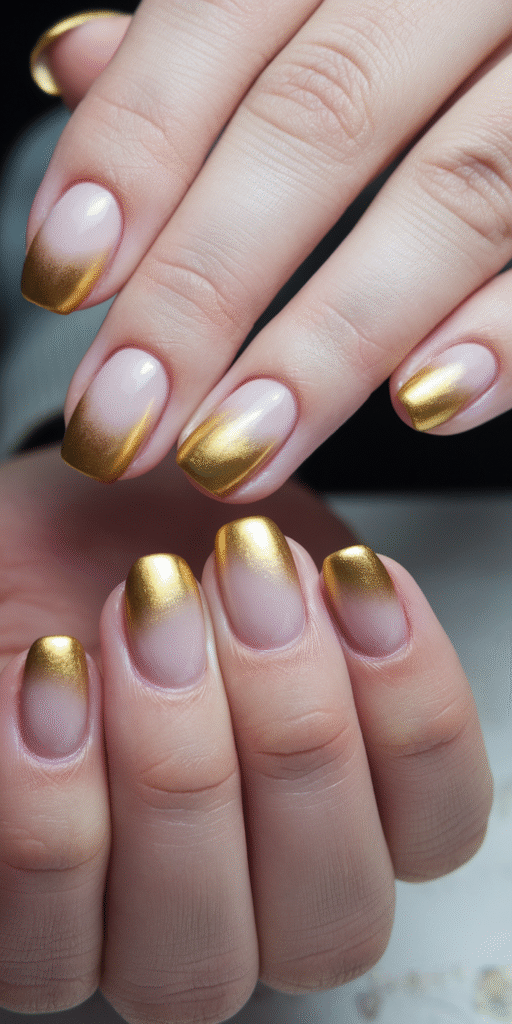
Three gold tones blended in one gradient, champagne at the base, rose gold through the middle, deep bronze at the tip, goes noticeably deeper than fading a single shade into itself.
Let each color tack slightly before sponging on the next one. Blending two fully wet layers together just muddies the colors instead of creating a gradient.
Pairing gold with a rich color, burgundy, emerald, navy, at one end of the gradient pushes it toward evening wear; keeping it all within warm neutrals keeps it wearable for daytime.

Textured Gold Stamping
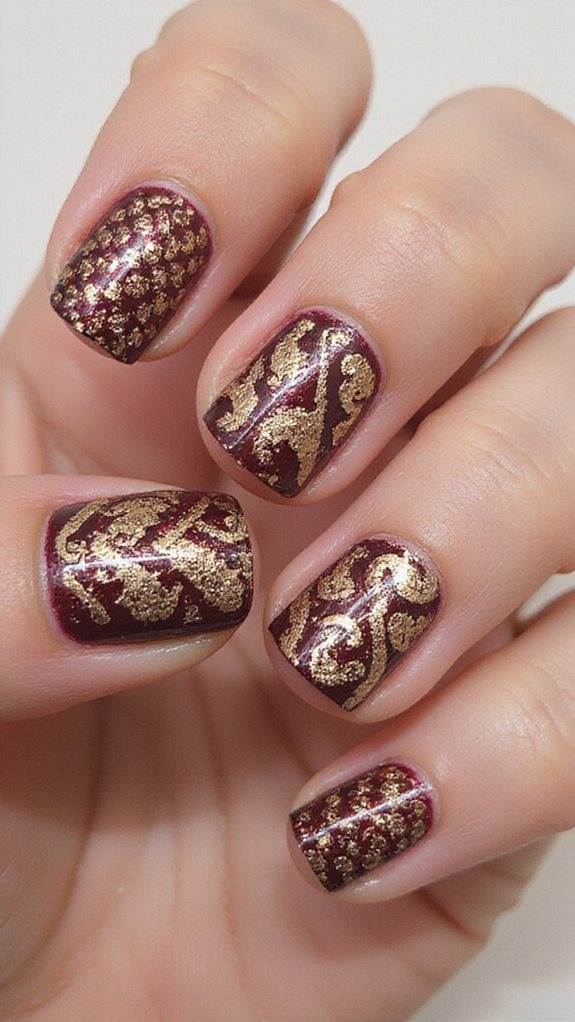
Stamping polish needs to be thicker than regular polish, or it won’t pick up cleanly off the plate. Regular gold polish smears instead of transferring a crisp image.
Scrape the plate at a consistent angle, pick the image up fast with the stamper before the polish dries, and press it onto the nail in one motion rather than rolling back and forth.
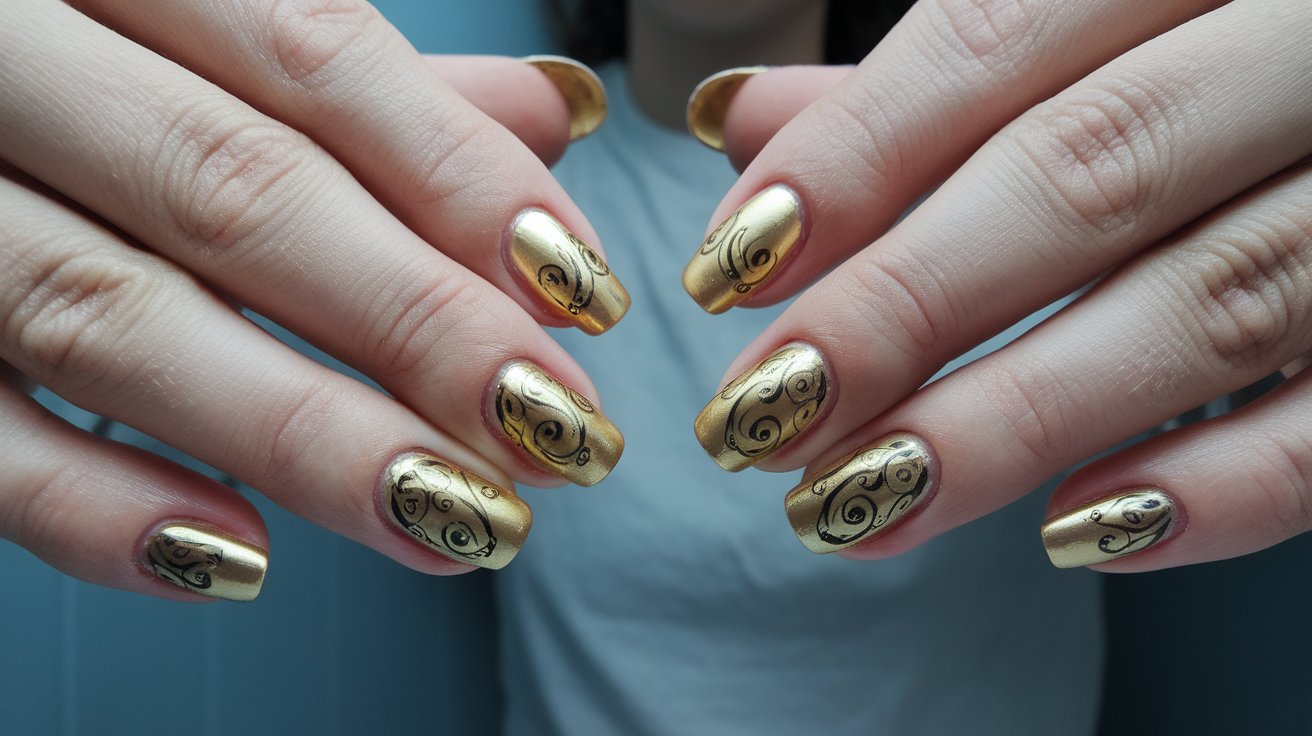
Chevrons, damask prints, and small architectural patterns all read clearly at this scale. Mixing a matte topcoat with a glossy one within the same design, matte on the base and glossy on the stamped pattern, adds contrast without extra product.


Gold Rhinestone Embellishments
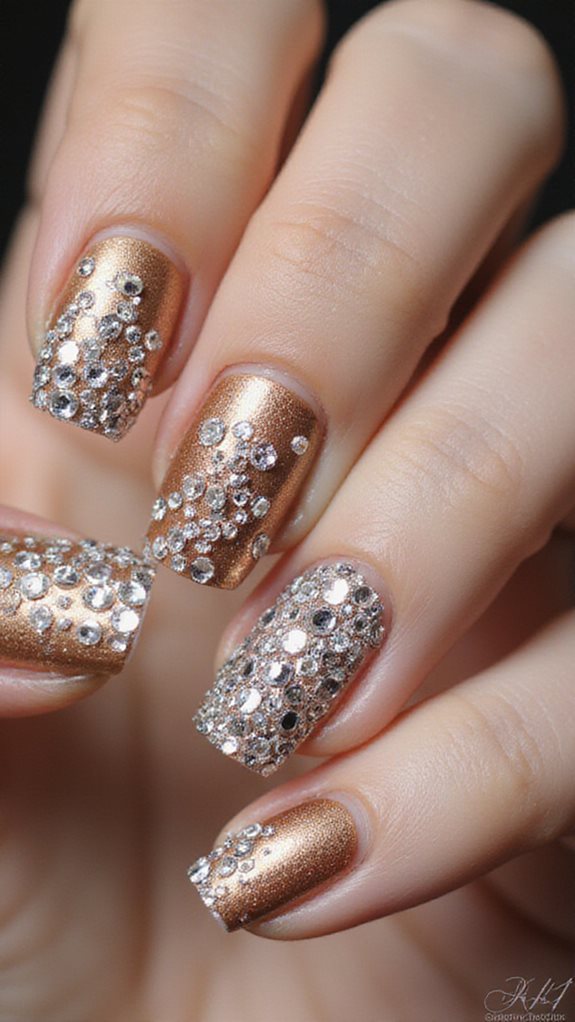
Rhinestones go on with nail glue or gel, applied after the base coat has fully cured, not while it’s still tacky. Placing them too early means they sink slightly and sit crooked.
Tweezers place stones with more precision than fingers can manage, especially along the cuticle line where spacing needs to stay even.
Mixing stone sizes, larger ones as a focal point with smaller ones trailing off, holds up better than a uniform row. Seal every edge with topcoat, since an exposed edge is where a stone starts lifting first, often within a couple of days.


Vintage Gold Damask Patterns
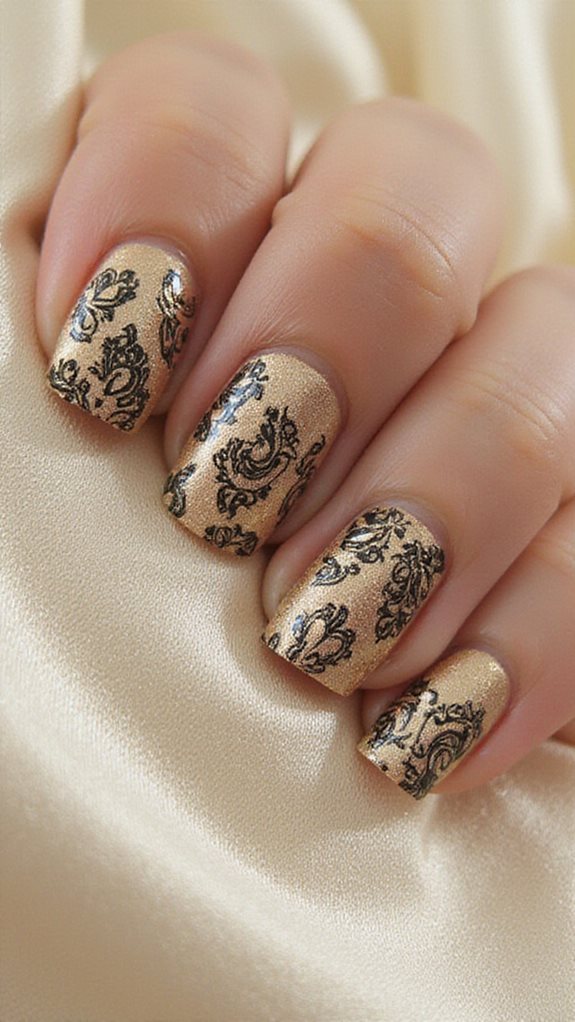
A damask stamping plate gets the ornate swirl pattern onto the nail without any freehand painting, which is the only realistic way to do this design at home.
Water decals are the other option, and they’re easier for beginners since they’re pre-printed. Both work best over a deep burgundy, navy, or black base for the contrast the pattern needs to read clearly.
This design suits formal events more than everyday wear, since the detail is dense enough to draw attention on its own.

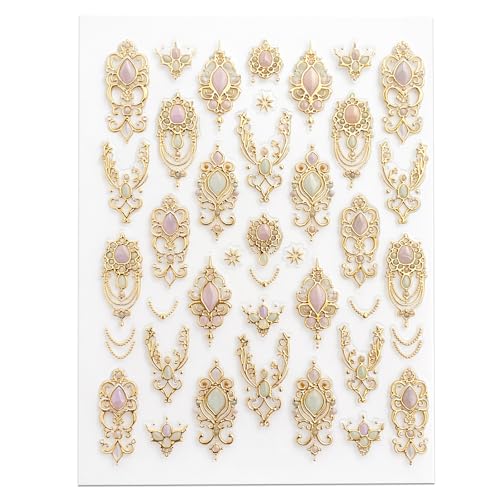

Gold Striping Tape Designs
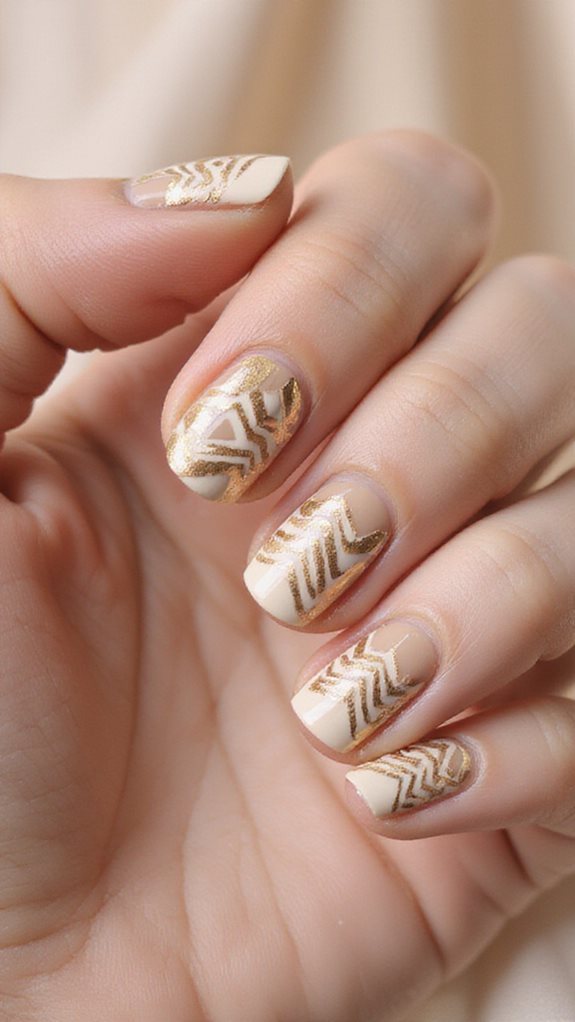
Striping tape needs a fully dry base underneath it. Applying it over polish that’s even slightly tacky means it won’t sit flat, and the resulting line comes out crooked.
Intersecting lines make a diamond pattern; parallel strips look like racing stripes; a single curved piece gives a wave shape. All three use the same tape, just placed differently.
Pull the tape while your topcoat is still slightly tacky rather than waiting for it to fully set. Wait too long and the tape will likely peel up part of the topcoat with it.

Metallic Gold Water Marble
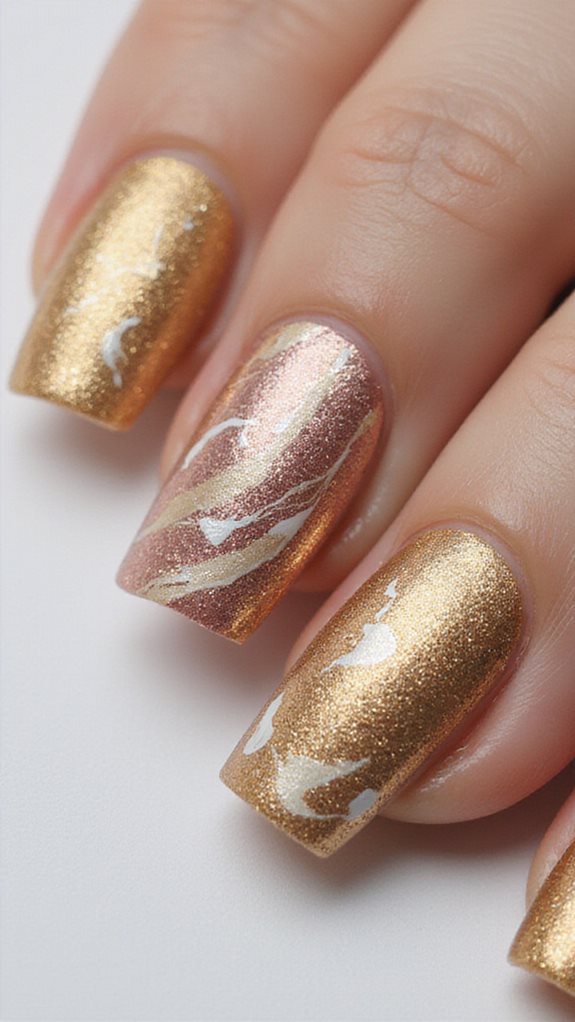
This is a different marble approach from the gold-and-white version above: instead of two colors, drop gold, white, and black into the water in alternating concentric circles before swirling.
Work quickly once the polish hits the water. The film forms on the surface within seconds, and a design that sits too long turns thick and won’t transfer cleanly onto the nail.
A white or nude base underneath makes the gold swirls stand out more than a colored base would, since the metallic needs something neutral to contrast against.

Gold Caviar Bead Nails
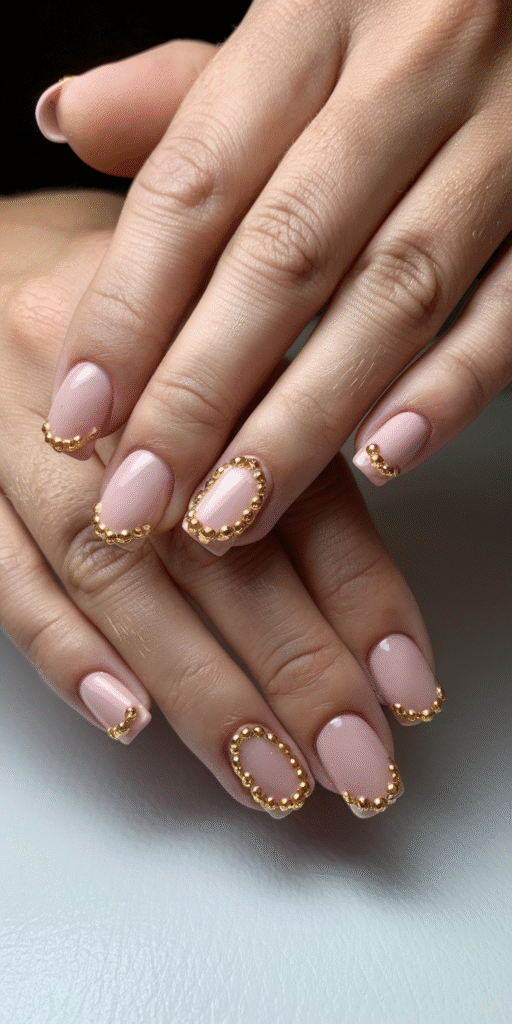
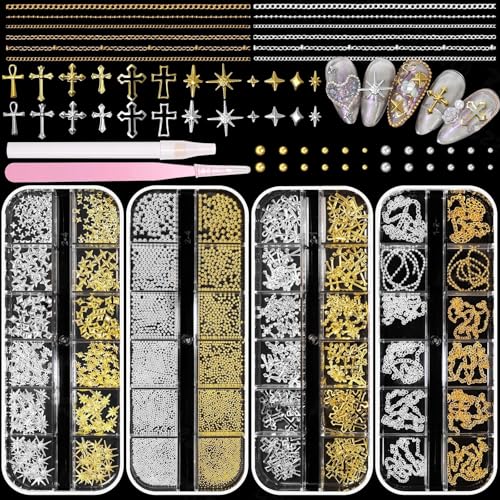
Tiny metallic beads pressed into tacky polish give this its texture. Roll the whole nail through a small dish of loose beads for full coverage, or place them by hand for an accent design.
Mixing bead tones, rose gold, champagne, classic yellow gold, keeps the texture from looking flat the way a single tone can.
Worth knowing before you commit: caviar beads chip faster than a smooth manicure, often within two or three days, since the raised texture catches on things a flat surface wouldn’t. It’s a design for a specific event more than everyday wear.


Delicate Gold Chain Details
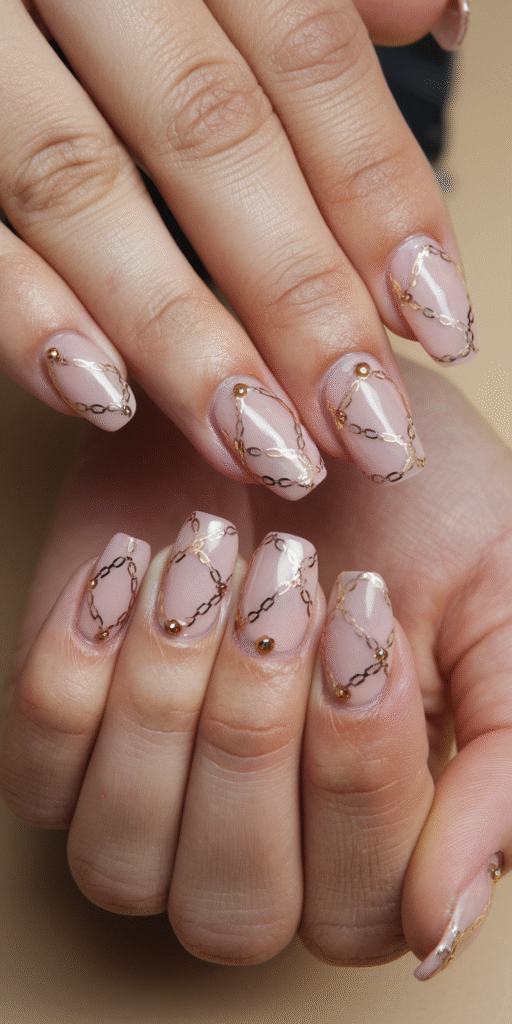
Ultra-fine metallic chain, the kind sold specifically for nail art, drapes across the nail and sets under a layer of clear gel or resin.
Nude, cream, or soft pink bases let the chain catch light without competing with a bold color underneath. On longer nails, layering two or three chain lengths together builds more dimension than one strand alone.
A tiny gold bead placed where two chains cross adds detail without extra effort. Diagonal placement across the nail looks more deliberate than a straight line down the center.

Bold Gold Geometric Shapes
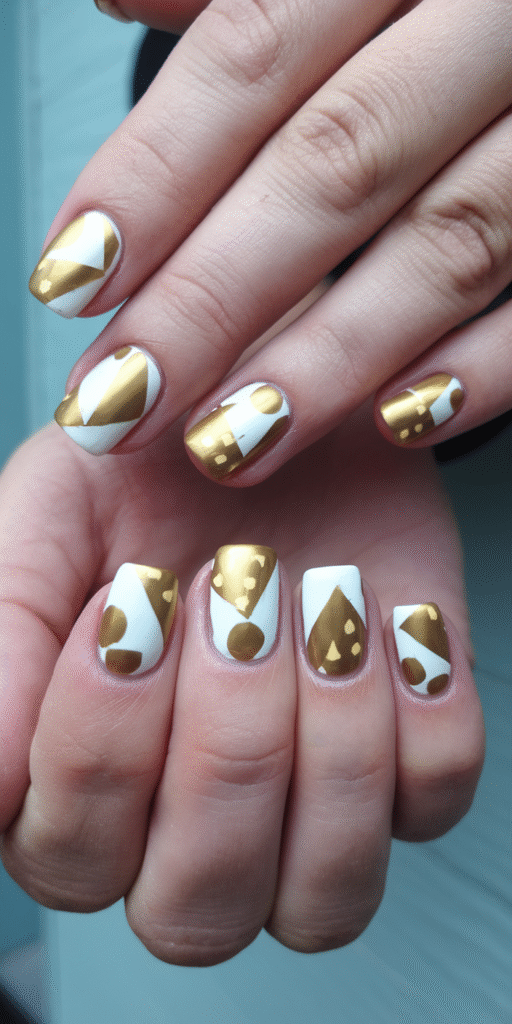
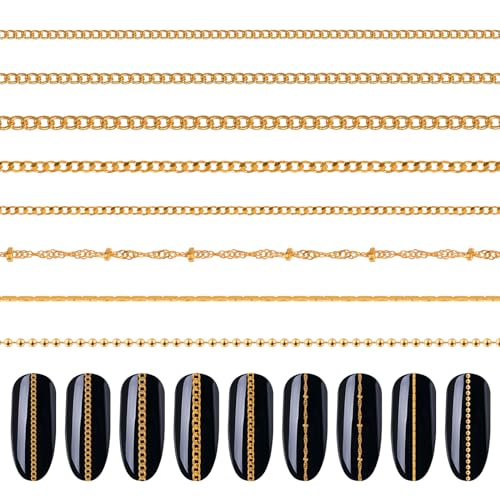
Foil tape cut into triangles, squares, or hexagons with small scissors gives these shapes sharp, clean edges that freehand painting rarely matches.
A dark base, black or deep navy, makes the gold shapes pop the most. Nail vinyl stickers work as a shortcut if cutting your own shapes feels fiddly.
Repeating the same shape across a few nails looks intentional; mixing shapes on every nail can start to look cluttered instead. Pick one shape for the whole set, or two at most.

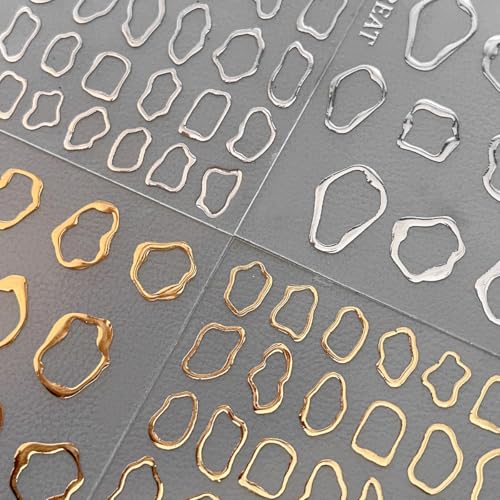

Mixed Metal Gold Combinations
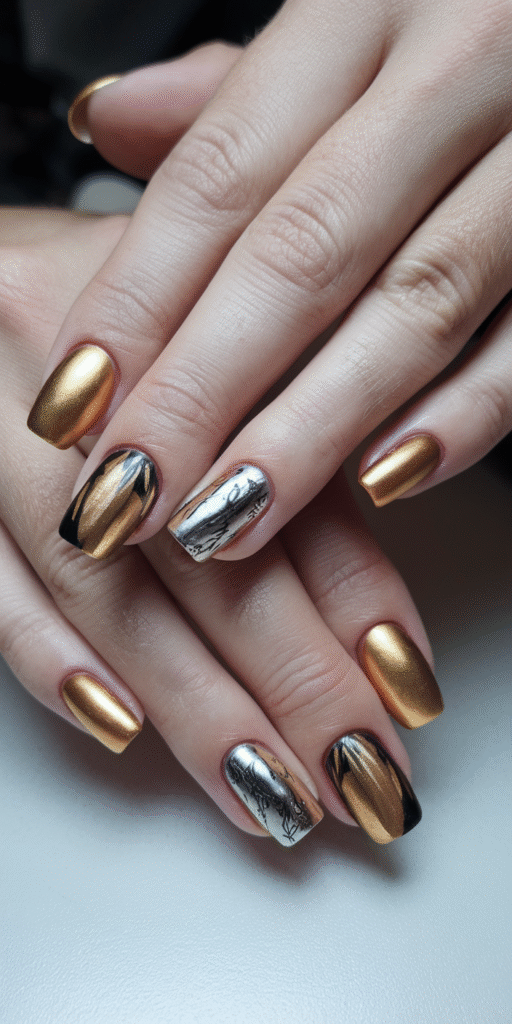
Gold paired with one other metal, rose gold, silver, or copper, stands out more than an all-gold design without turning into a mismatched mess.
Alternating metallic stripes across the nail, or one accent nail in a second metal against a gold set, are both easier starting points than blending three metals at once.
If you want to try a full three-tone look, start with two metals first and get comfortable balancing warm and cool tones before adding the third. Going straight to three often looks busy rather than intentional.


Frequently Asked Questions
How Long Do Gold Nail Designs Typically Last Before Chipping?
Plain gold polish holds up about a week to ten days with a fresh topcoat every few days. Chrome and foil finishes wear down at the tips first, since that’s the part taking the most contact, while textured designs like caviar beads or chunky glitter chip sooner because the raised surface catches on things.
What’s the Best Way to Remove Gold Nail Polish Without Damaging Nails?
An acetone-free remover works fine for plain polish: soak a cotton pad, hold it against the nail for about ten seconds, then wipe without scrubbing. Foil, rhinestones, and gel-based chrome need regular acetone and a longer soak, closer to ten minutes wrapped in foil, since those finishes don’t lift off with a gentle remover the way polish does.
Can I Do Gold Nail Art at Home or Need a Professional Salon?
Solid polish, French tips, striping tape, and stamping are all realistic to do at home with basic tools. Chrome powder and water marbling take more practice since both depend on timing and technique, so don’t expect a salon-level result on the first attempt with either one.
Which Gold Nail Designs Work Best for Short Vs Long Nails?
Short nails suit designs with less surface area to fill: minimalist lines, negative space, or a single accent nail in foil or chrome. Long nails have the room for ombré blending, marbling, or dense patterns like damask, since those techniques need more space to actually show their detail.
How Much Does It Cost to Get Gold Nail Art Done Professionally?
Expect somewhere between $15 and $50 on top of a standard manicure, depending on your salon and how detailed the design is. Chrome, foil, and hand-painted work like brushstrokes or damask patterns sit at the higher end since they take longer and use pricier product.
Final Thoughts
Most of these designs come down to the same handful of basics: two thin coats, the right topcoat for the finish you want, and patience while things dry between steps. Get those right and almost any gold shade or technique on this list holds up.
Start with something simple, solid polish or a French tip, before moving on to chrome or water marbling, since both of those reward a bit of practice. And if chipping or lifting keeps showing up faster than it should, the guide to keeping nails healthy under nail art covers the prep work that fixes it.