23 Almond-Shaped French Tip Nail Designs
Nail shape can completely change the feel of a manicure, and the almond shape has become a favorite for good reason. Its soft, tapered silhouette pairs especially well with French tips, giving a classic design a more modern, elongated look. If you’re deciding between shapes, how almond compares to coffin shape covers the main differences in length and upkeep.
Almond French tips remain popular because they combine the sophistication of a classic manicure with a shape that feels modern without trying too hard.
Some designs stay true to traditional white tips, while others bring in color, chrome finishes, glitter, or hand-painted detail. The 23 ideas below cover the actual techniques behind each one, not just how they look.
Classic White French Tips
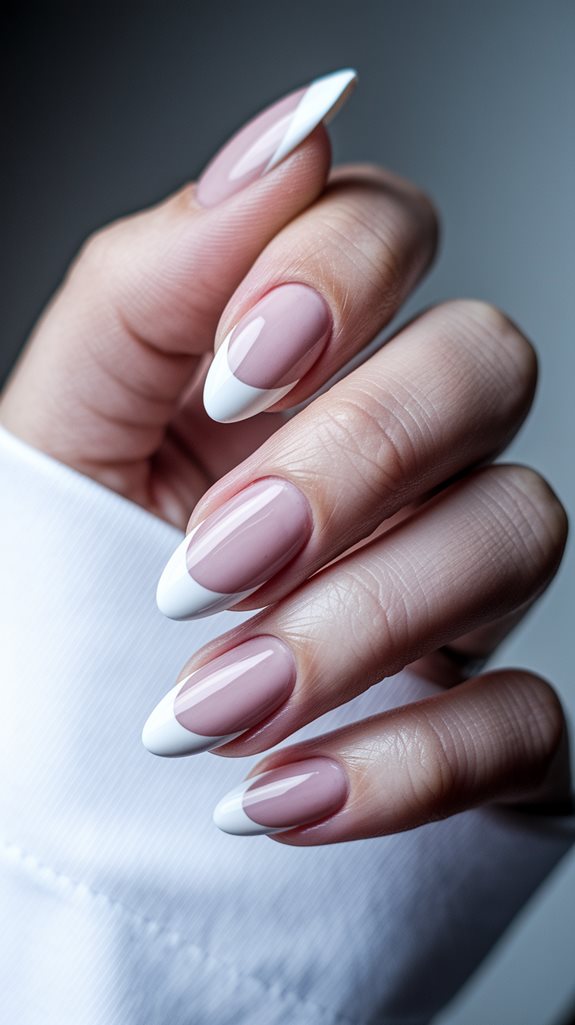
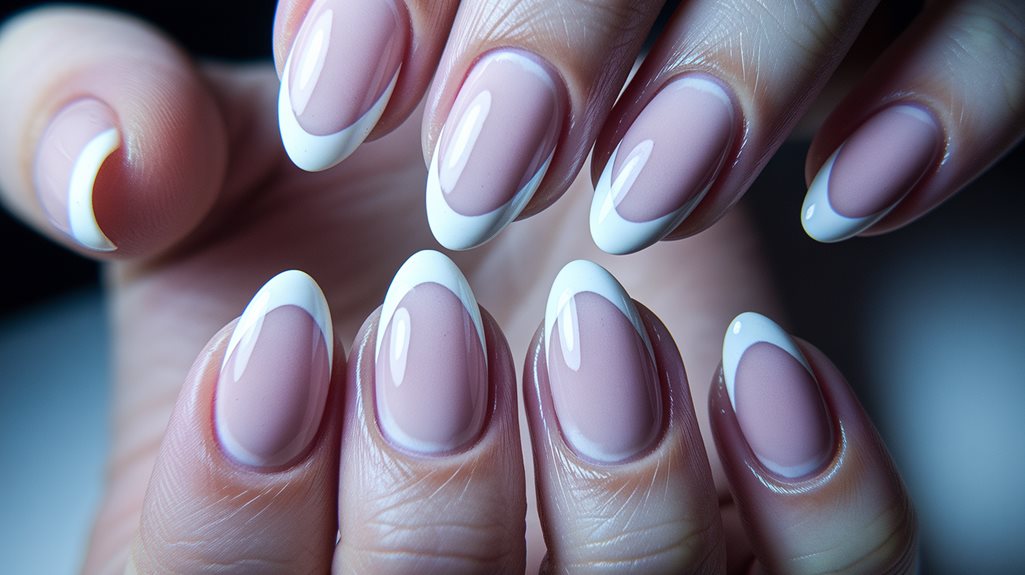
A classic white tip needs a smile line that curves with the nail’s natural taper rather than a straight guide line; a straight tip on a tapered almond nail looks off almost immediately. Nail guides or striping tape keep that curve consistent across all ten nails.
Two thin coats of white polish cover more evenly than one thick coat, which tends to streak or pool near the cuticle. A sheer pink or nude base underneath softens the overall look.
Glitter Accented Tips
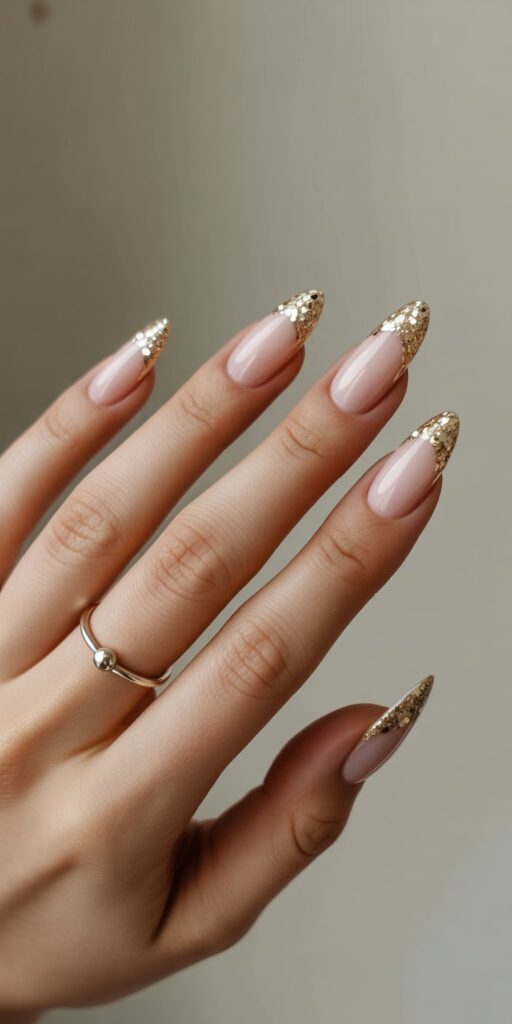
A glitter gradient works best applied with a makeup sponge rather than a brush: dab glitter polish onto the sponge first, then pat it onto the tip so the color builds up gradually instead of landing in one solid patch.
Chunky glitter needs at least two coats of clear topcoat to smooth over the texture, or the surface stays gritty and catches on fabric. Finer glitter polishes need less buildup and dry faster between coats.
Pastel Hues French Tips
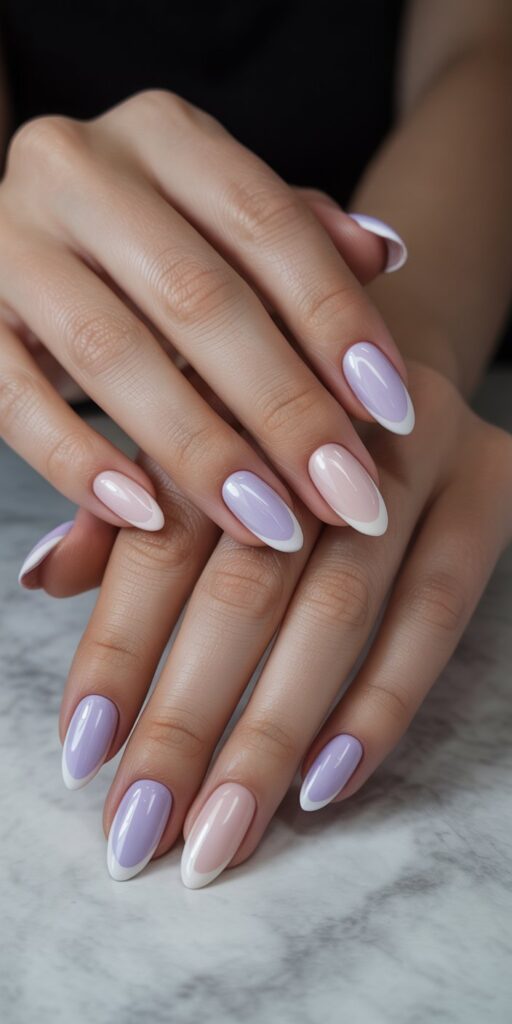
Pastel polish shows brush strokes more than darker colors do, so thin, even coats matter more here than with a bold shade. Lavender, mint, and baby blue all read cleaner over a white or clear base than over bare nail.
A gradient between two pastels blends the same way a glitter gradient does, dab and blend at the boundary while both colors are still wet, since pastel polish sets fast and won’t blend once it’s tacky.
Ombre French Tips
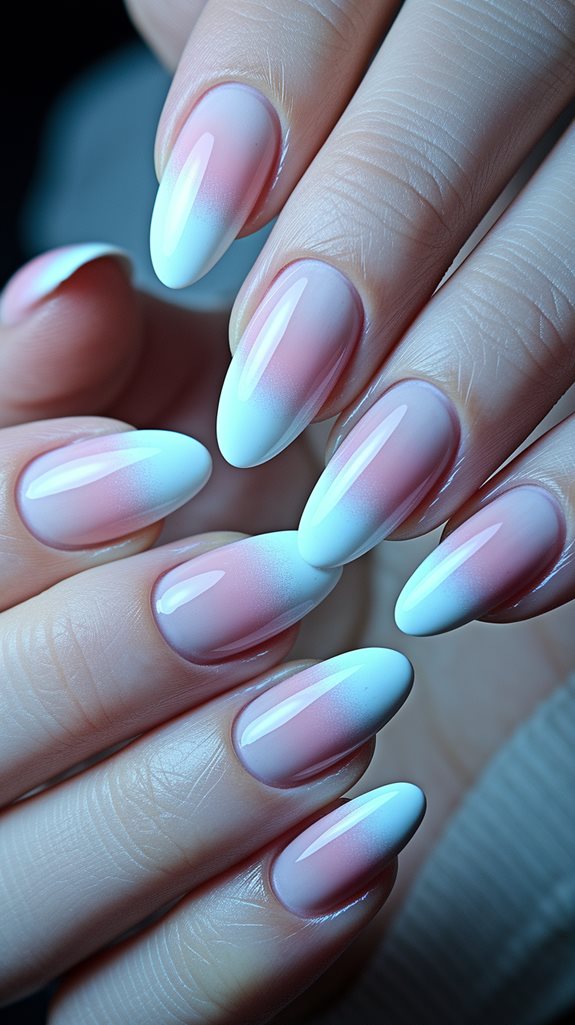
An ombre tip blends two shades with a makeup sponge rather than a brush, dabbing the darker color at the tip and the lighter one closer to the cuticle, then overlapping them at the midpoint while both are still wet.
A nude-to-red pairing is the most forgiving combination for a first attempt, since the contrast is dramatic enough that a slightly uneven blend still reads intentional. Our full set of ombre French tip ideas has more color pairings to try.
Metallic French Tips
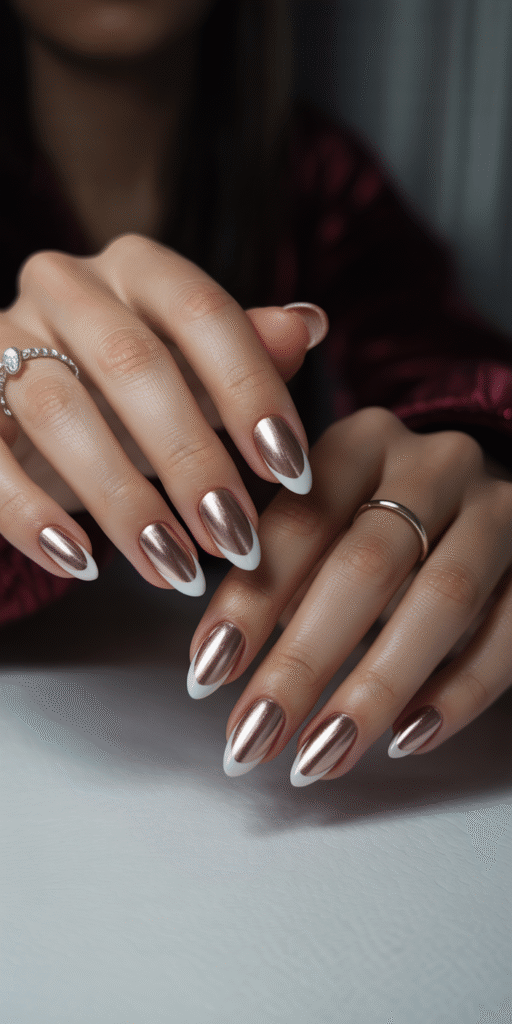
This design pairs a metallic chrome base color with a plain white tip, rather than making the tip itself metallic, so the shine sits on the nail bed while the tip stays a flat contrast. Metallic polish shows every brush stroke and uneven patch more than a cream finish does, so it needs thin coats and a steady hand on the base color. Rose gold and silver both photograph better under natural light than under yellow indoor lighting.
A chrome powder applied over a metallic base gives a mirror finish polish alone can’t; it needs to go on while the base coat is still tacky, within about a minute of applying it, or the powder won’t adhere evenly.
Matte Finish French Tips
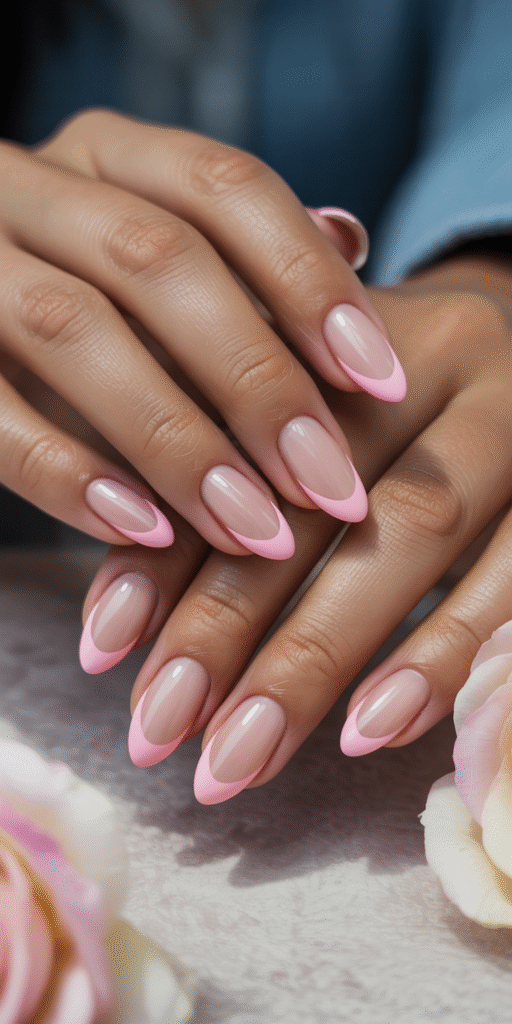
A matte topcoat only works over a fully dry base coat; applying it too soon traps moisture and can make the finish look cloudy instead of flat. Navy and burgundy hold their matte texture longer than lighter shades, which show fingerprints and oil marks sooner.
Matte finishes chip more visibly than glossy ones, since there’s no shine to distract from a scuff, so this style needs more frequent touch-ups if your hands see a lot of wear.
Minimalist French Tips
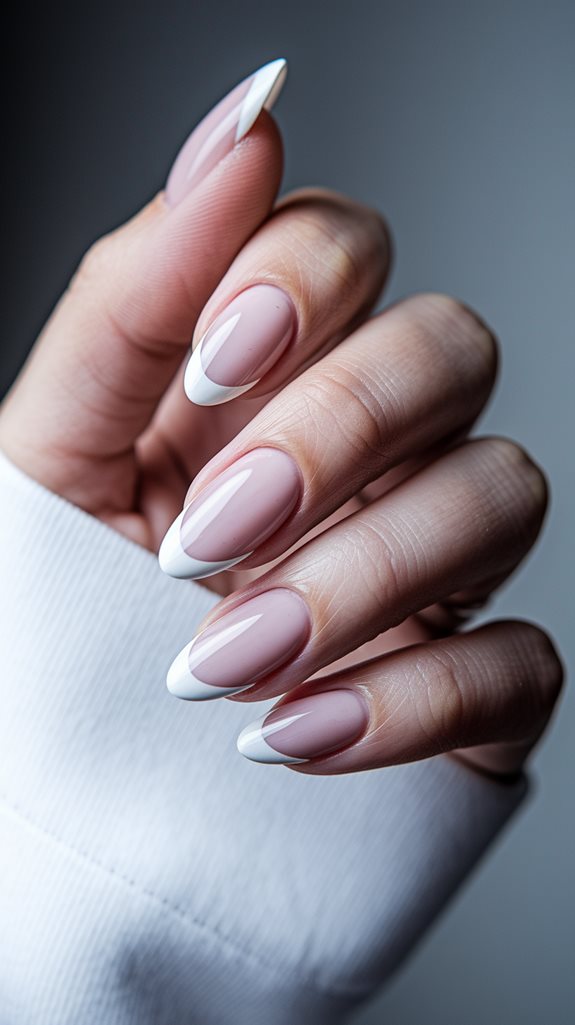
A minimalist tip is usually thinner than a traditional French line, sometimes just a millimeter or two of white or nude at the very edge, which actually takes more precision than a wider tip since there’s less room for error.
Muted pinks and sheer whites work well here because they’re forgiving if the line isn’t perfectly even; anything more saturated makes small mistakes more visible.
Bold Red French Tips
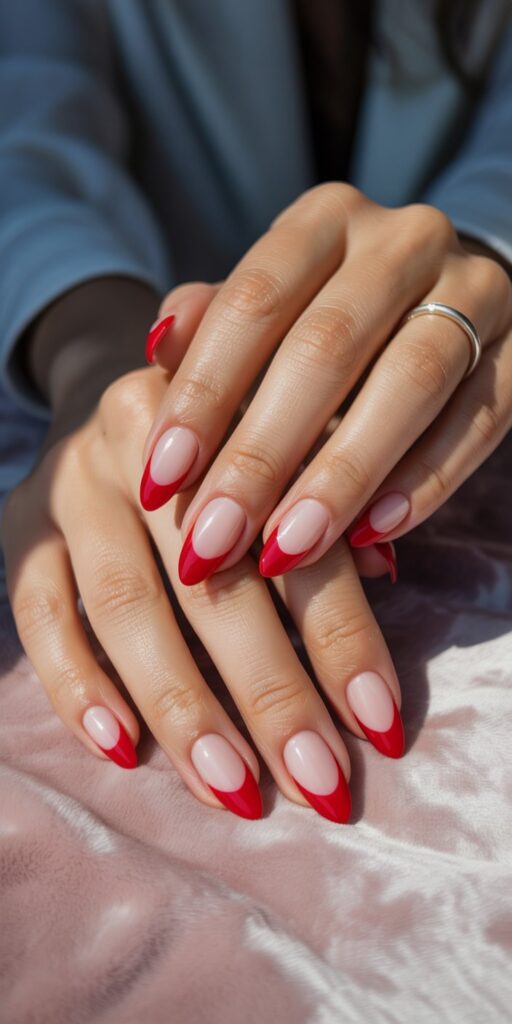
This design keeps color at the tip, the standard French placement, just in a bold red instead of white; the technique is identical to a classic French, only the tip color changes. A thin coat of red first, cleaned up along the smile line, keeps the color from bleeding onto the nude base.
Red at the tip reads more polished with a rounded almond point than a sharp one, since the curve softens the color block. Two coats of red give full opacity without the tip looking streaky against the sheer nude underneath.
Neon French Tips
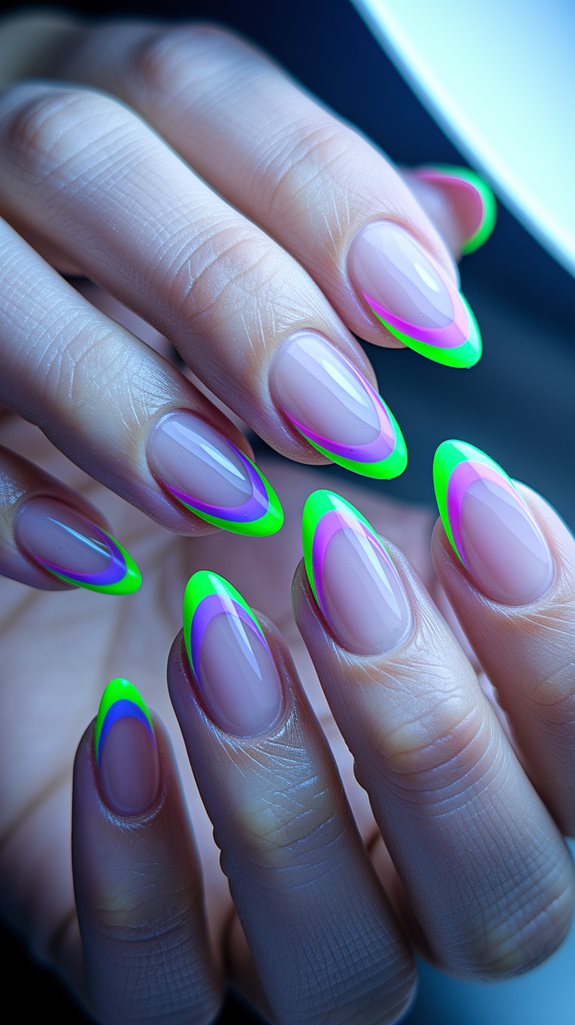
Neon polish needs a white base coat underneath to look truly bright, since neon pigments are often somewhat translucent on their own and look muted directly over bare or tinted nail.
These shades yellow faster under a regular topcoat than most colors do, so a UV-protectant topcoat helps keep them vivid longer with regular sun exposure.
Geometric French Tips
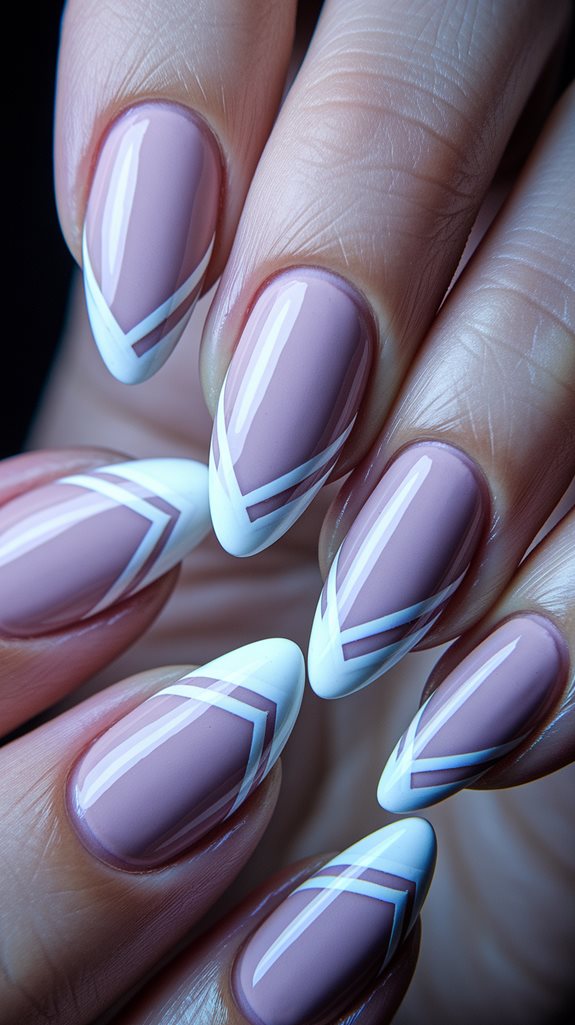
Nail striping tape is the most reliable way to get sharp geometric lines. Press it down firmly at the edges before painting so polish doesn’t bleed underneath, then peel it off while the polish is still slightly tacky rather than fully dry.
Navy and gold hold a cleaner contrast than two similarly saturated colors, which can blur together at the edges even with tape.
Floral French Tips
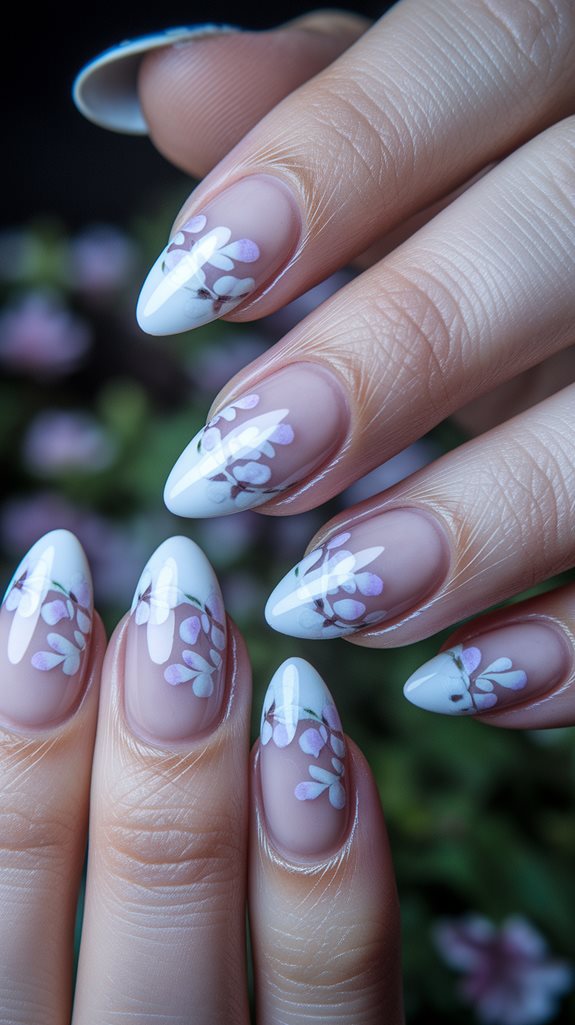
Hand-painted florals need a fine detail brush, not a standard polish brush; a size 000 or 00 works for petals and leaves. A pastel or nude base gives the flowers somewhere to stand out against.
Painting in layers, base petal color first, then a small dot of a contrasting shade in the center, gives more depth than trying to get the whole flower right in one pass.
Pearlescent Chrome Nails
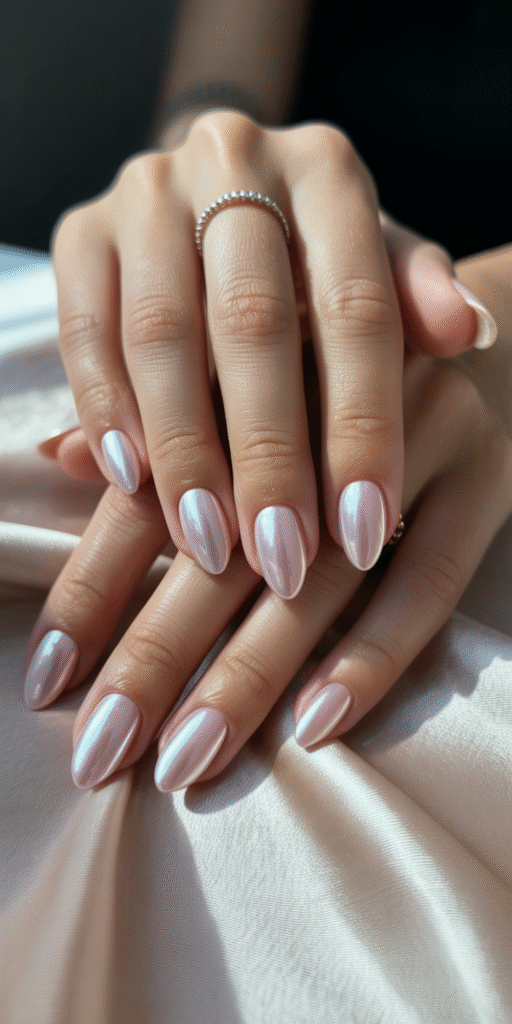
This finish skips the French tip line entirely, one solid pearlescent chrome color across the whole nail, so it’s a fuller-coverage look than the other designs on this list. A pearlescent polish catches light differently depending on the angle, so it’s worth checking how a color looks in both direct sun and indoor lighting before committing to it for a full set.
These finishes photograph well but show brush strokes under close inspection, so two thin coats blended in one direction give a cleaner result than one thick coat applied every which way.
Animal Print French Tips
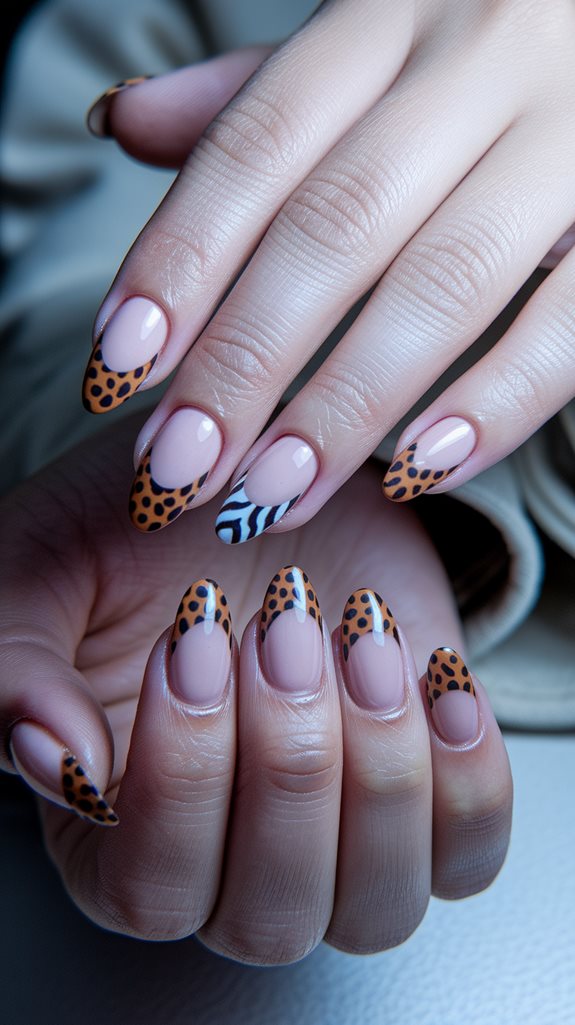
Leopard print is built from irregular dark spots over a tan or cream base, drawn with a fine brush in clusters of three or four rather than a single uniform pattern, which is what makes it look like leopard instead of just polka dots.
Zebra stripes are more forgiving for a first attempt, since they skip the layered-dot technique leopard print needs; a thin striping brush and a steady hand cover most of the work.
Abstract Art French Tips
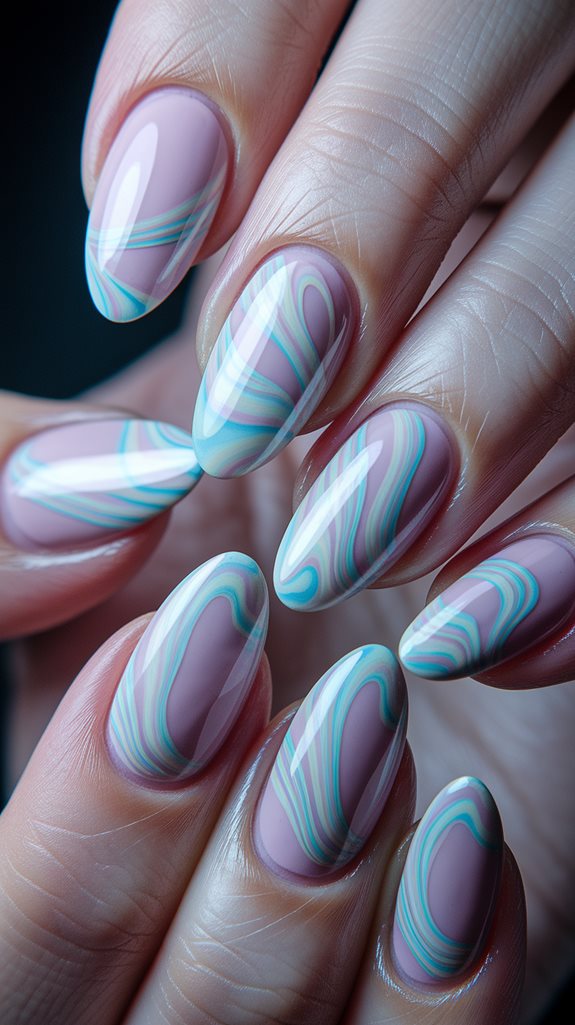
Abstract nail art works best planned loosely before starting: pick two or three colors that already work together, then let the lines and shapes vary in thickness rather than trying to make every nail match exactly.
A thinner brush for line work and a slightly thicker one for filled-in shapes gives more control than trying to do both with the same brush.
Crystal Embellished French Tips
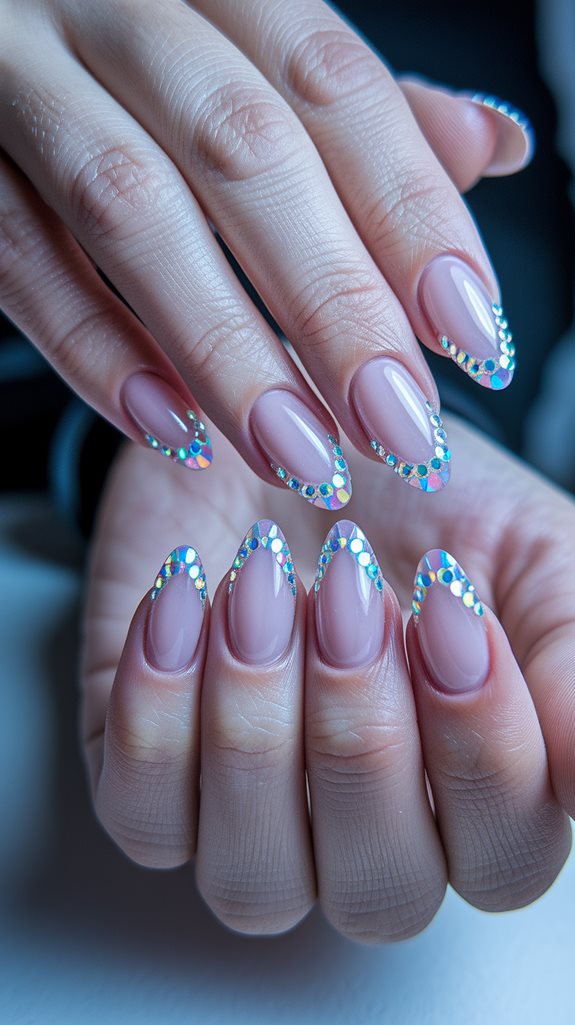
Nail glue holds crystals more securely than clear polish does, especially at the tip where nails see the most contact. Apply a small dot of glue, place the crystal with tweezers or a wax-tipped pencil, and hold it for a few seconds before moving on.
A strengthening base coat matters more here than with plain polish, since the added weight of crystals is more likely to catch and chip a weak nail. Our guide to caring for brittle nails covers how to build up strength before adding embellishments like these.
Two-Tone French Tips
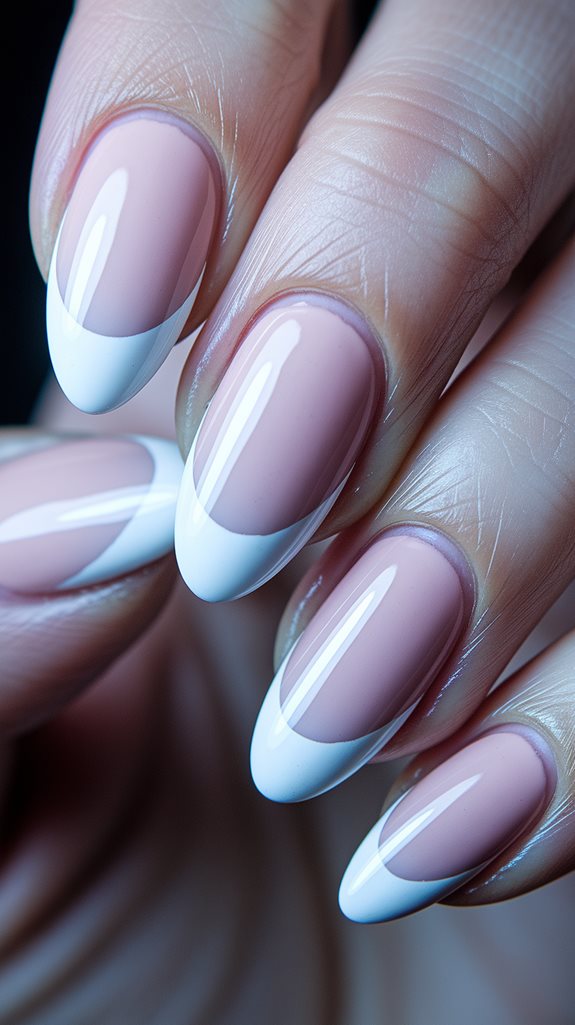
This tip is cut in a rounded curve rather than the straight diagonal line on the classic version, which is the detail that actually separates it from a standard French tip and not the nude-and-white color pairing itself. A two-tone tip needs one color to fully dry before the second goes on next to it, or the colors bleed into each other at the boundary.
A rounded curve like this forgives a slightly uneven line more than a straight diagonal cut would, where any wobble is immediately visible. Our short almond nail ideas show how the same two-tone approach looks on a shorter length.
Lace Design French Tips
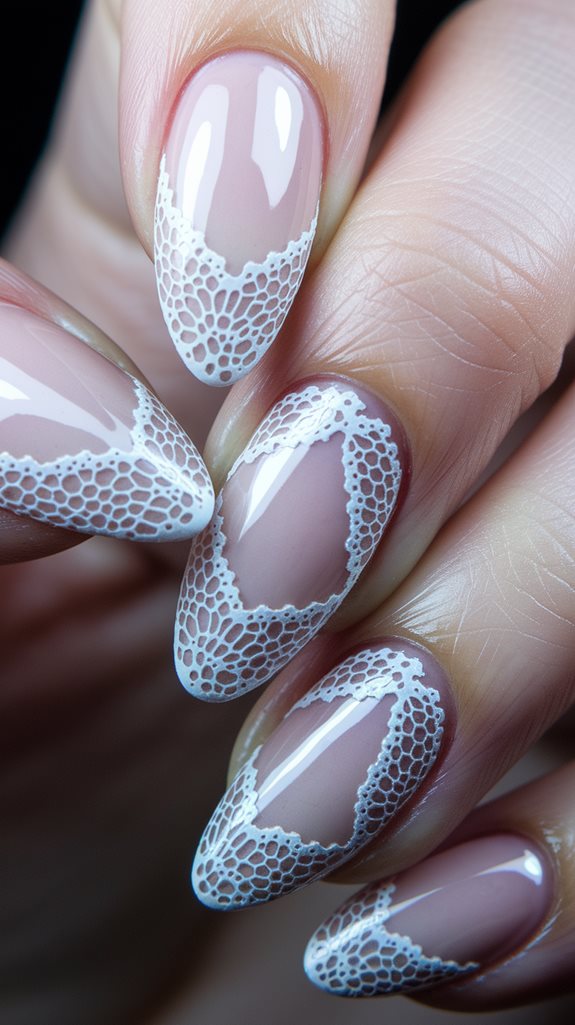
Lace nail art stickers are a realistic shortcut if freehand painting isn’t practical; they apply over a dry base coat and seal under a topcoat the same way hand-painted lace would.
For hand-painting, a fine detail brush and a thin, watered-down white polish create lace-like lines better than full-strength polish, which tends to look too solid and lose the delicate effect.
Chevron Pattern French Tips
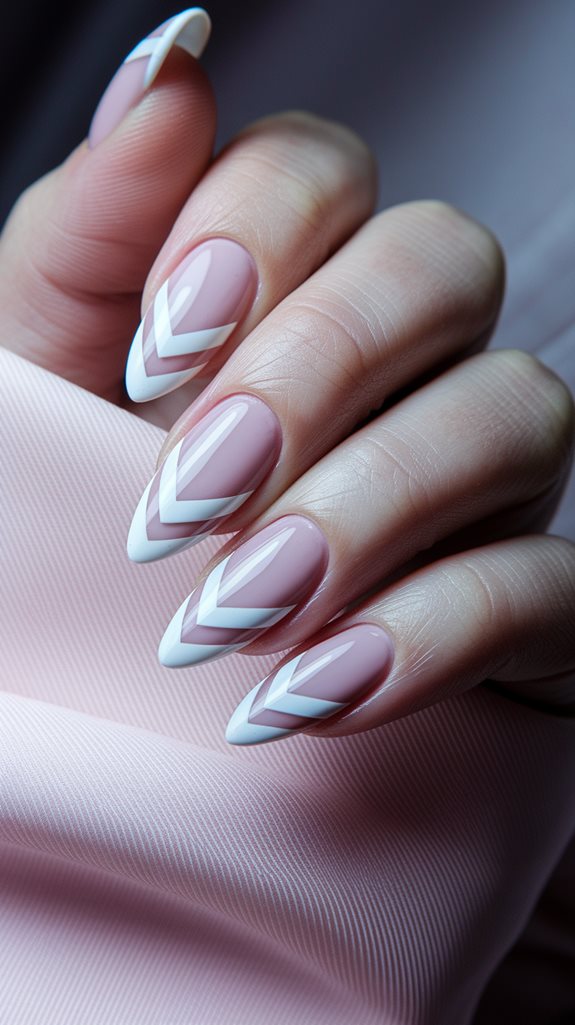
Chevron tape, sold specifically for nail art, makes the V-shape far more consistent than trying to freehand it; press the tape down at both angles before painting so the point stays sharp.
Black and white gives the cleanest chevron contrast; two similarly toned colors make the pattern harder to see once it’s finished.
Holographic French Tips
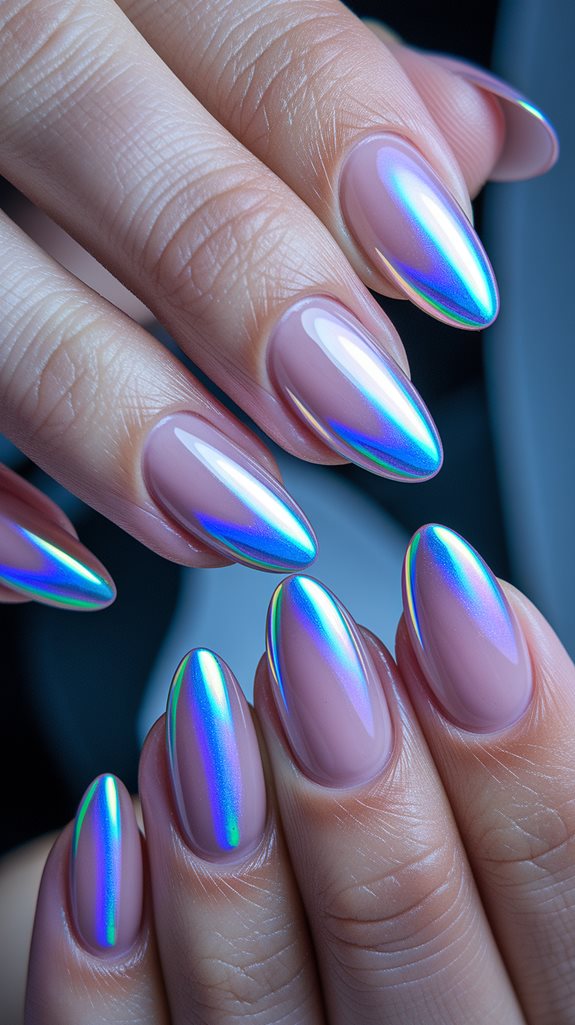
Holographic polish needs a fully opaque, even base coat underneath, since the holographic pigment itself is sheer and any unevenness in the base shows through it.
This finish reacts to UV light more than a standard polish does, so a topcoat with UV protection helps it hold its shimmer instead of dulling after a few days in direct sun.
Polka Dot French Tips
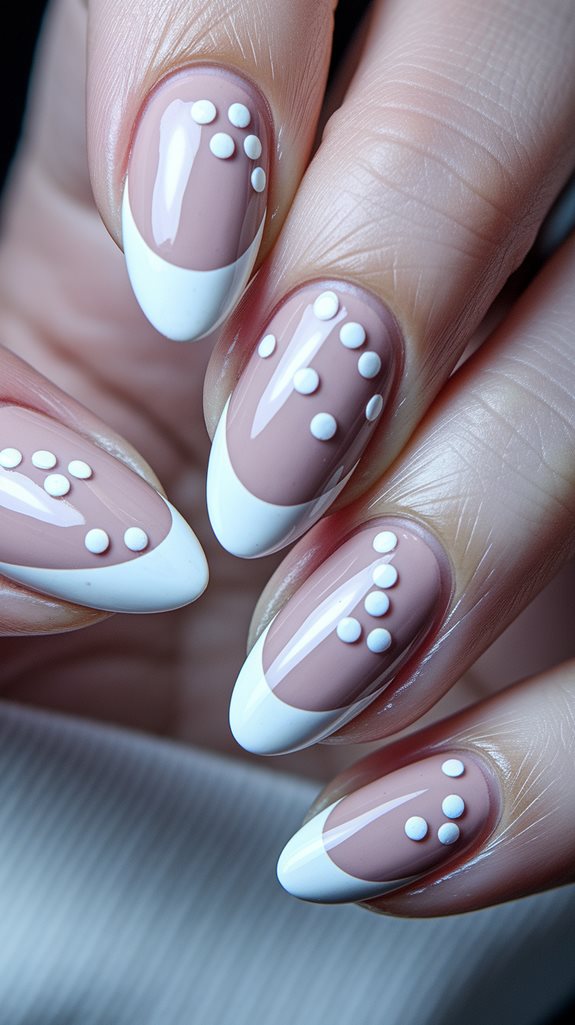
A dotting tool, not a toothpick or bobby pin, gives consistent dot sizes across all ten nails. Different-sized dotting tool tips let you vary dot size intentionally instead of by accident.
Letting each dot dry for a few seconds before adding the next prevents smudging, especially near the cuticle where nails curve and dots are more likely to drag.
Striped French Tips
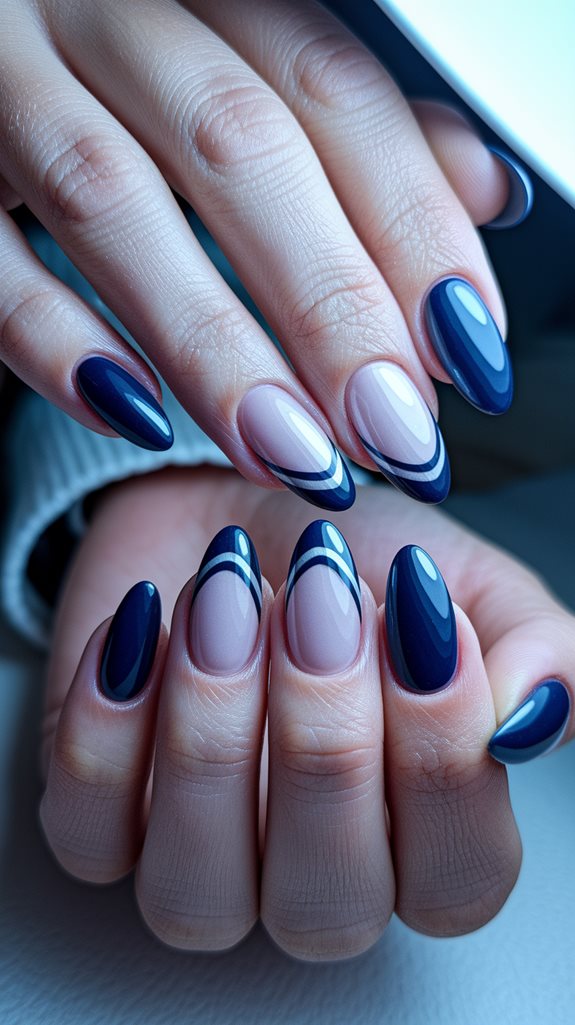
Striping tape holds a straight line better than a brush does, especially for thin stripes. Lay it down over a fully dry base coat and remove it before the top color sets completely.
Varying stripe width across the nail, thin near the cuticle, wider toward the tip, adds more visual interest than uniform stripes without much extra effort.
Jewel Toned French Tips
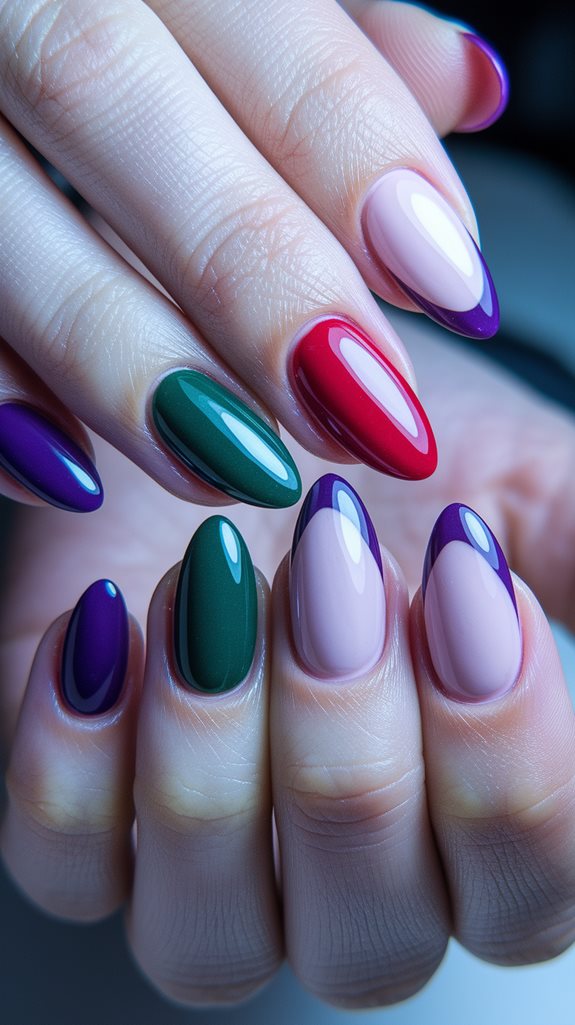
Emerald, sapphire, and ruby all need two coats for full opacity; a single coat tends to look streaky, since these deep, saturated shades don’t self-level as well as lighter polishes.
A glossy topcoat brings out the depth of a jewel tone more than a matte one would, which tends to mute saturated colors.
Outlined French Tips
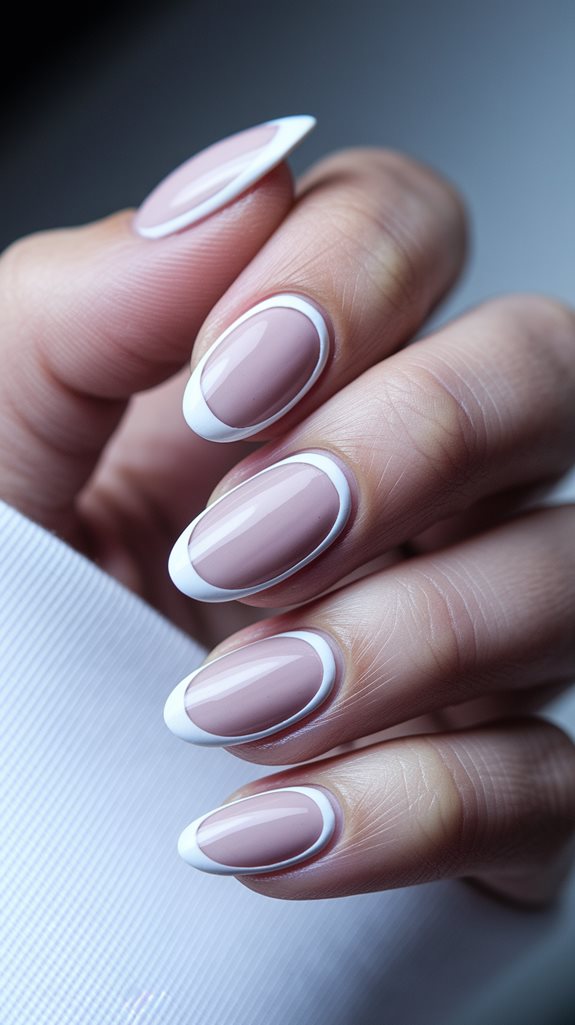
This design outlines the whole nail in a thin white border instead of leaving any bare, unpolished nail, which is what separates it from an actual negative-space manicure. A fine detail brush, not a wide one, keeps the outline an even width all the way around.
The base color needs full coverage and a completely dry finish before the outline goes on, or the white line drags color into it. A slightly deeper base tone, like the mauve here, makes the white border stand out more than a pale base would.